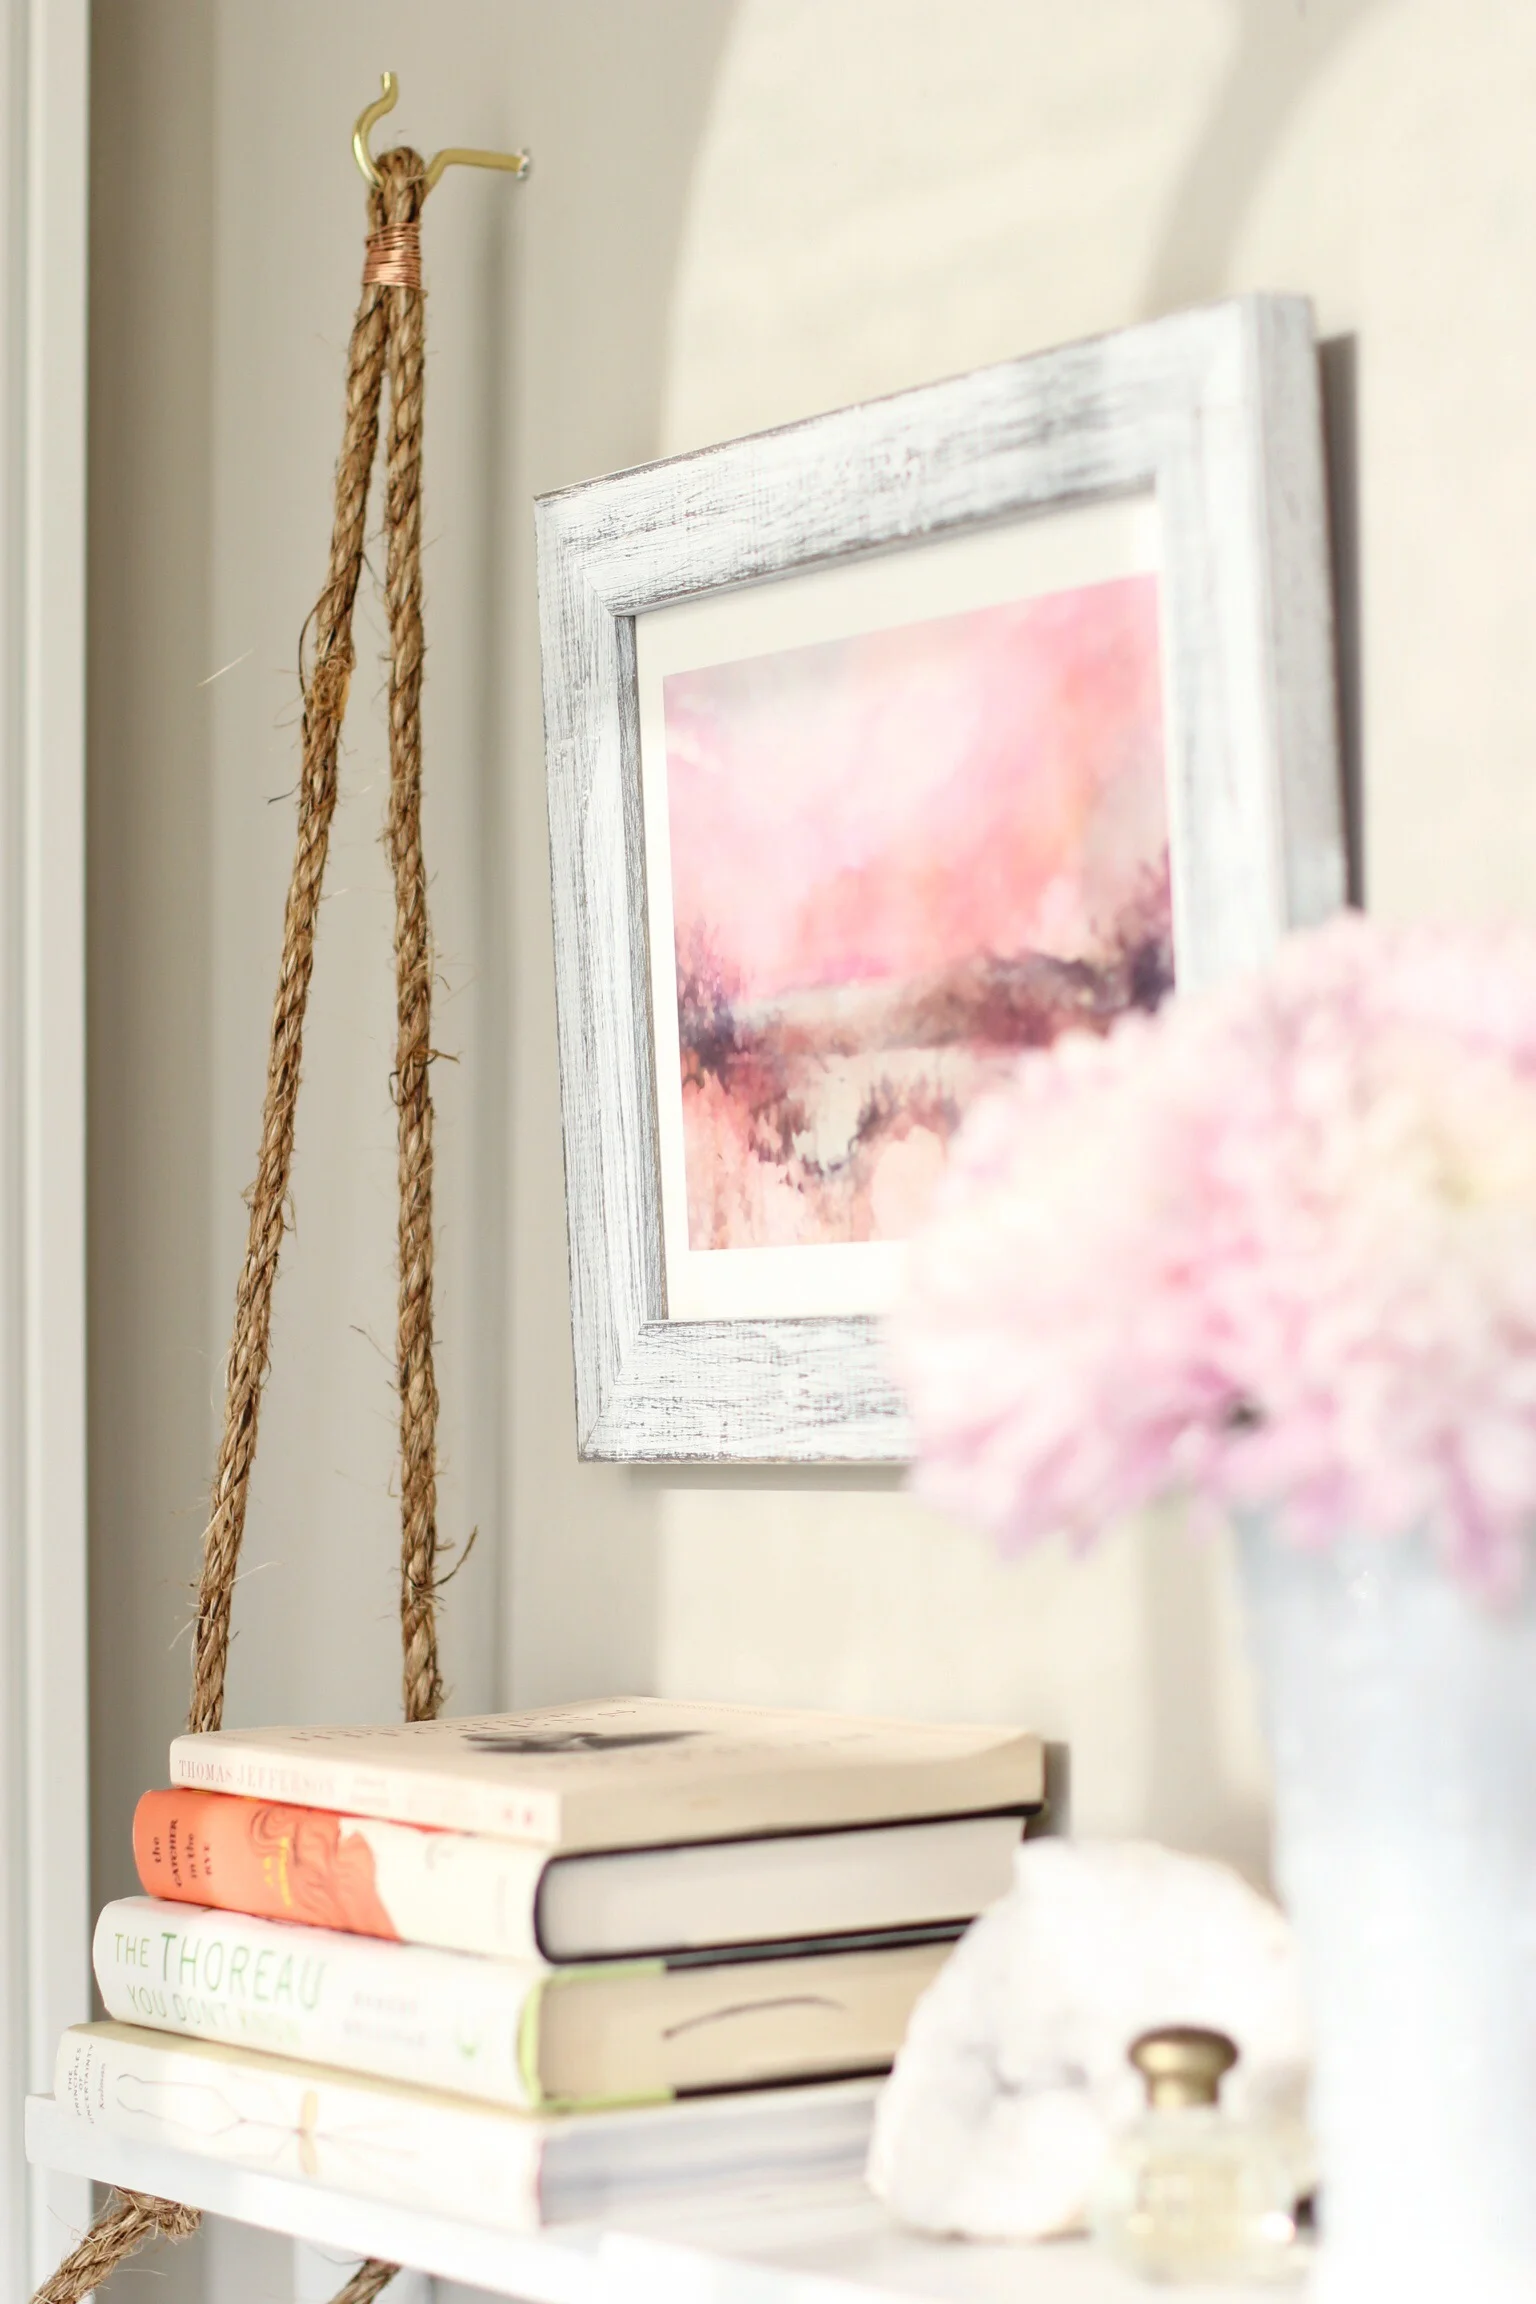
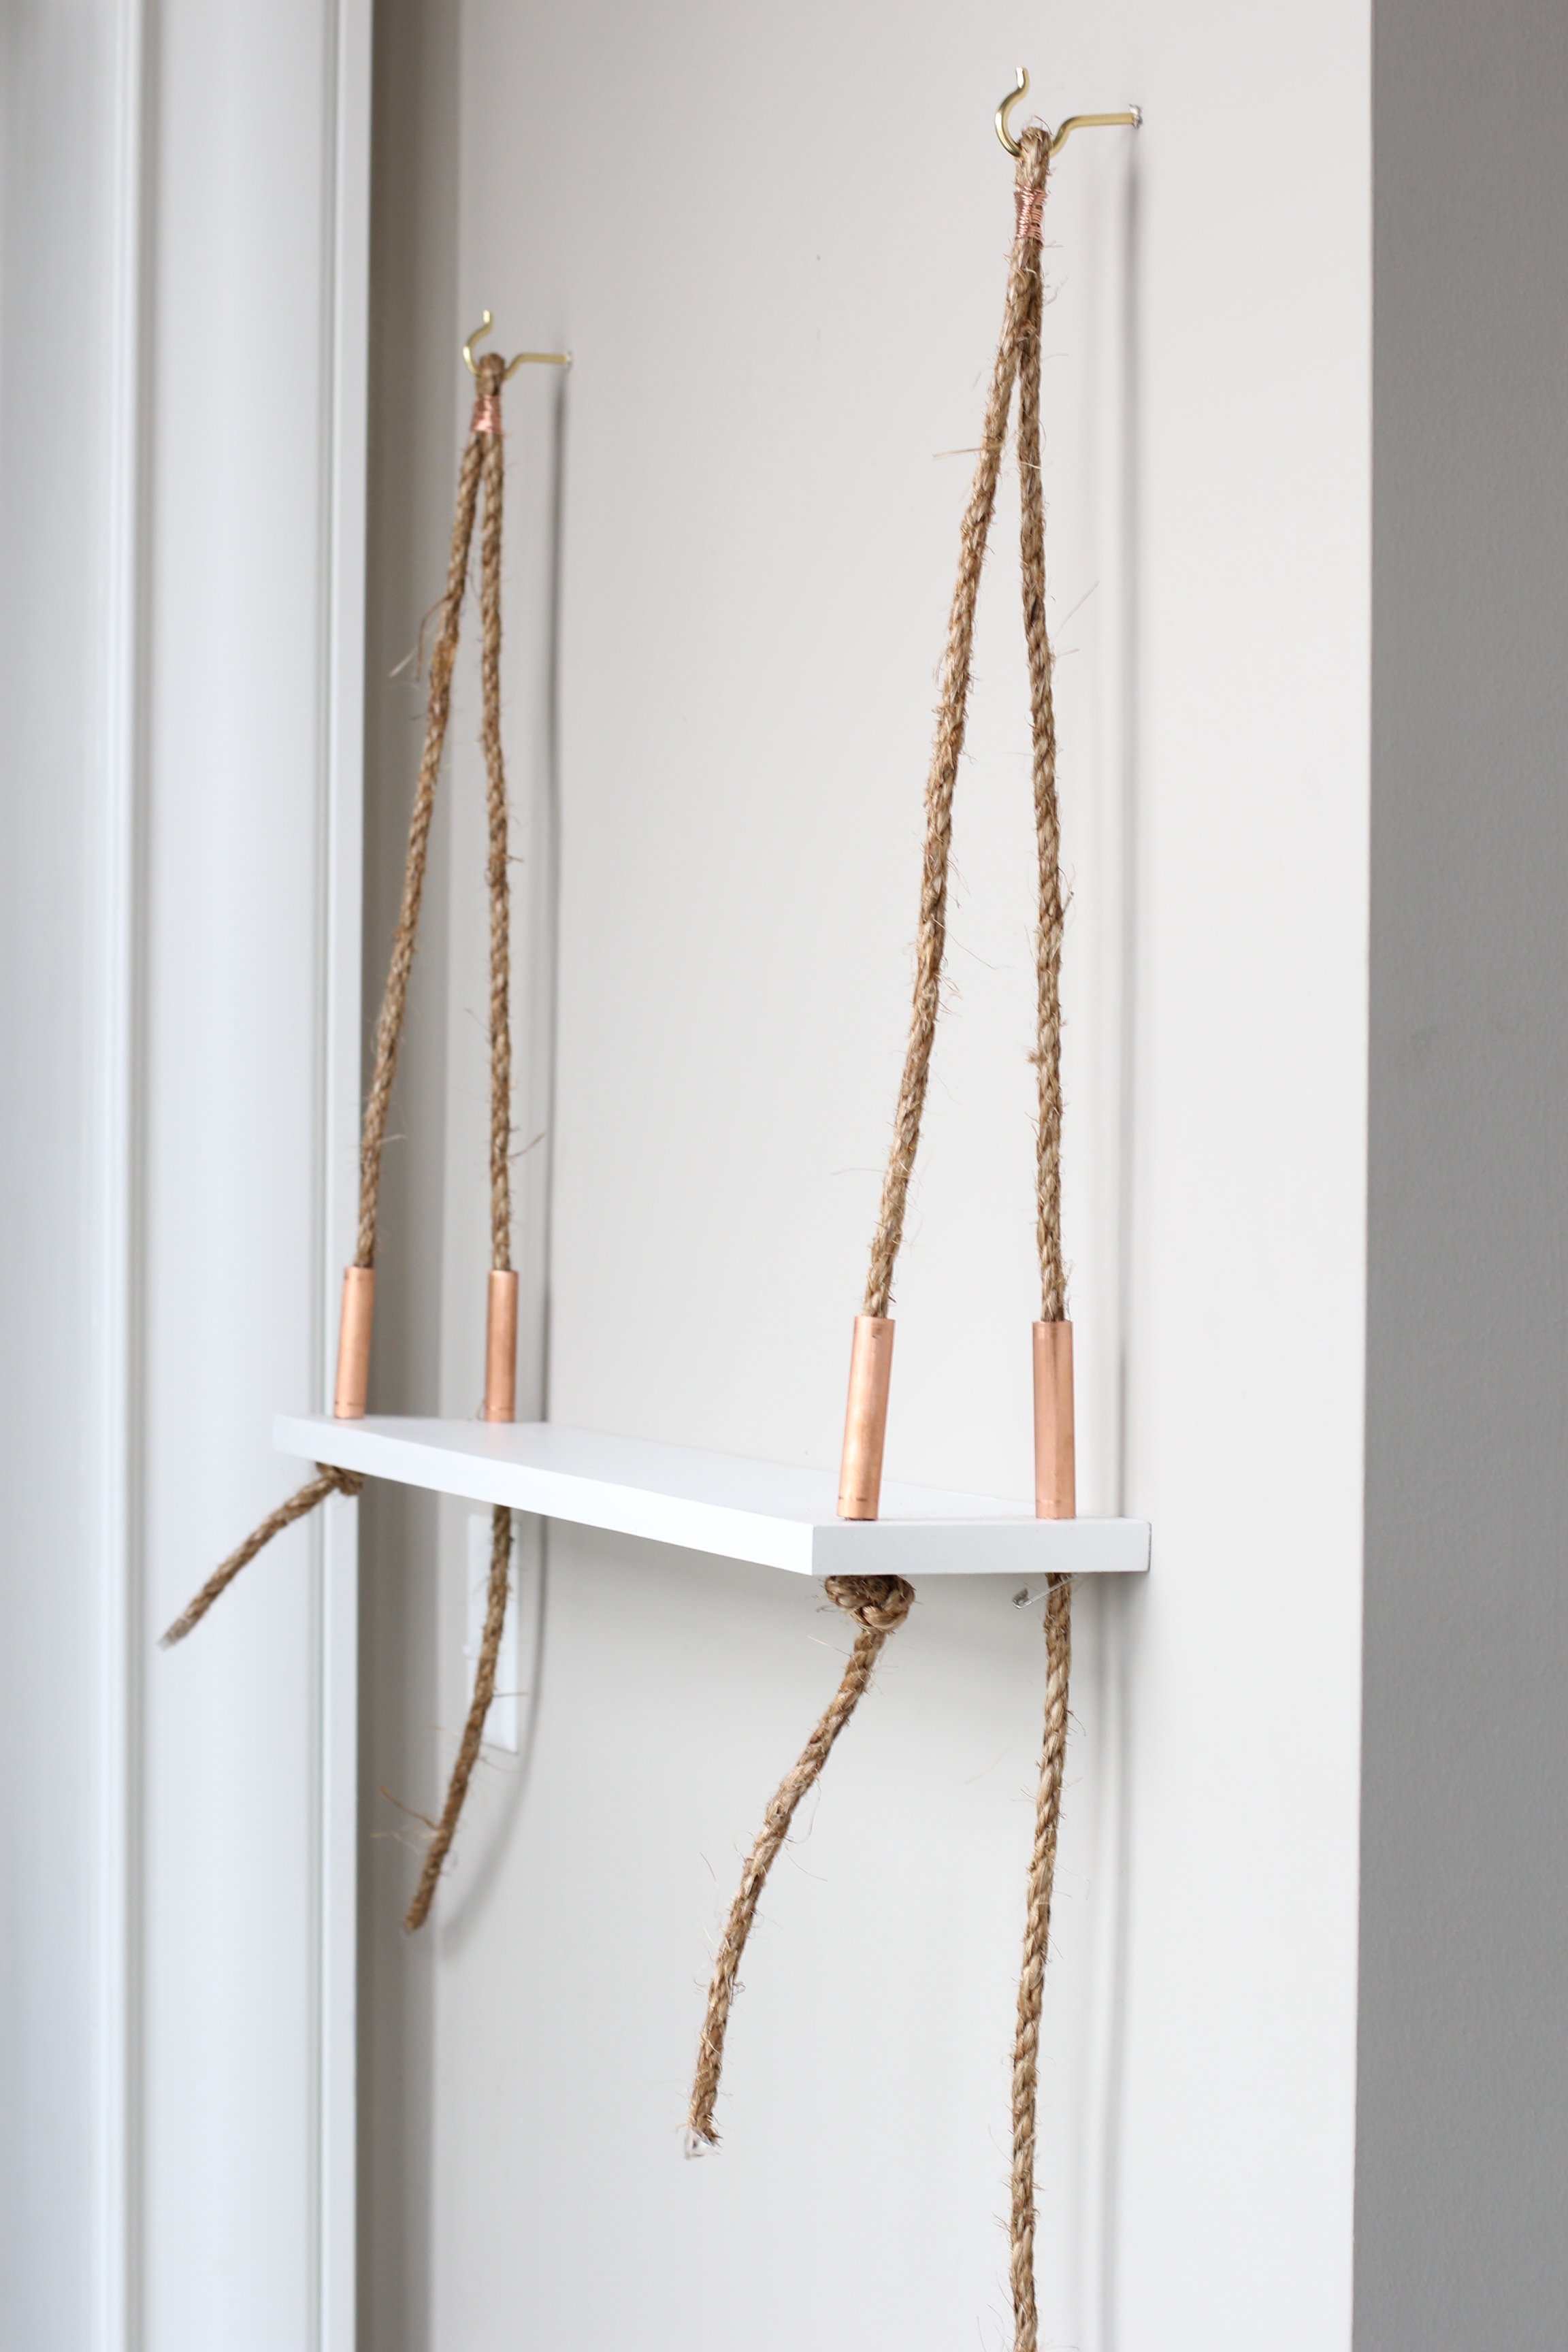
DIY rope shelf
I am crazy about this most recent home DIY endeavor. I was inspired by some images I saw on Pinterest and thought I'd try my hand at a suspended rope shelf with some fun and trendy copper elements. I love how much it transformed our otherwise blank-walled hallway. It wasn't until finishing this project that I realized we are so quick to decorate our walls with artwork, but rarely think of shelving. Needless to say, I'm now obsessed with the idea of hanging more shelves and decorating them with books, candles, trinkets, and flowers that can be switched up as often as I like.
I do have a disclaimer about this project. While it really does not require any skill or artistry necessarily, it might be a challenging one to carry out alone, although I definitely think it would be doable. Because I was trying to photograph as much of the project as I could, I employed Jon to help me and be my hand model at times, and it was definitely helpful to have both of us on deck (namely for the hanging part and adjusting the levelness at the end).
And while the pictures may make it look like a long/involved project, it truly wasn't! It's an easy one to take your time with, since you could do the various steps over the course of several days if you wanted to; or if you'd prefer to knock it all out in one day, that's feasible too. The longest part is letting the paint dry!
The cost for materials was about $50, but I already had access to the tools needed. And I ended up with leftover materials for other projects (paint, rope, and copper wire). You could cut corners by not painting the shelf at all or by using a paint sample and cheaper brush.
Materials needed
Sanded pine 1x6 board cut to size (mine was cut to 30 inches based on the wall I wanted to hang it on)
⅜ inch thick twisted rope (at least 8 feet to be safe)
Tape measure
Straight edge (we used the level)
Pencil
Hand power drill with ½ inch wood drill bit
Level
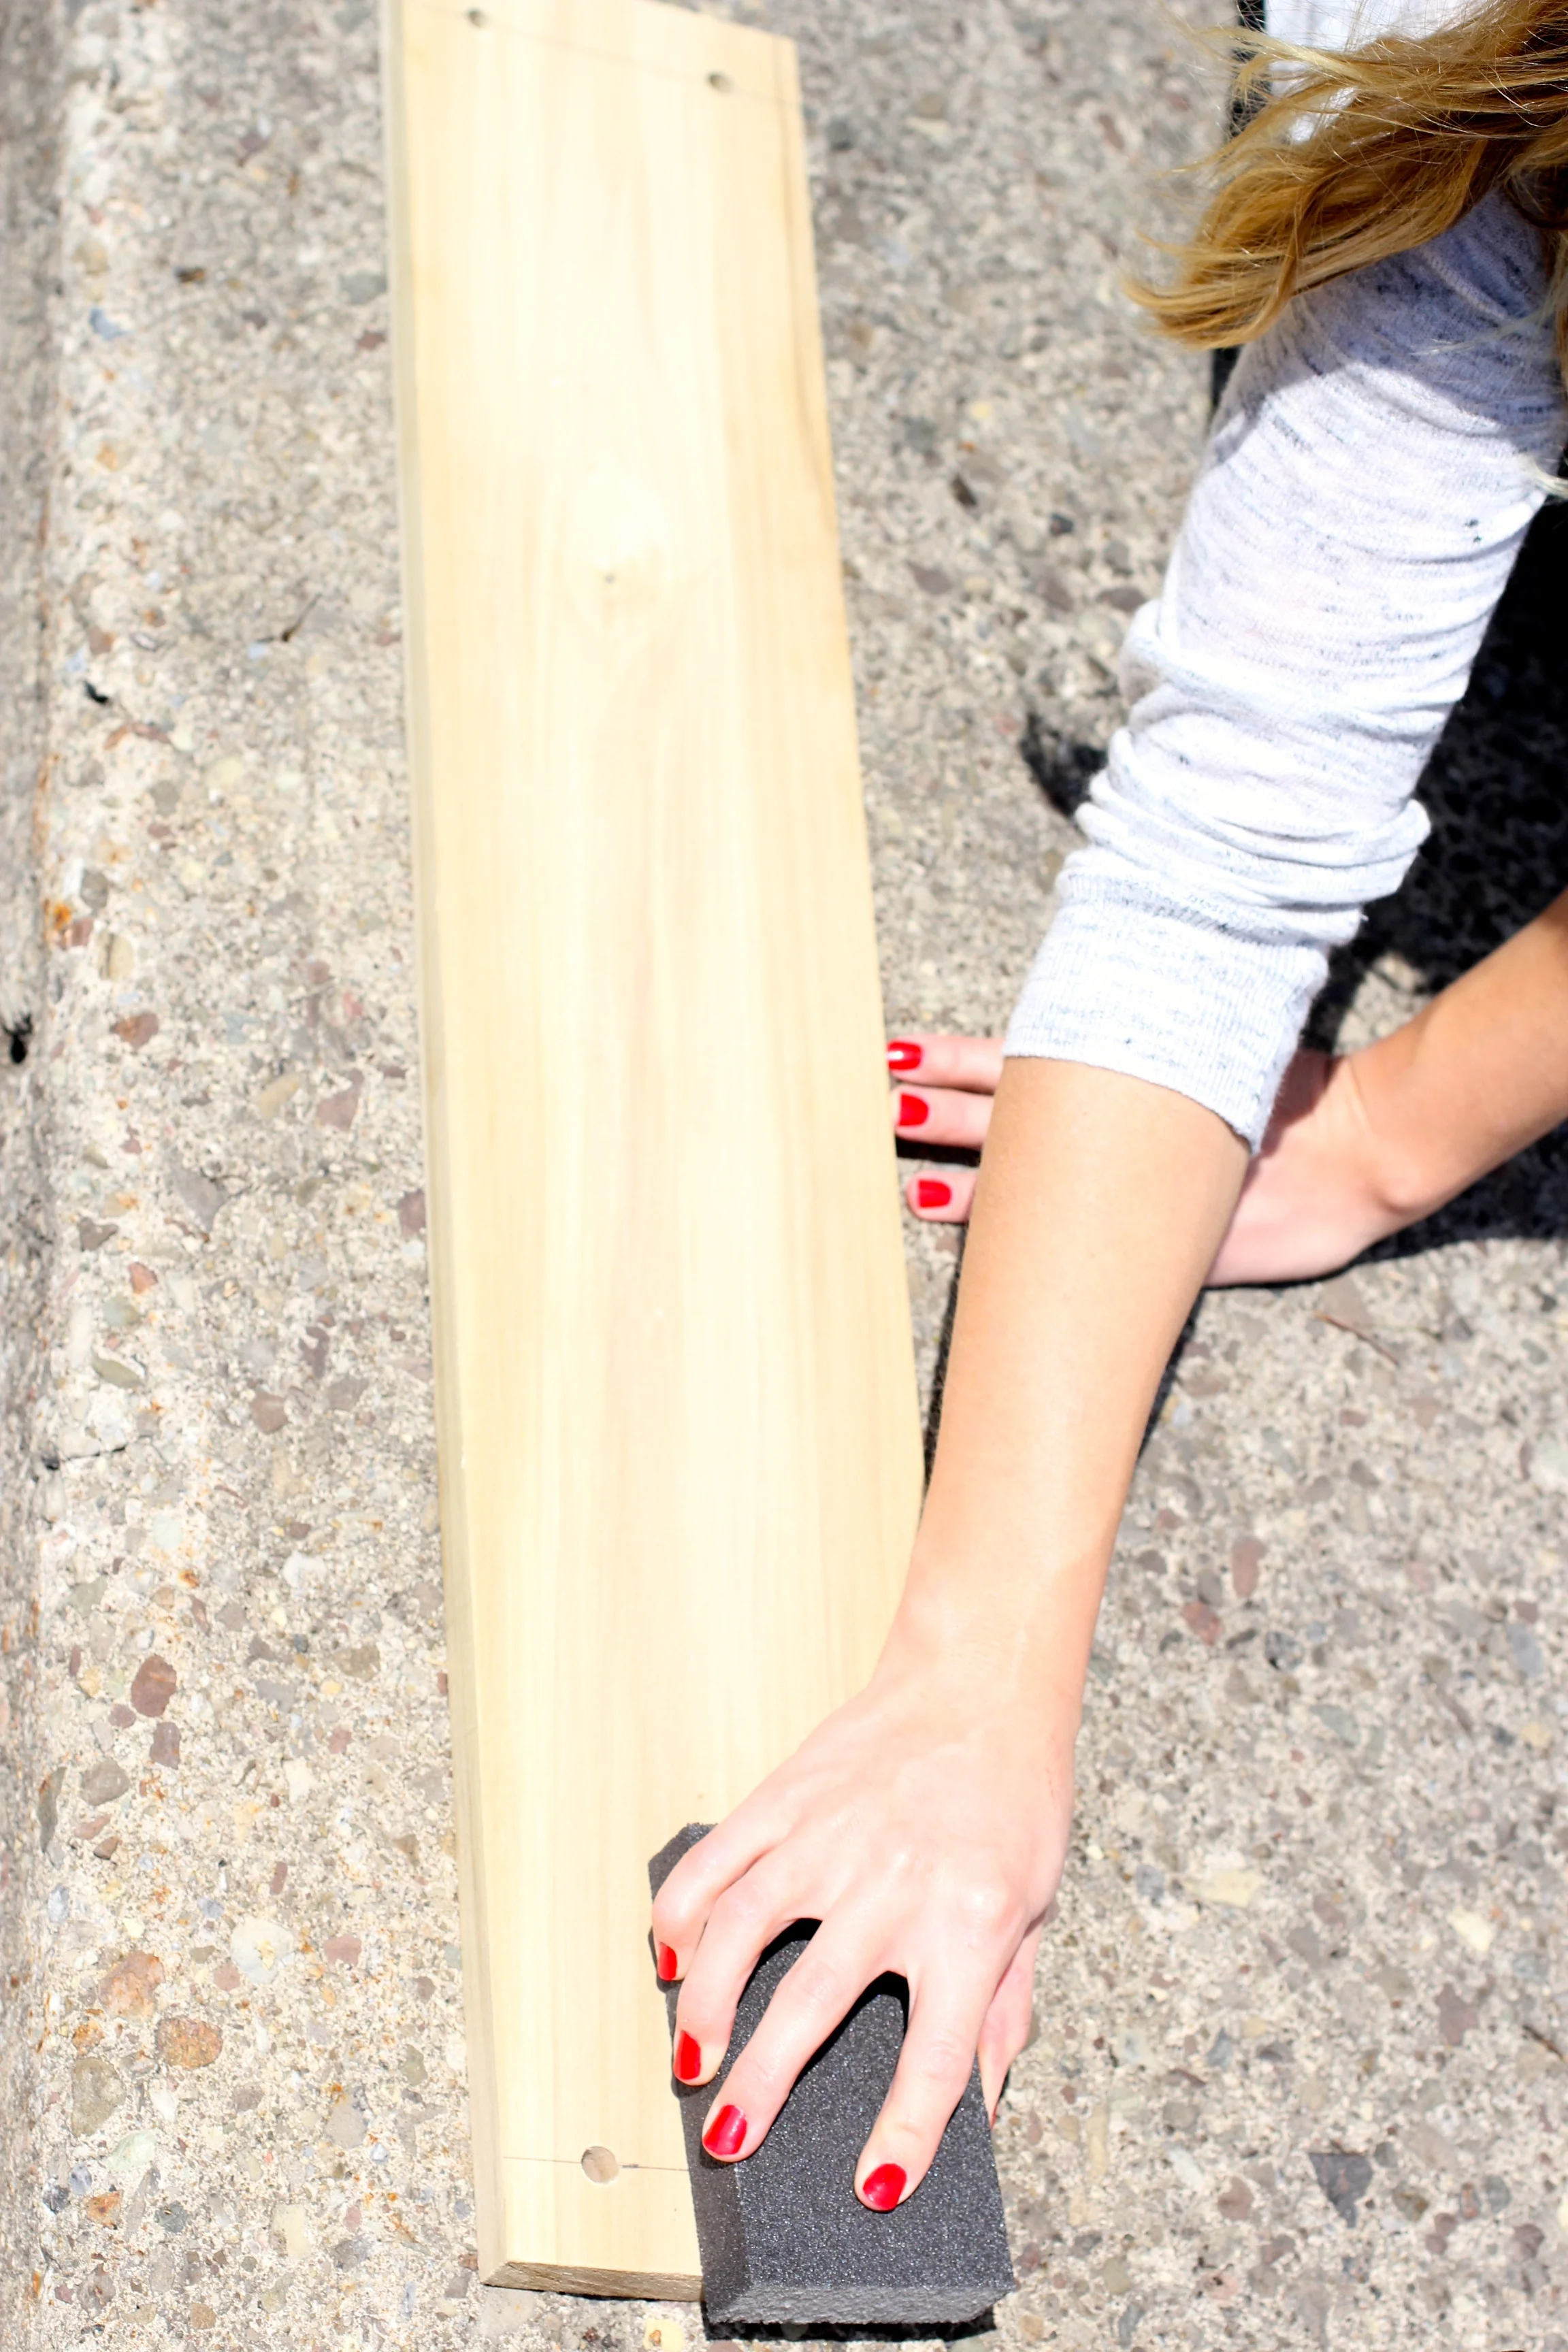
Sanding sponge
Cardboard box or other surface for painting on
Disposable gloves
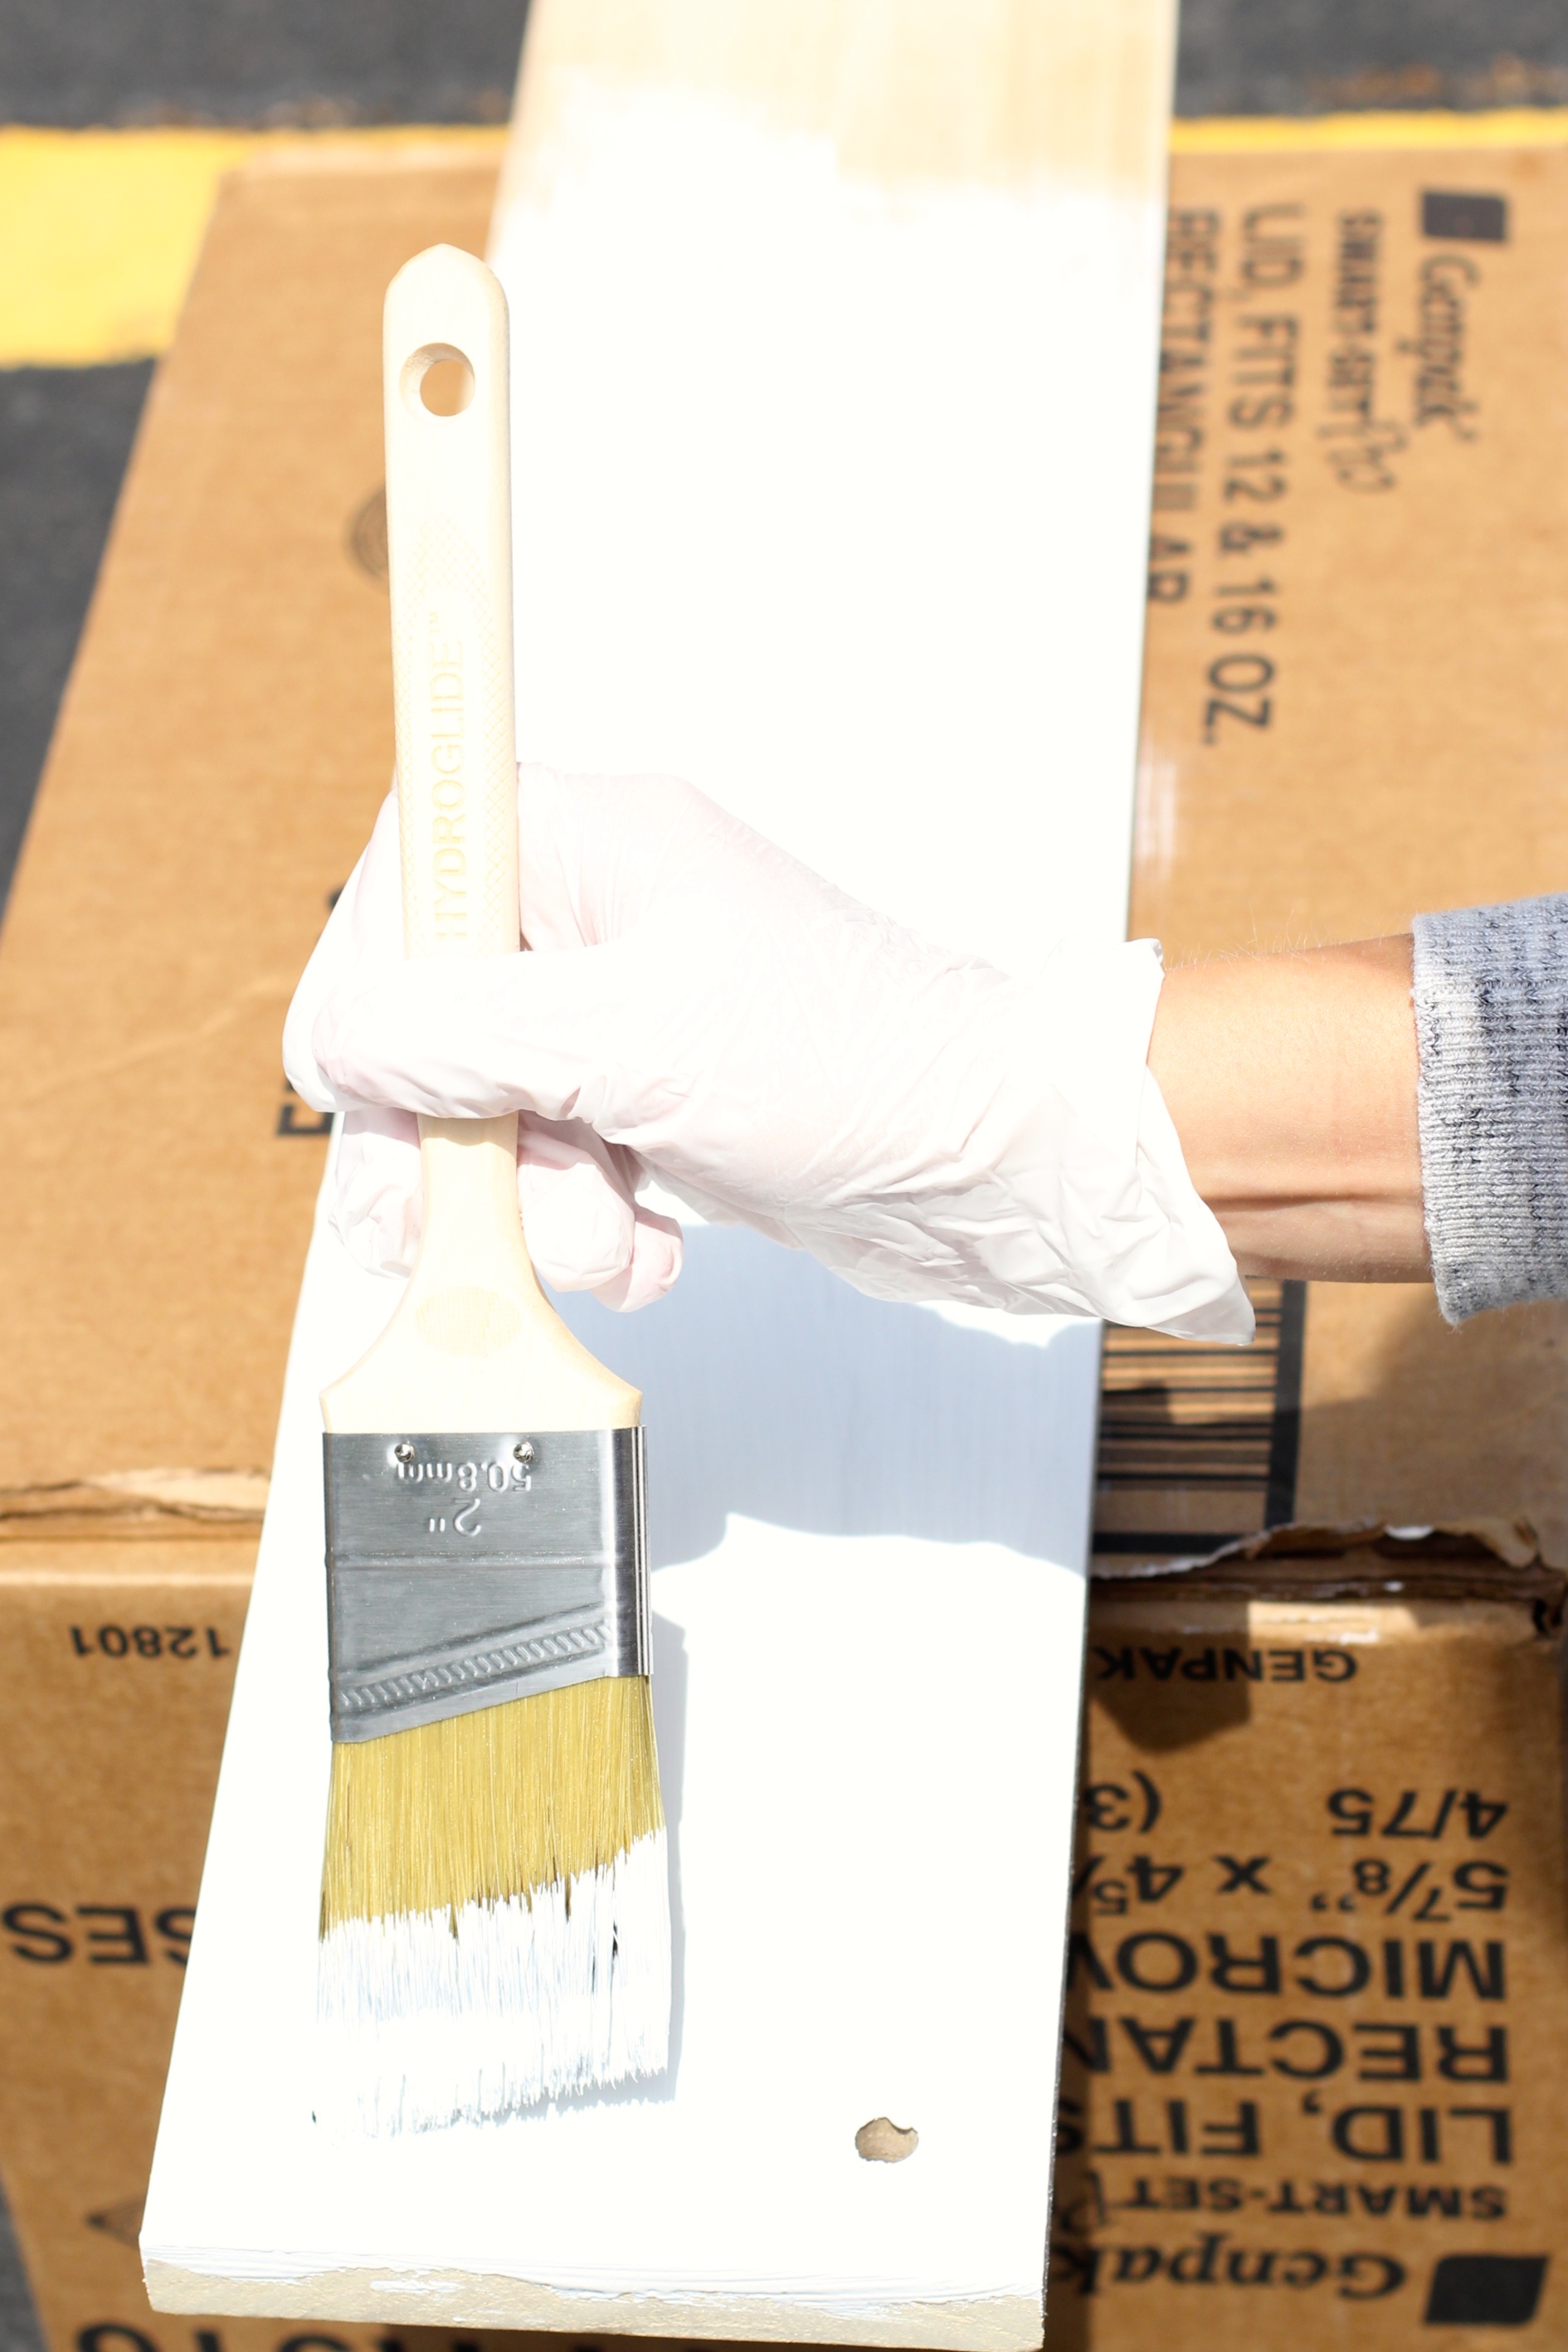
Paint brush (really any brush would be fine; this is a spot to save money)
White paint (the board could be used as is without paint if you'd like!)
½ inch copper pipe (at least 1 foot long)
Copper tube cutter
18 gauge copper wire
Scissors
Pliers (optional; you could probably just use your fingers)
2 brass screw hooks (I bought 2 singles of this in the Home Depot store)
4 safety pins (although you may only end up using 2)
Here's how you do it
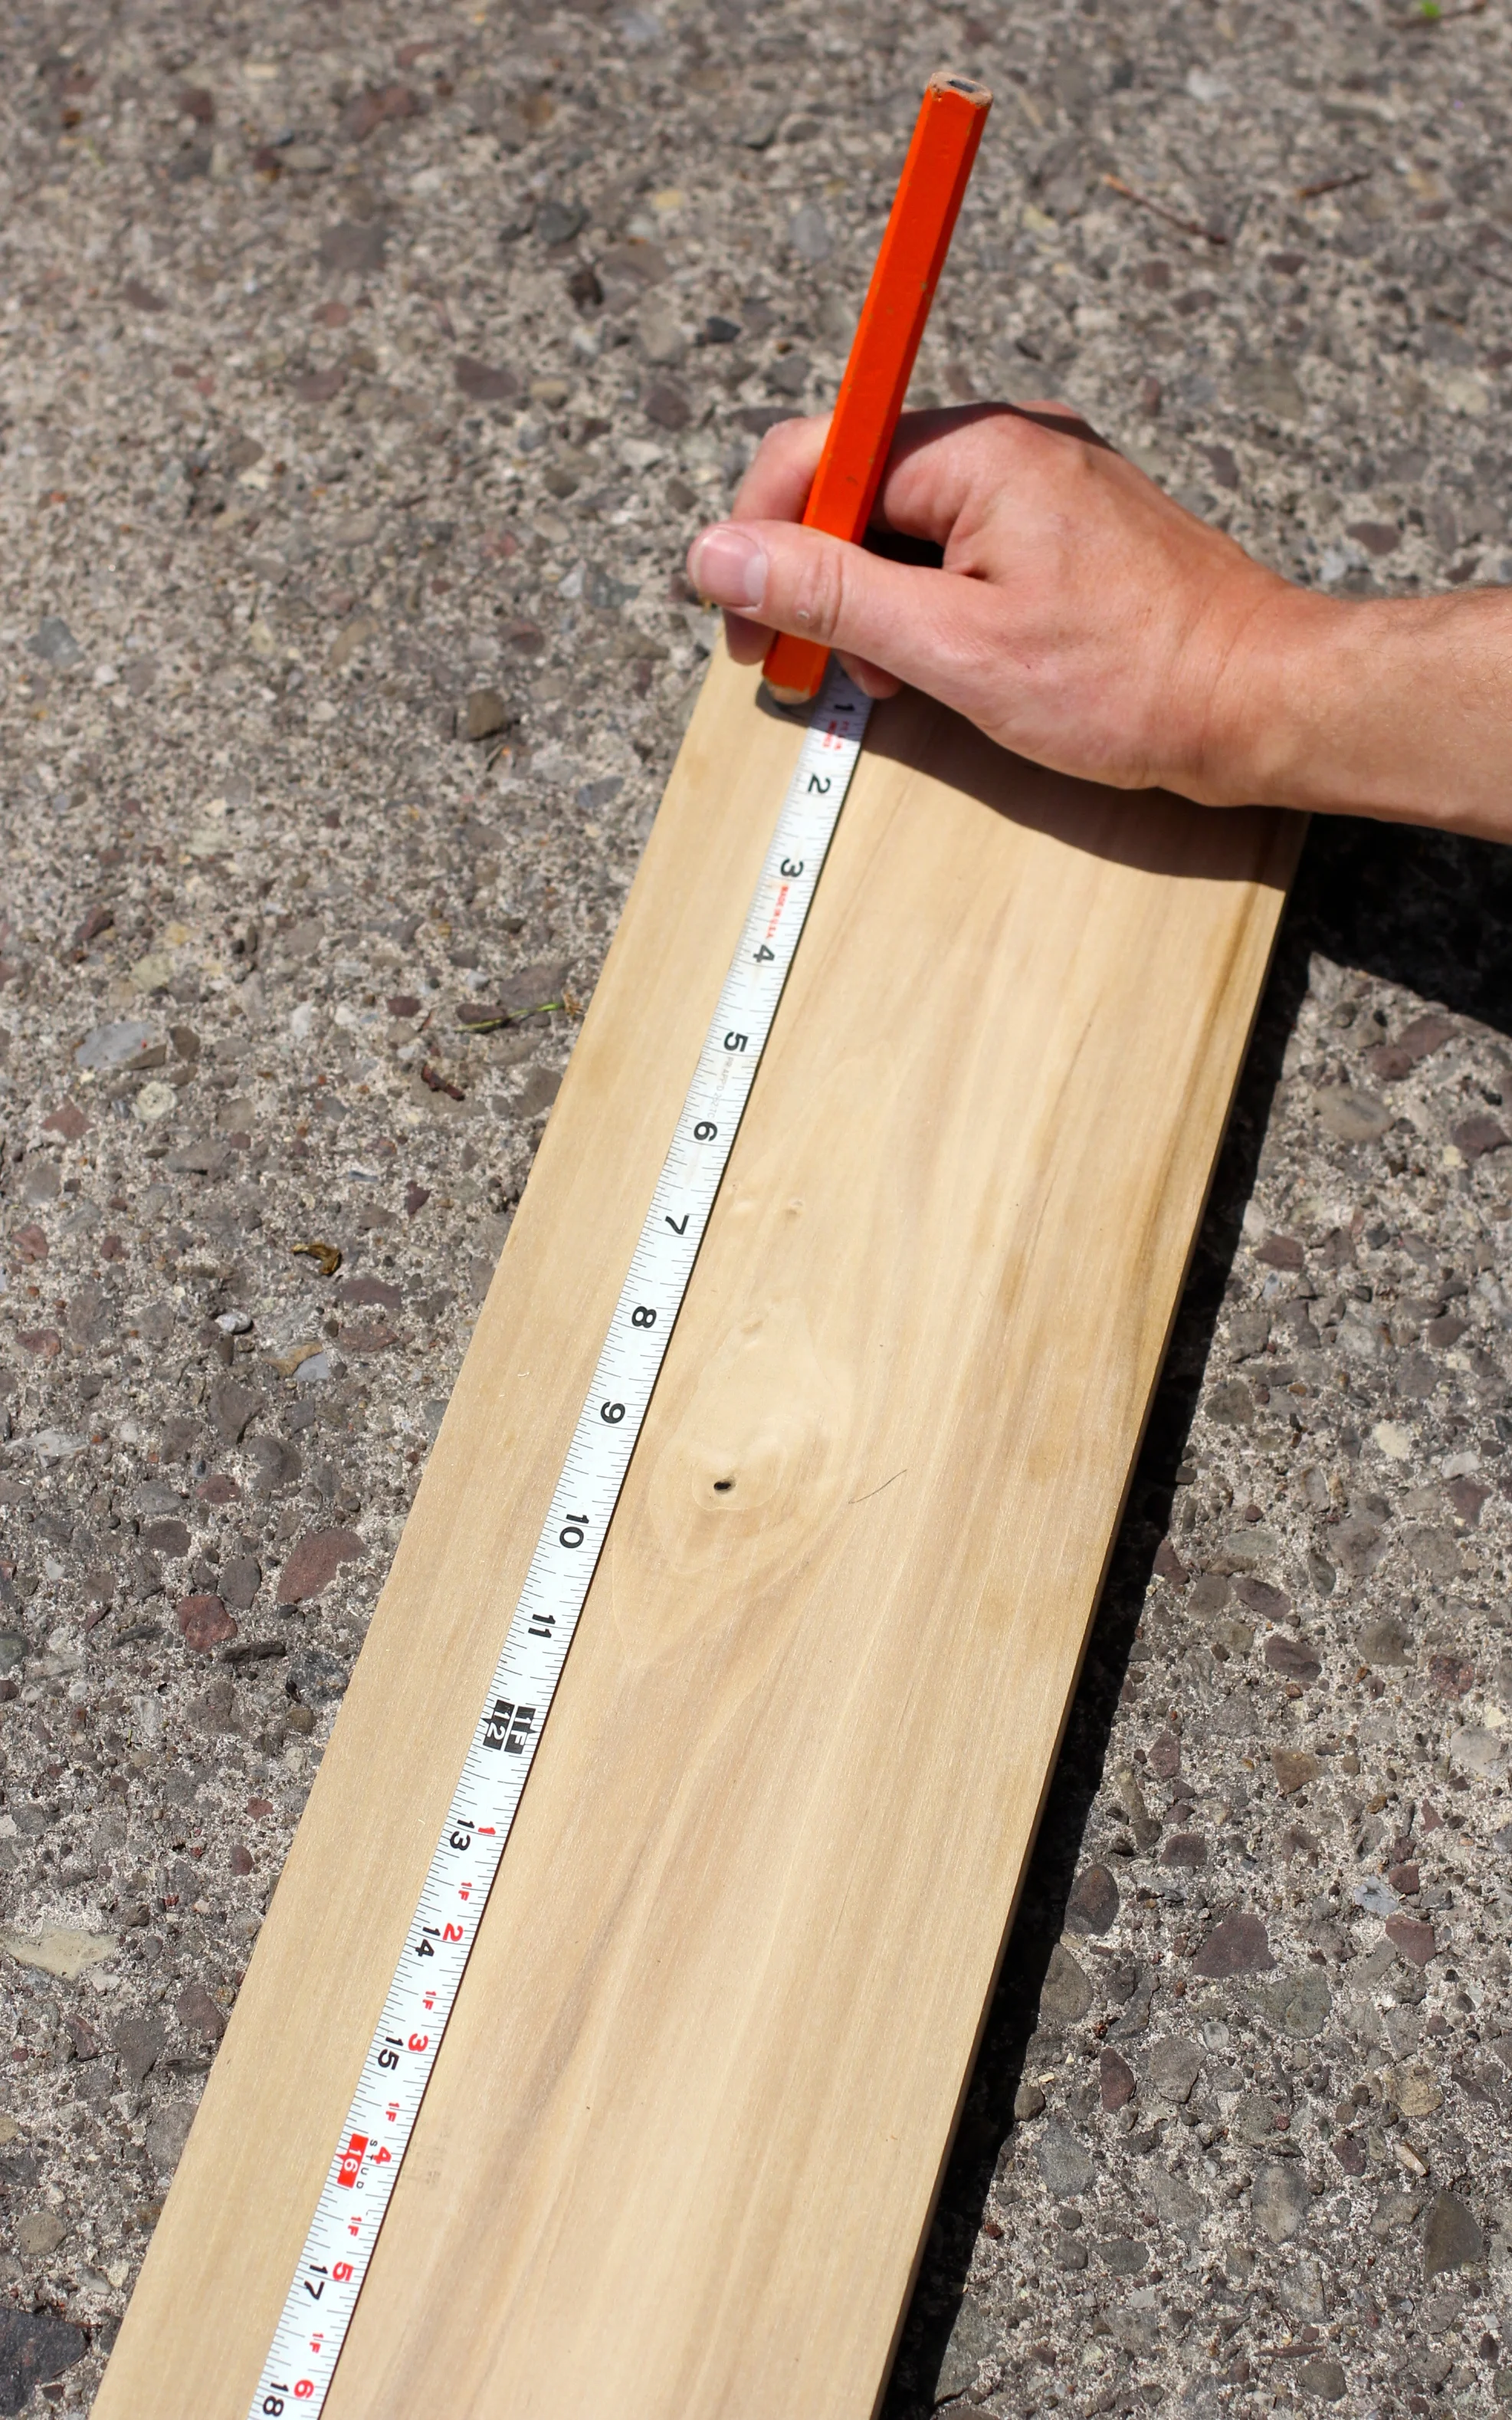
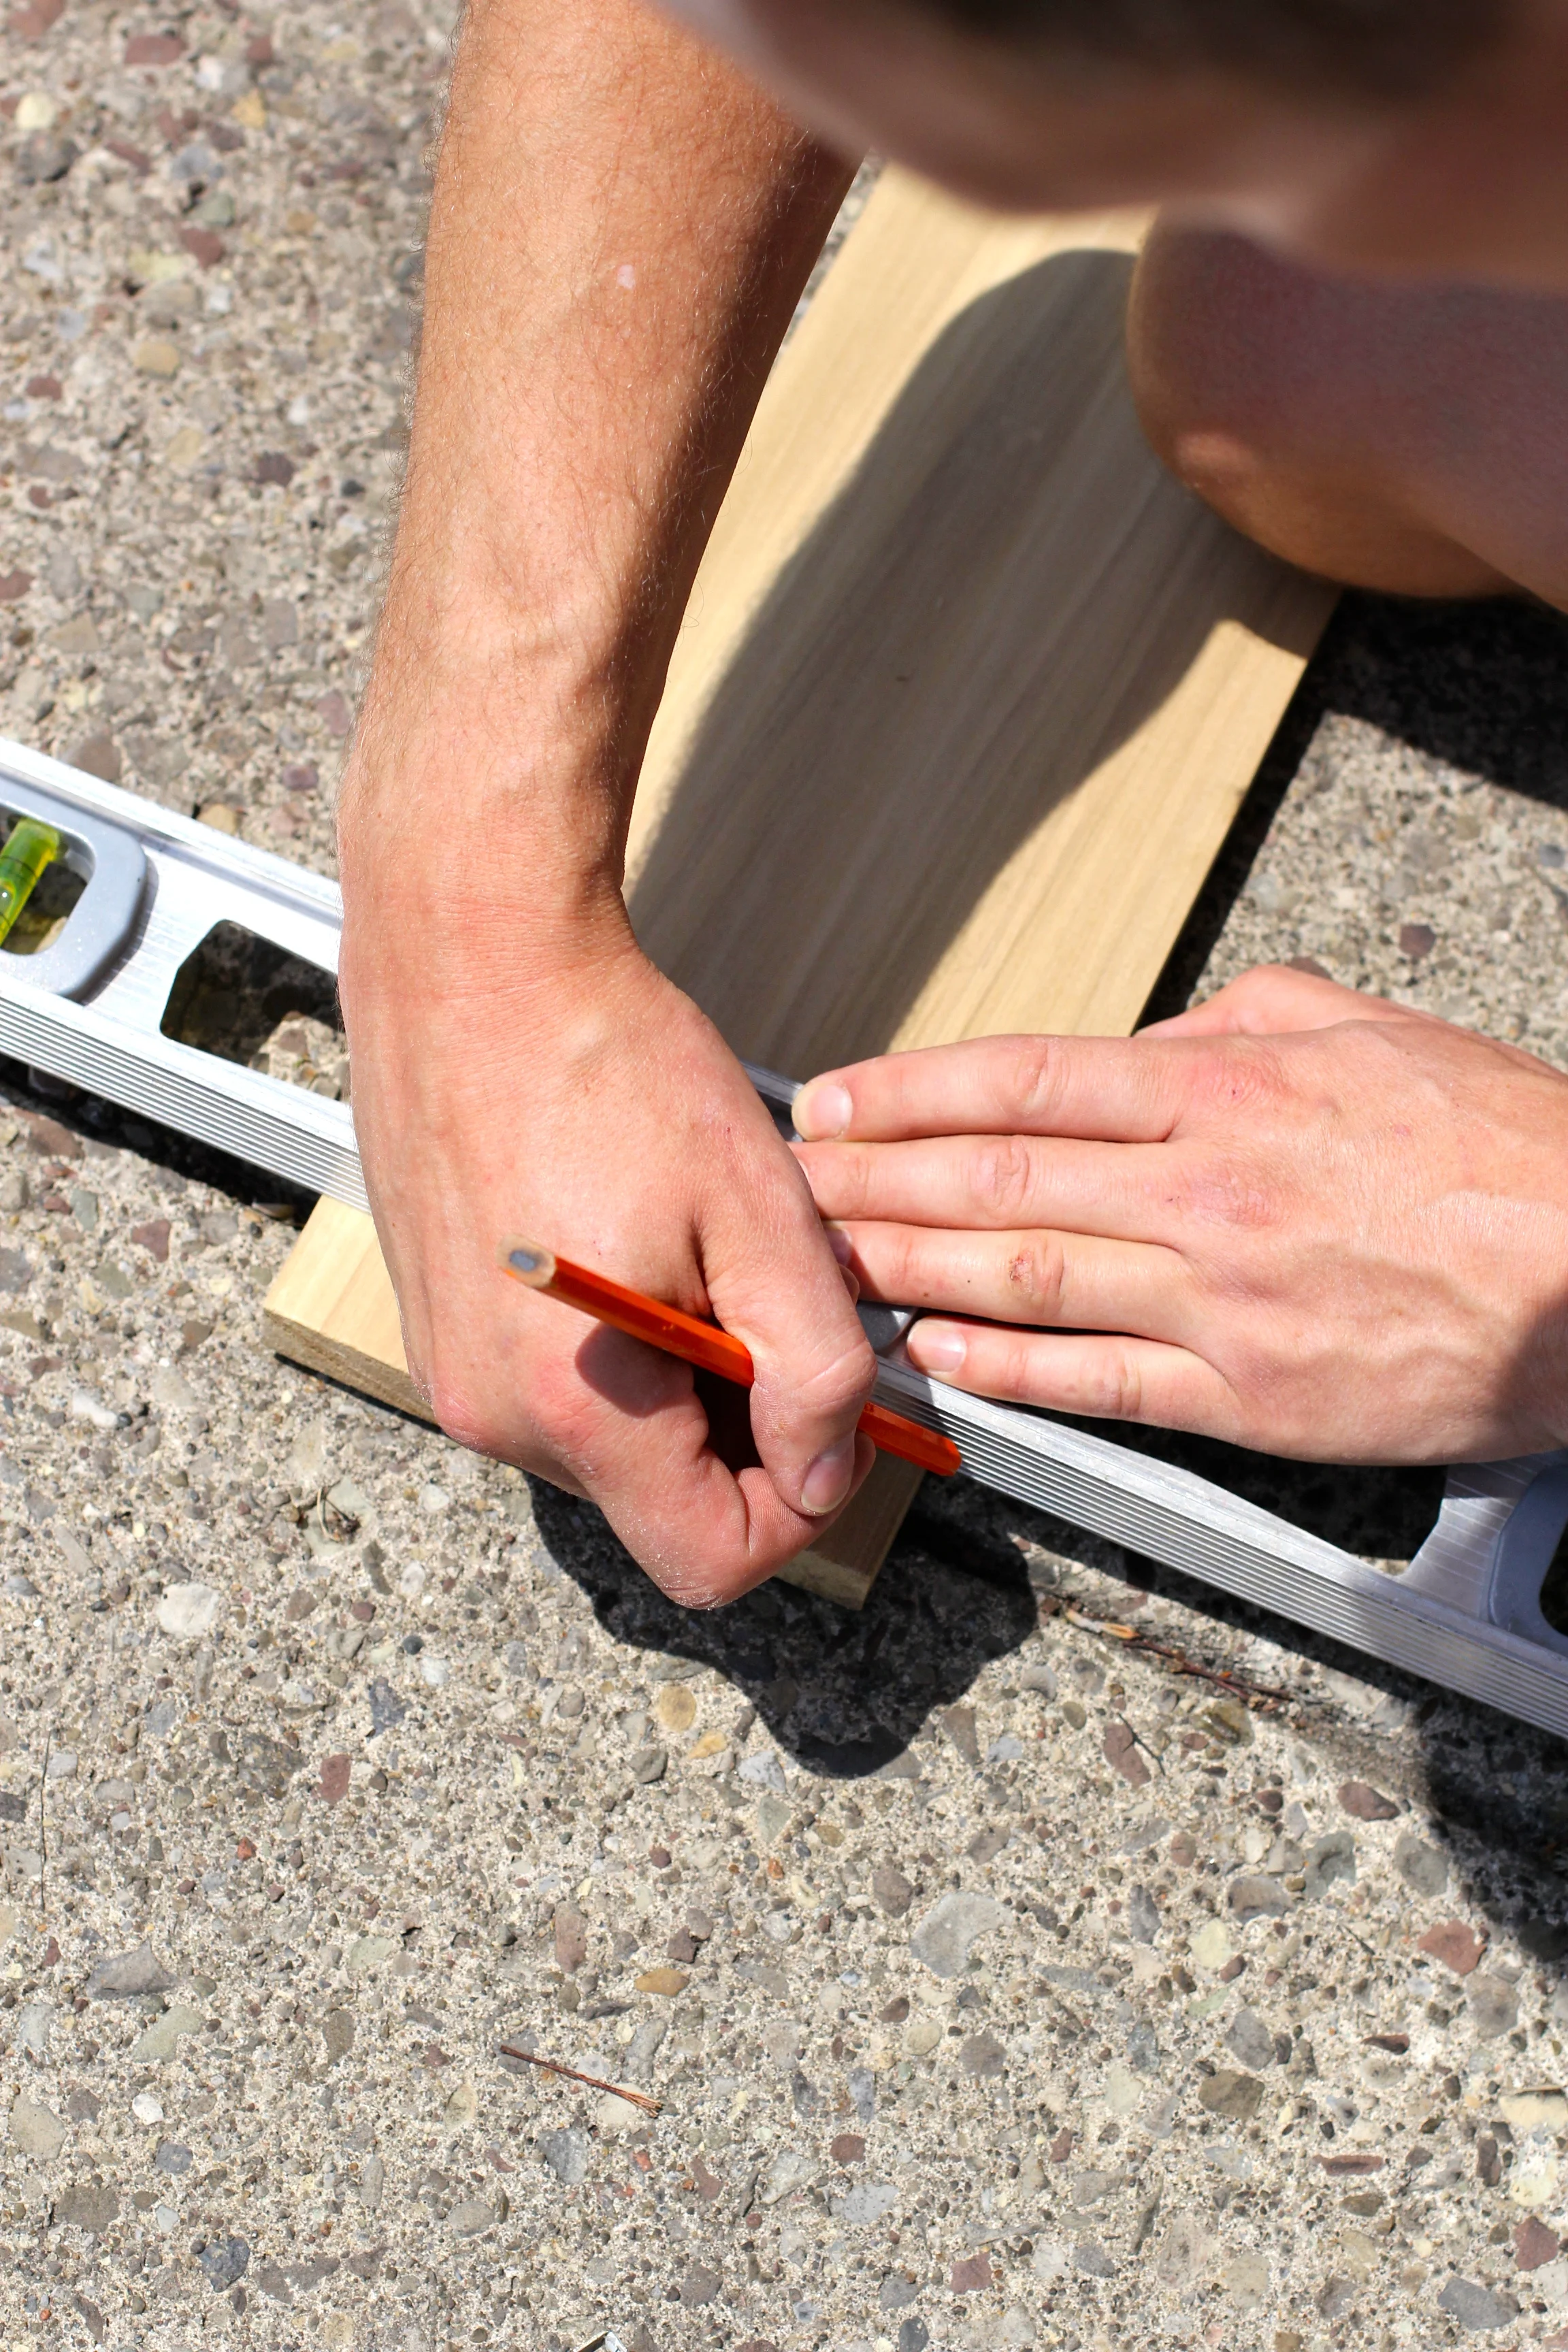
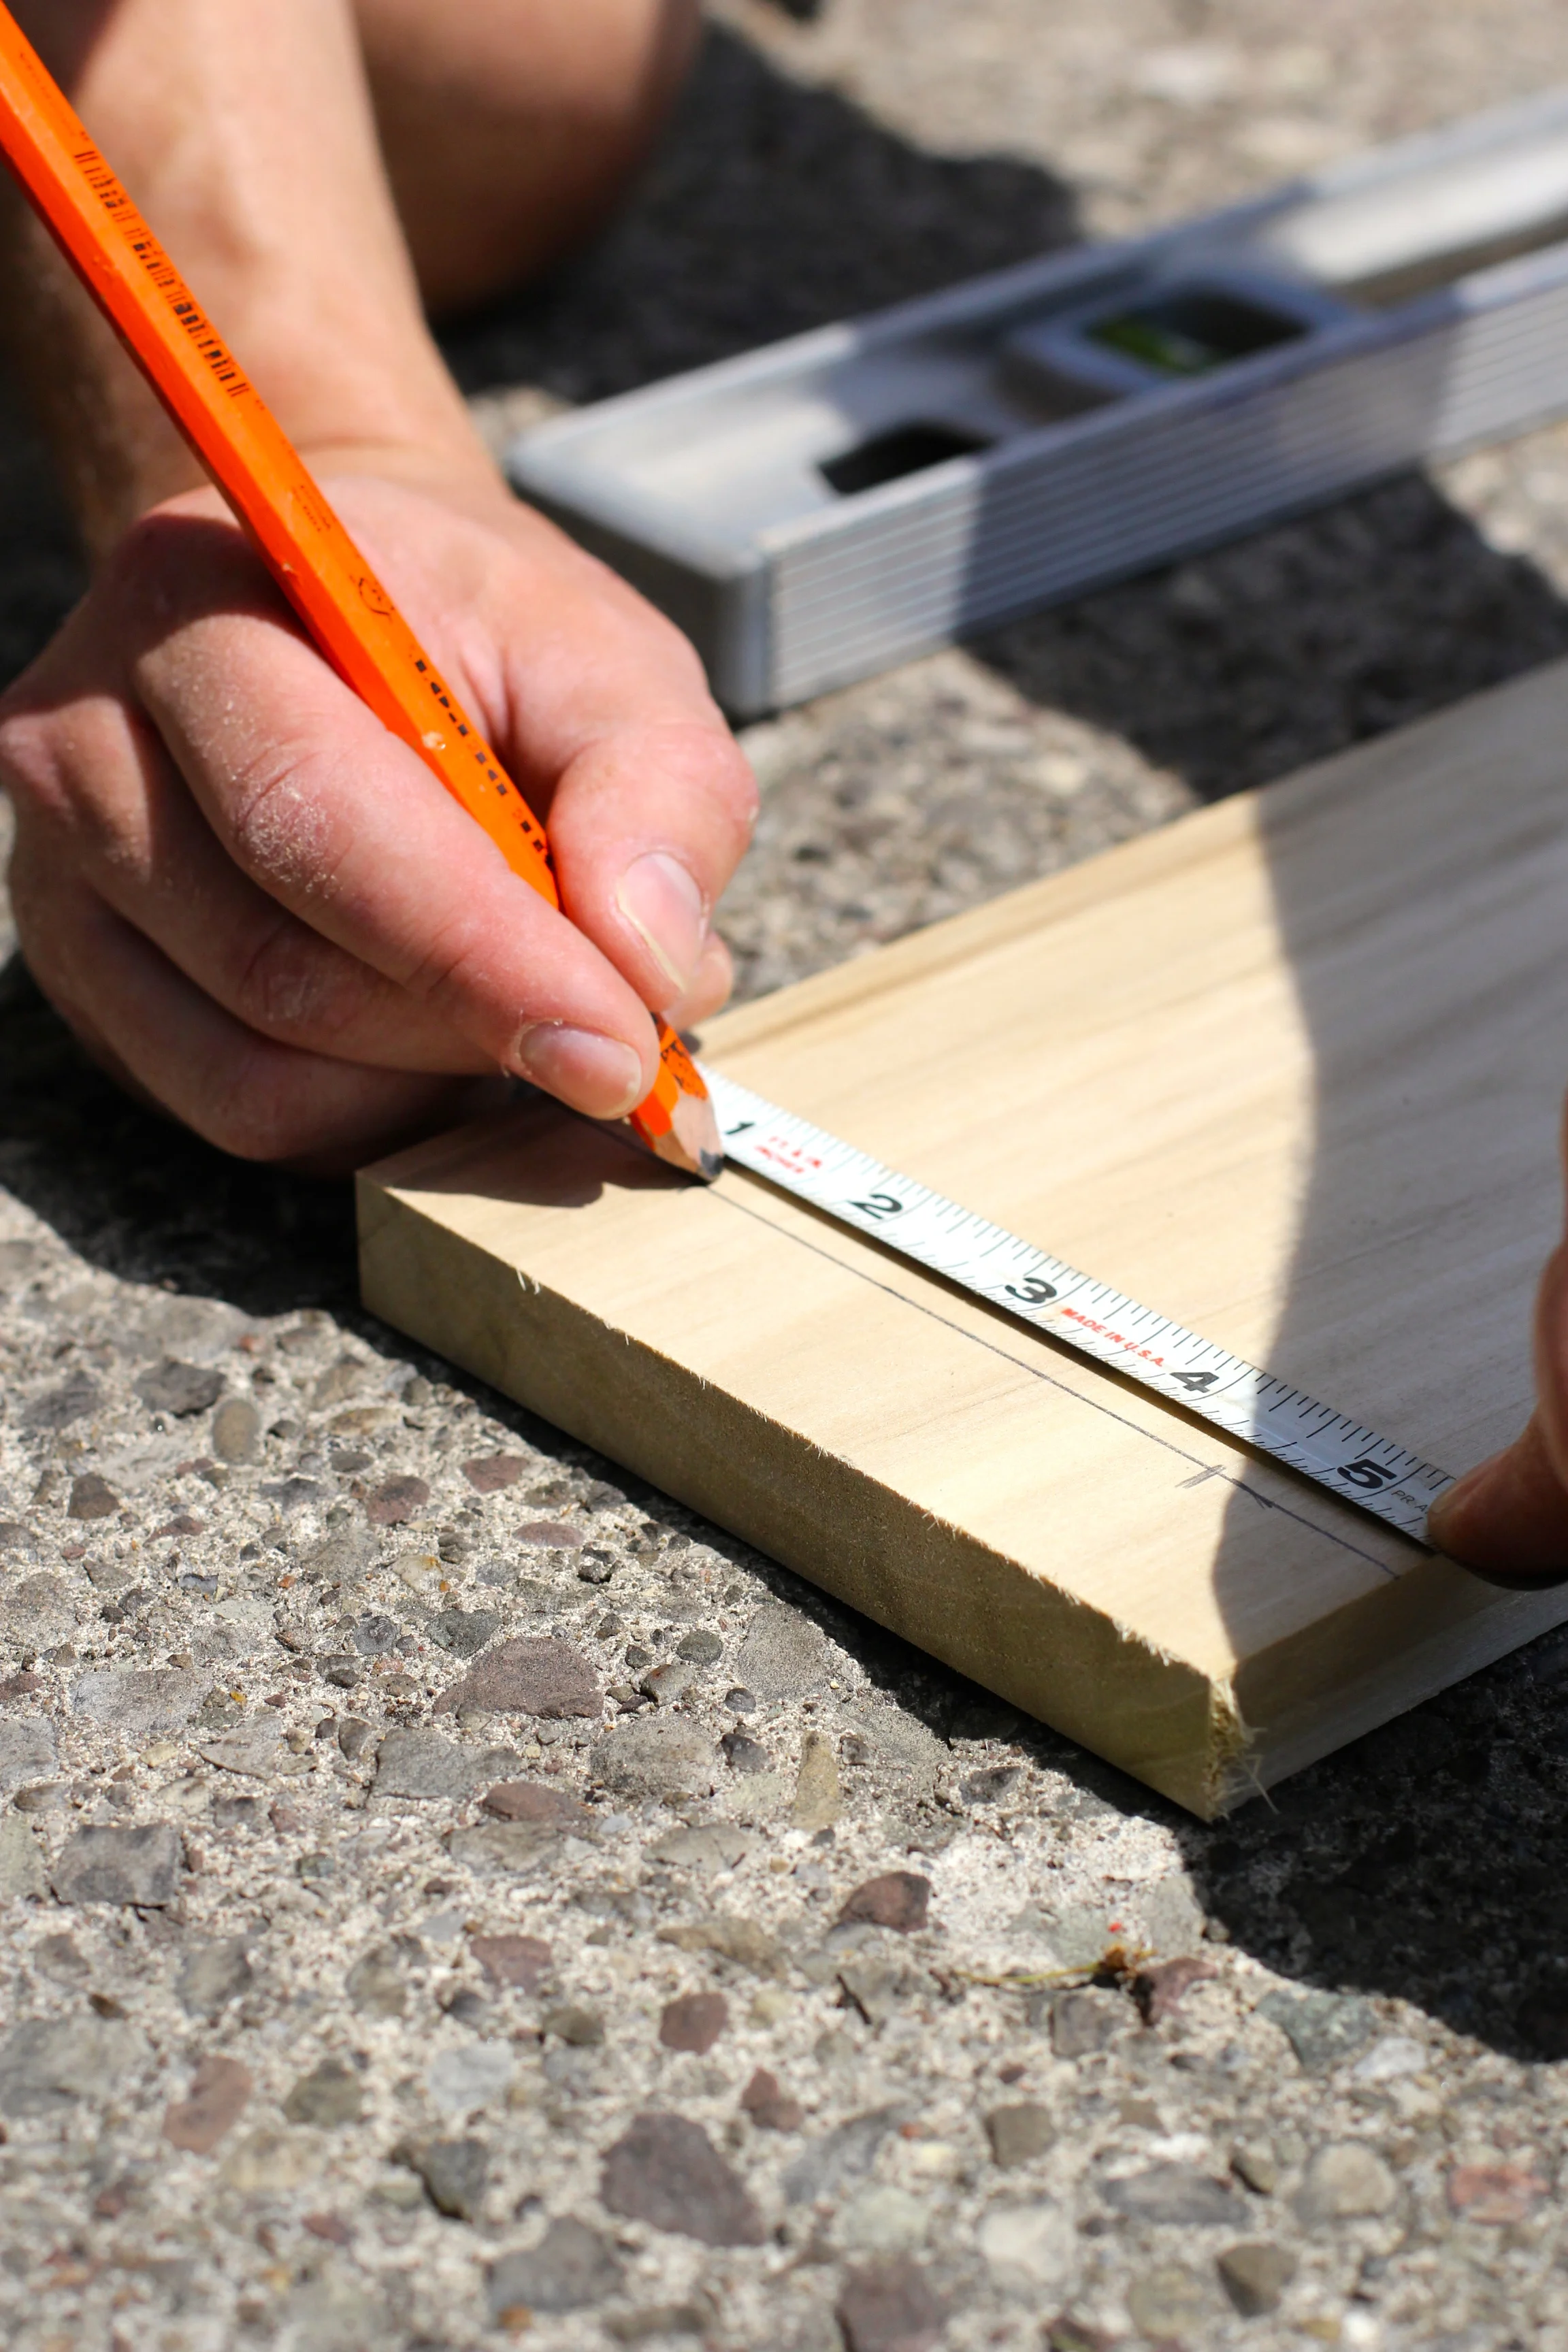
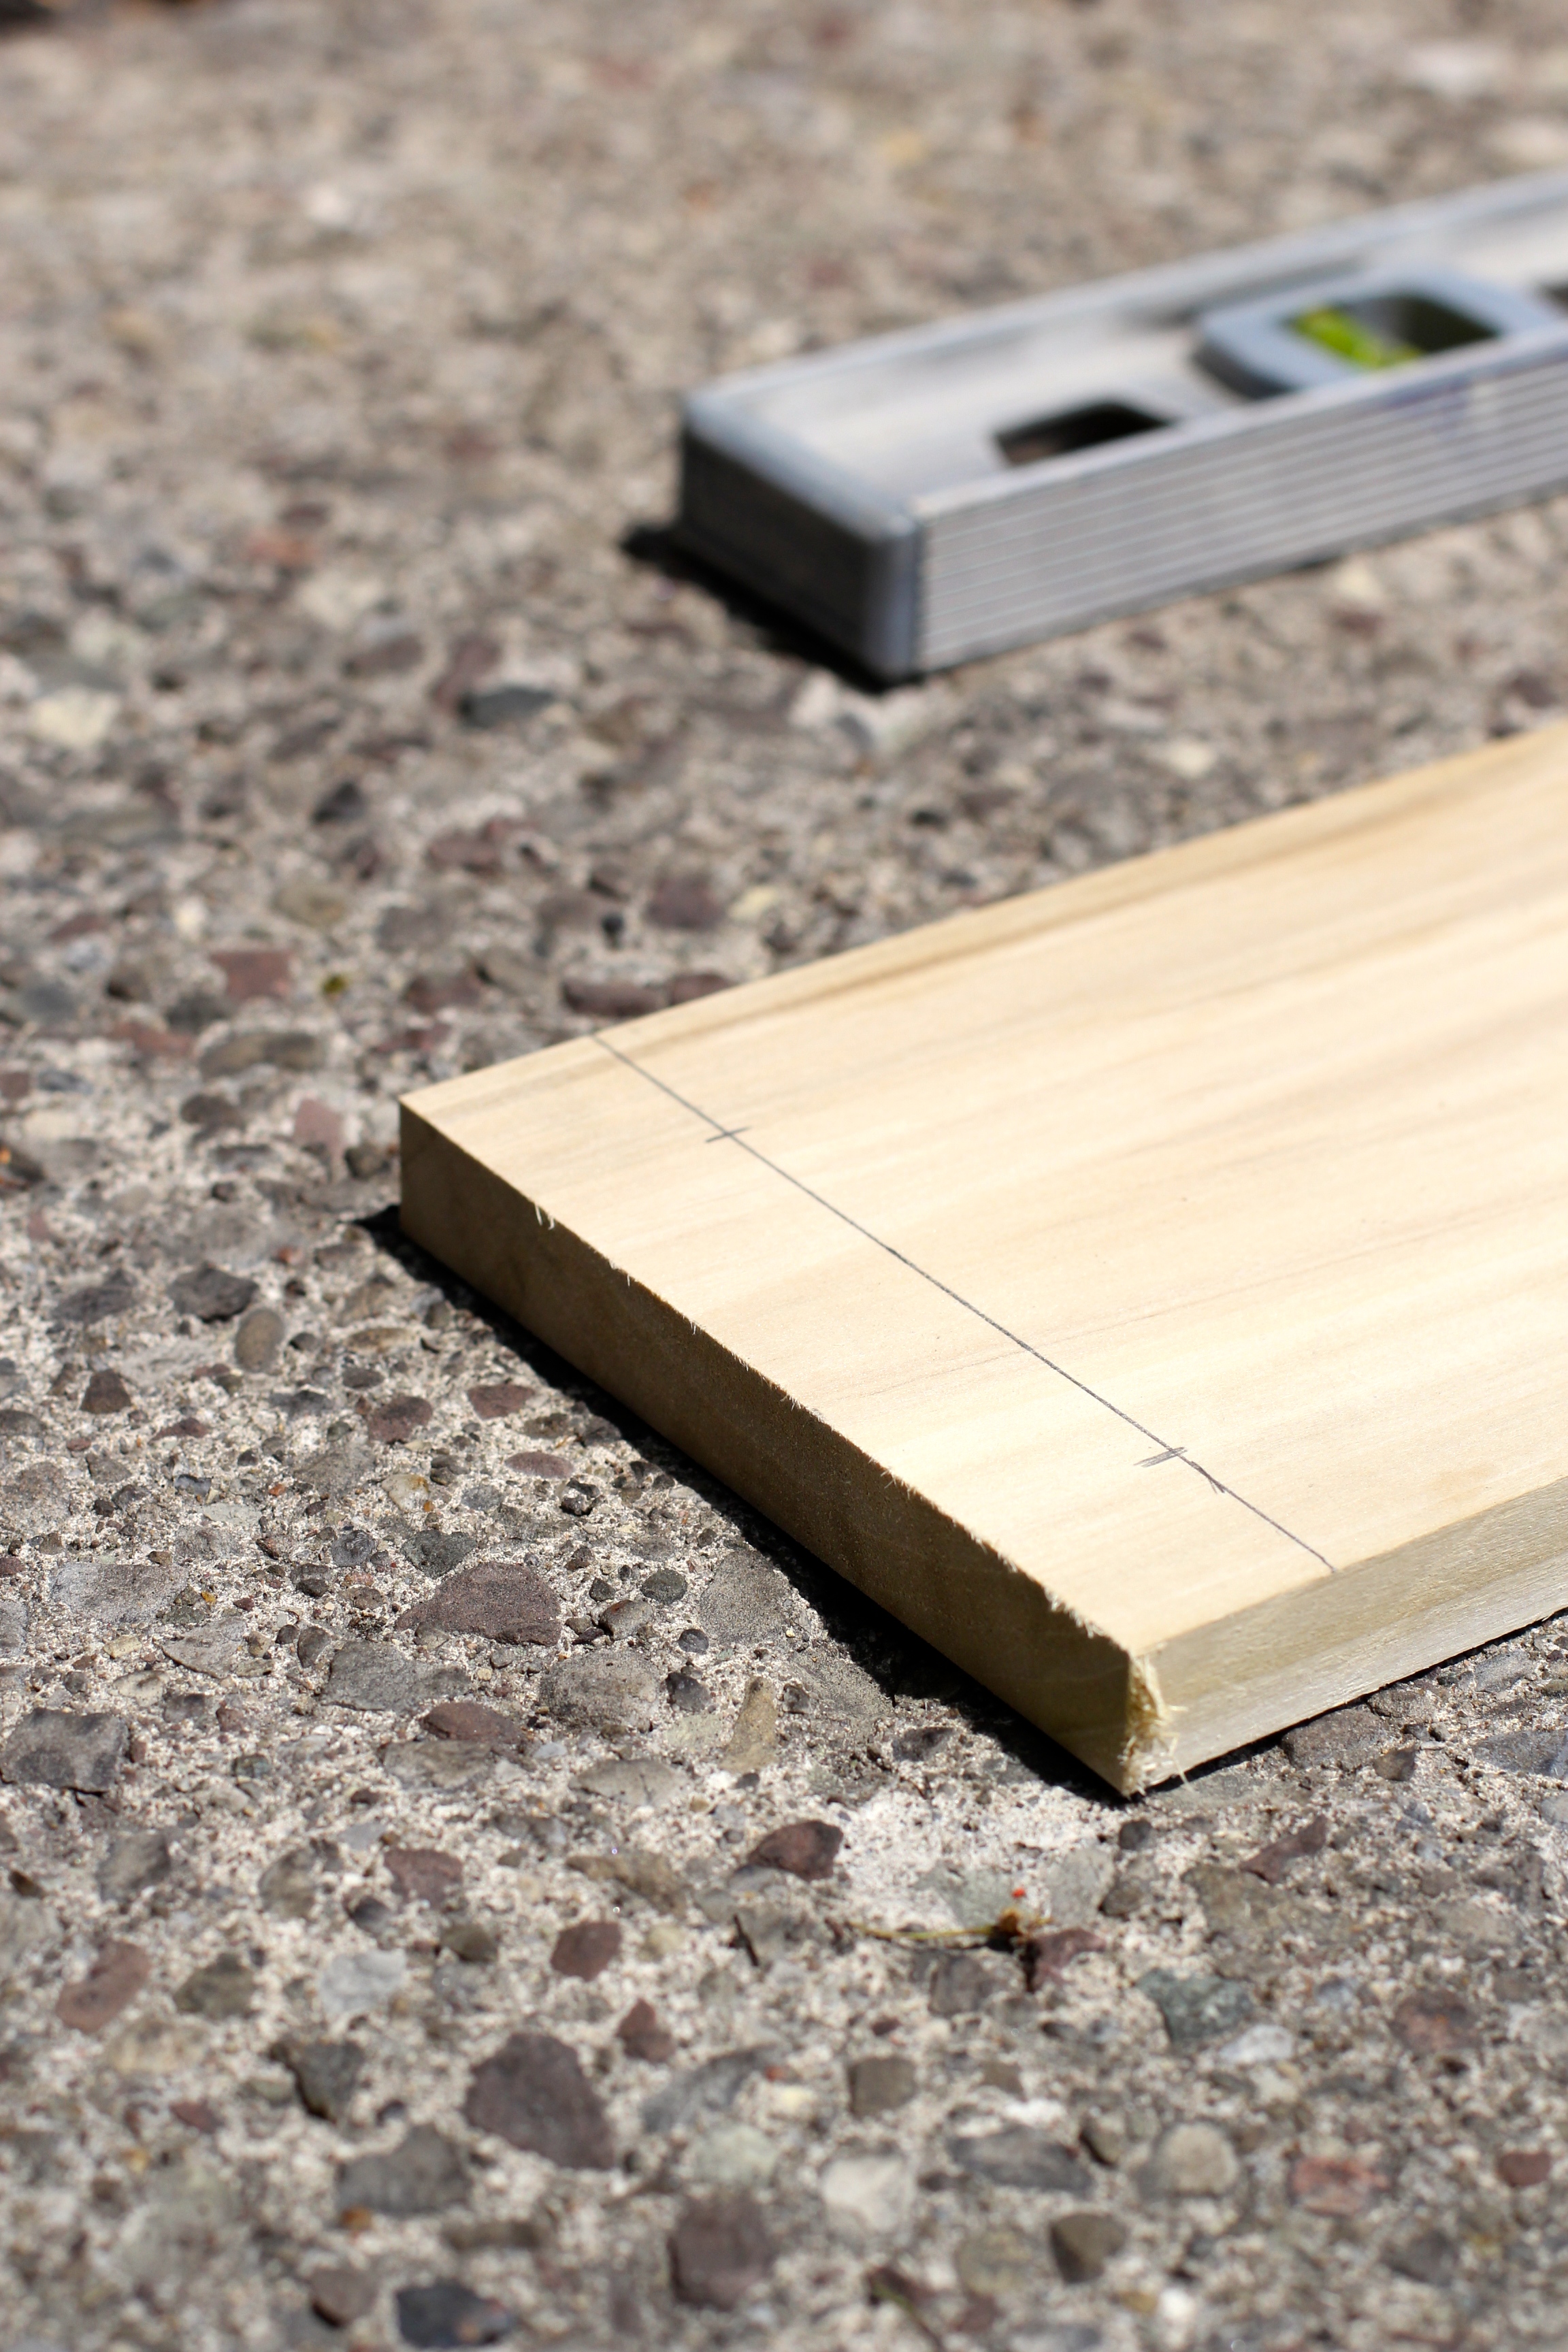
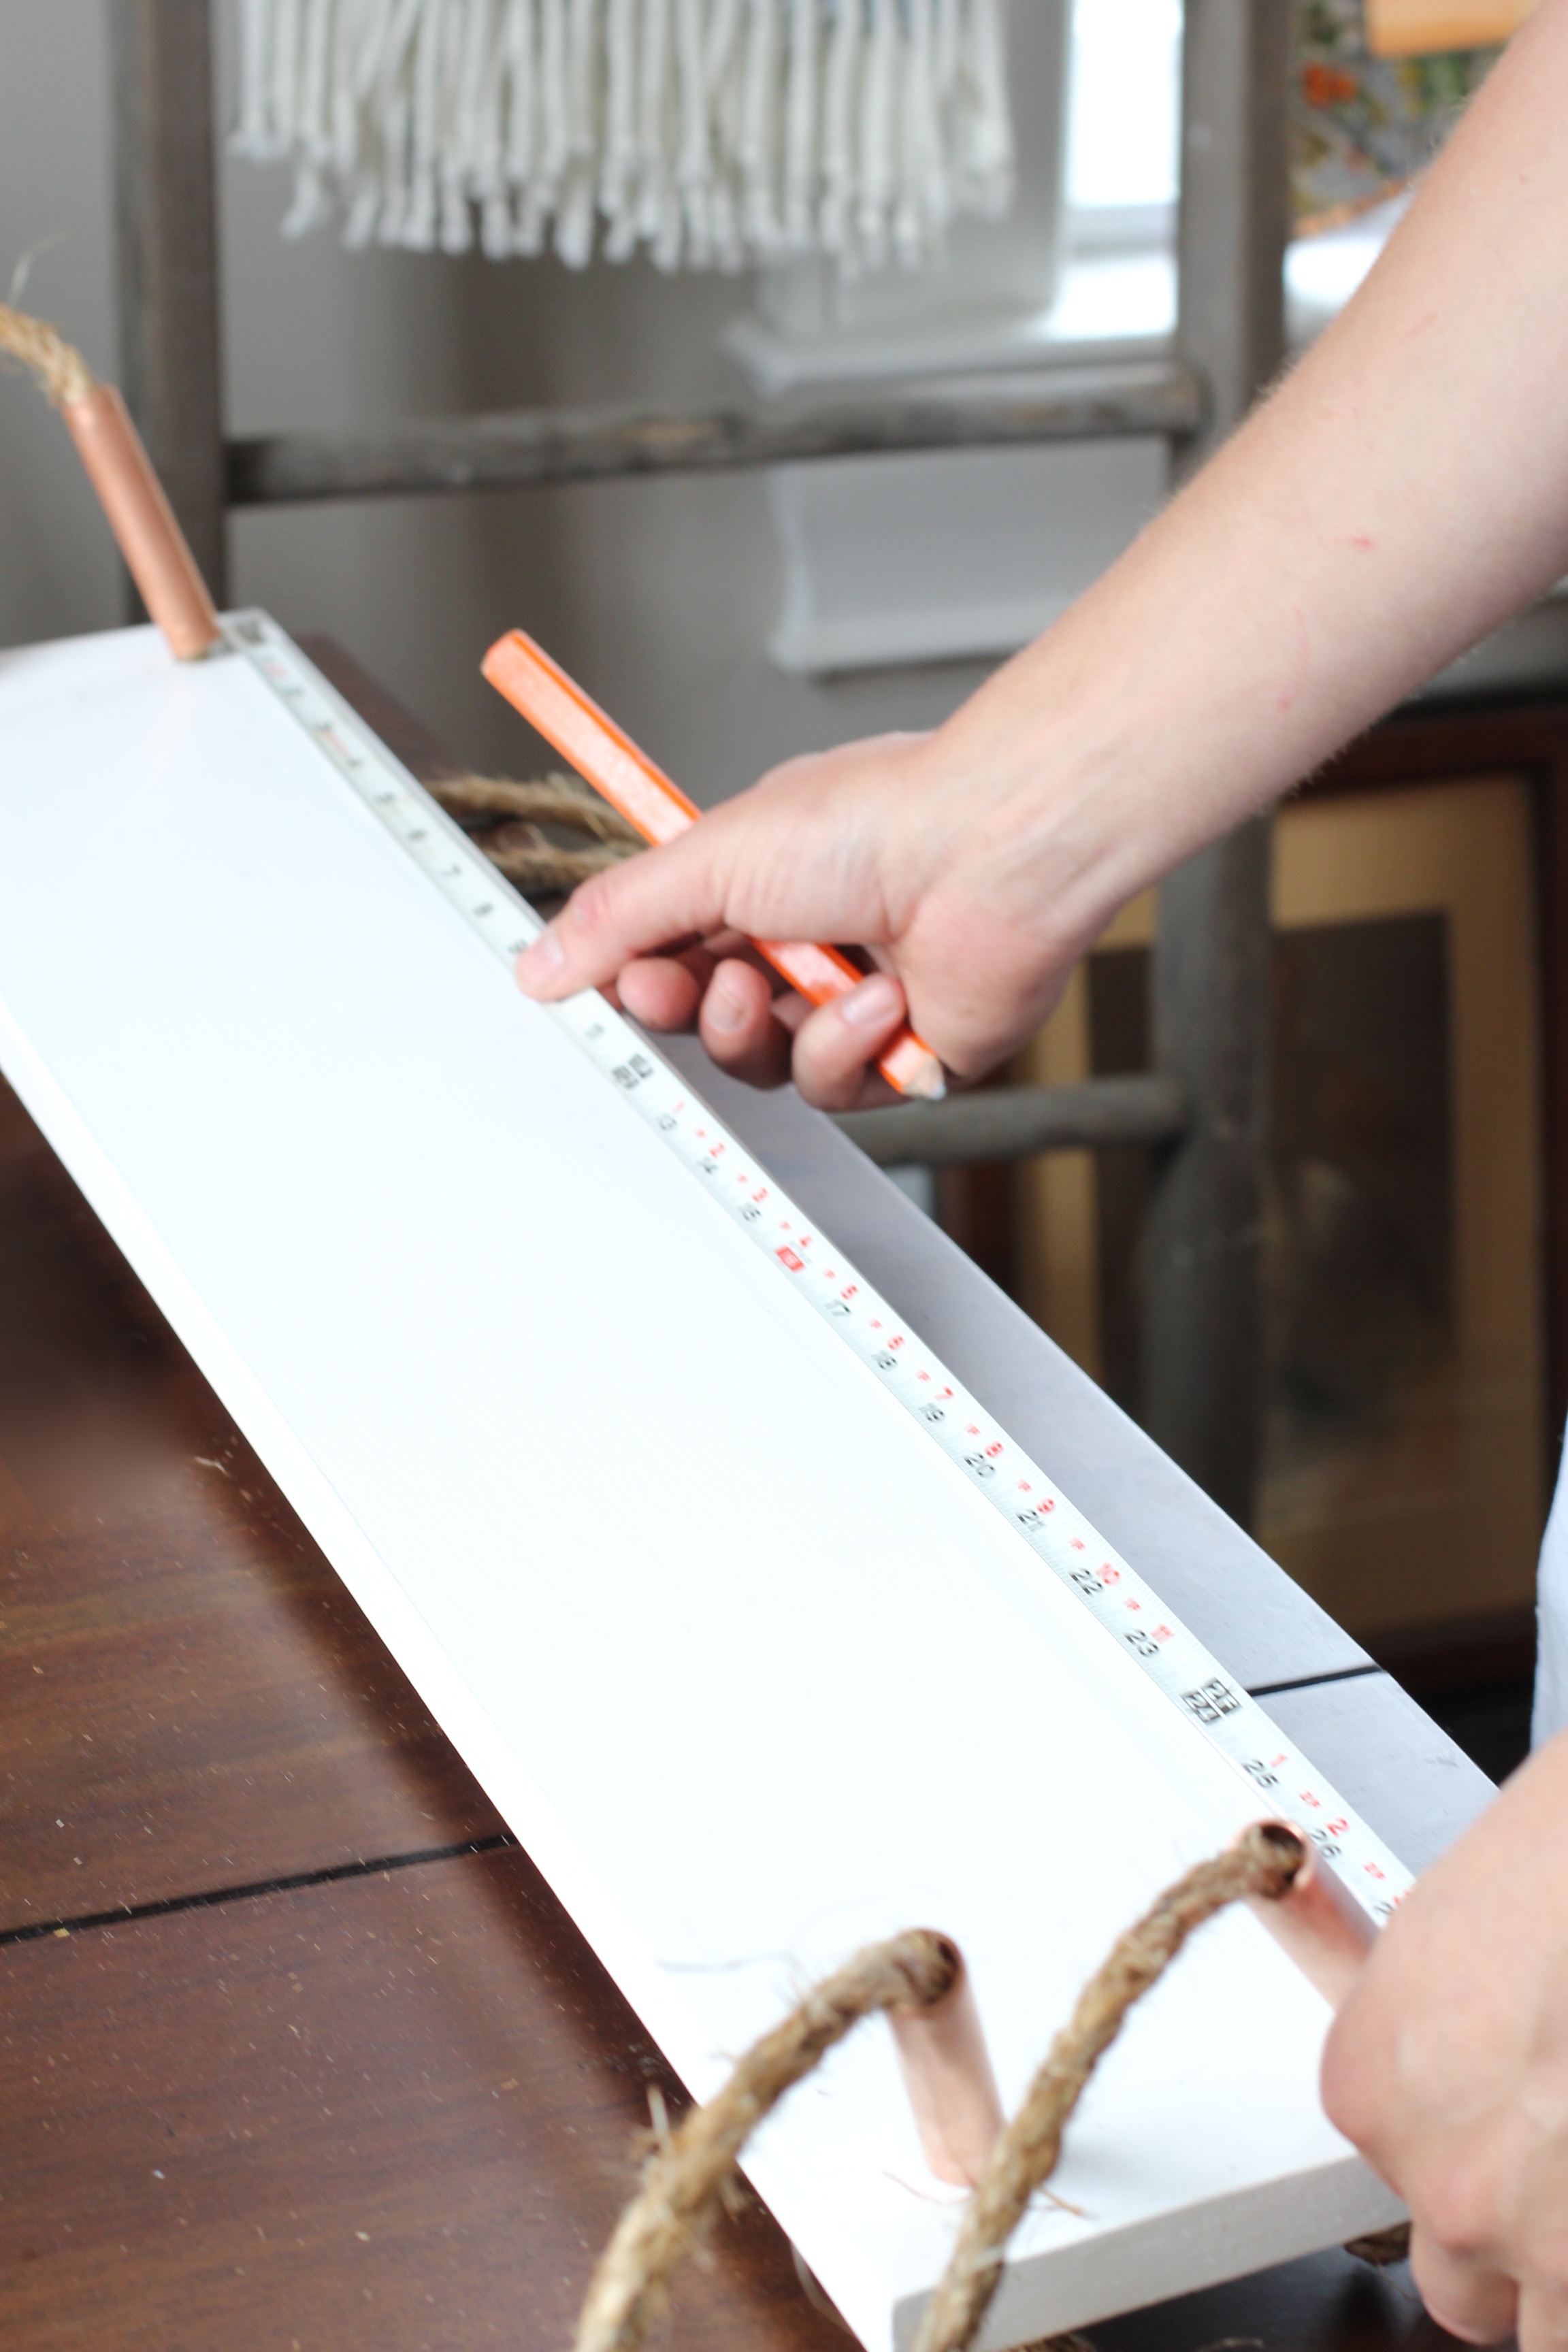
As shown in the pictures above, using a pencil, on the top side of the wood, measure in 1¼ inches from the end, and draw a straight line. Then, measure in from the other edge, 1¼ inches again, and make a cross or dot where it intersects the line you just drew. Repeat with other end of the wood.
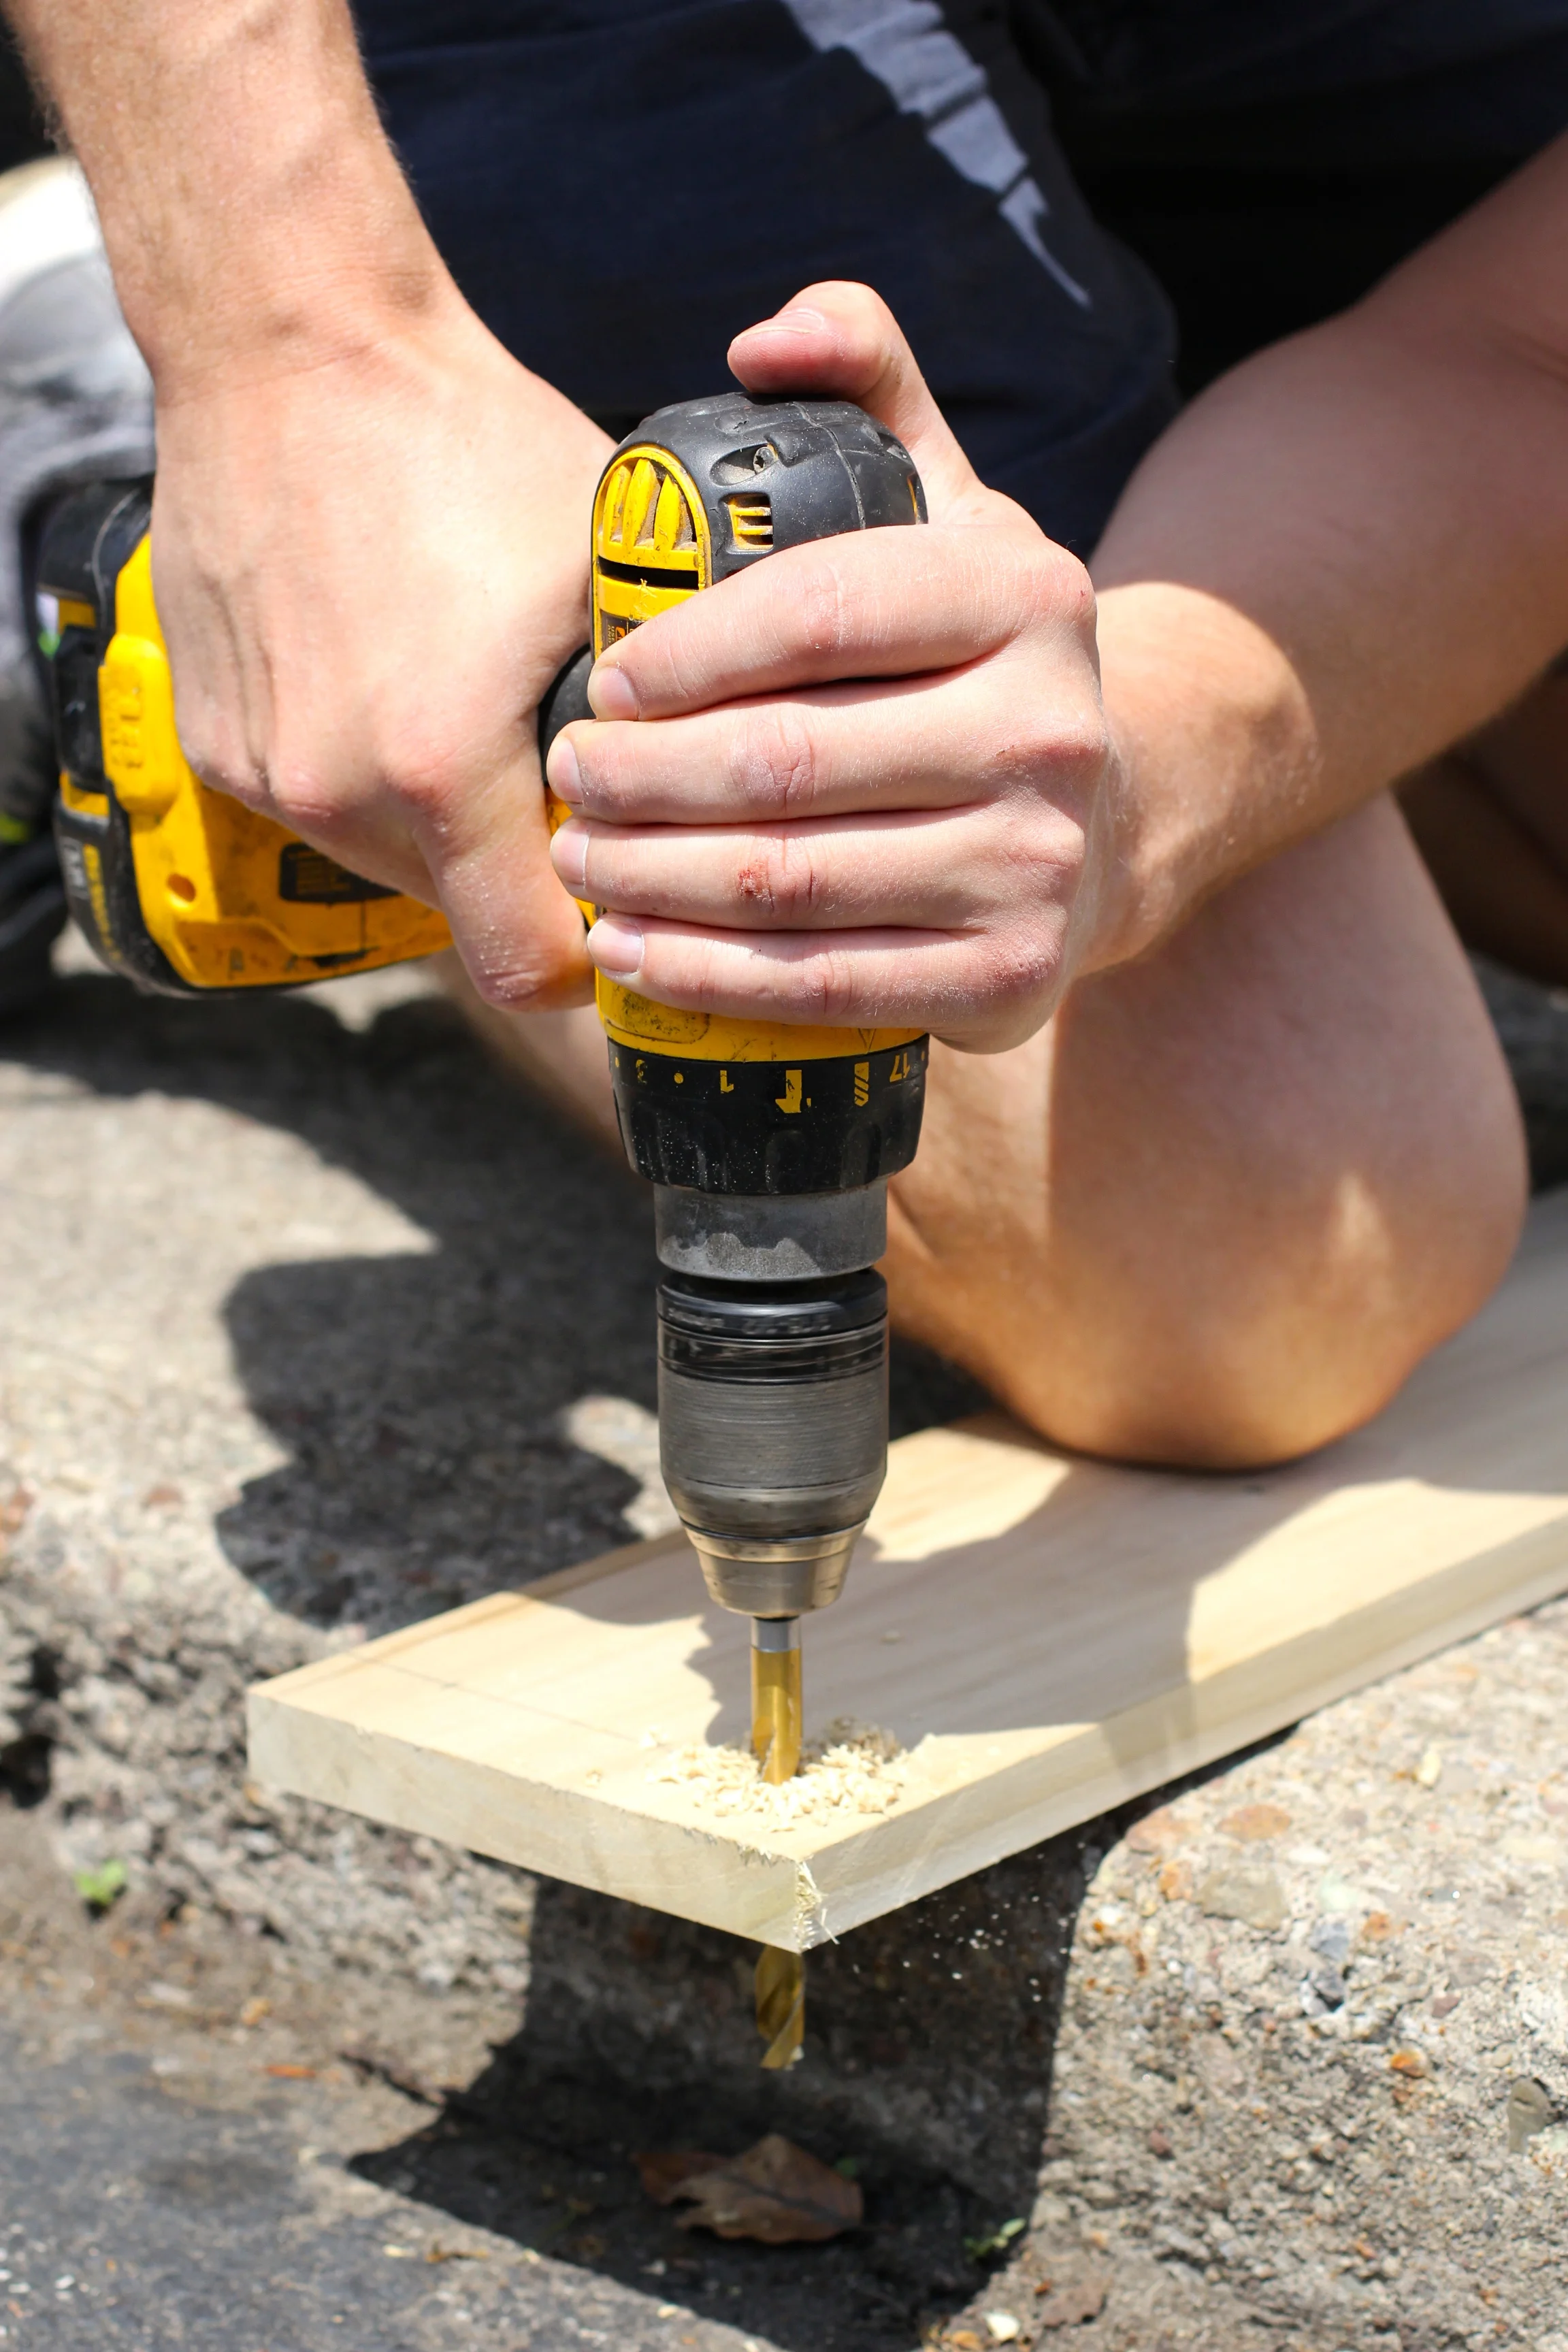
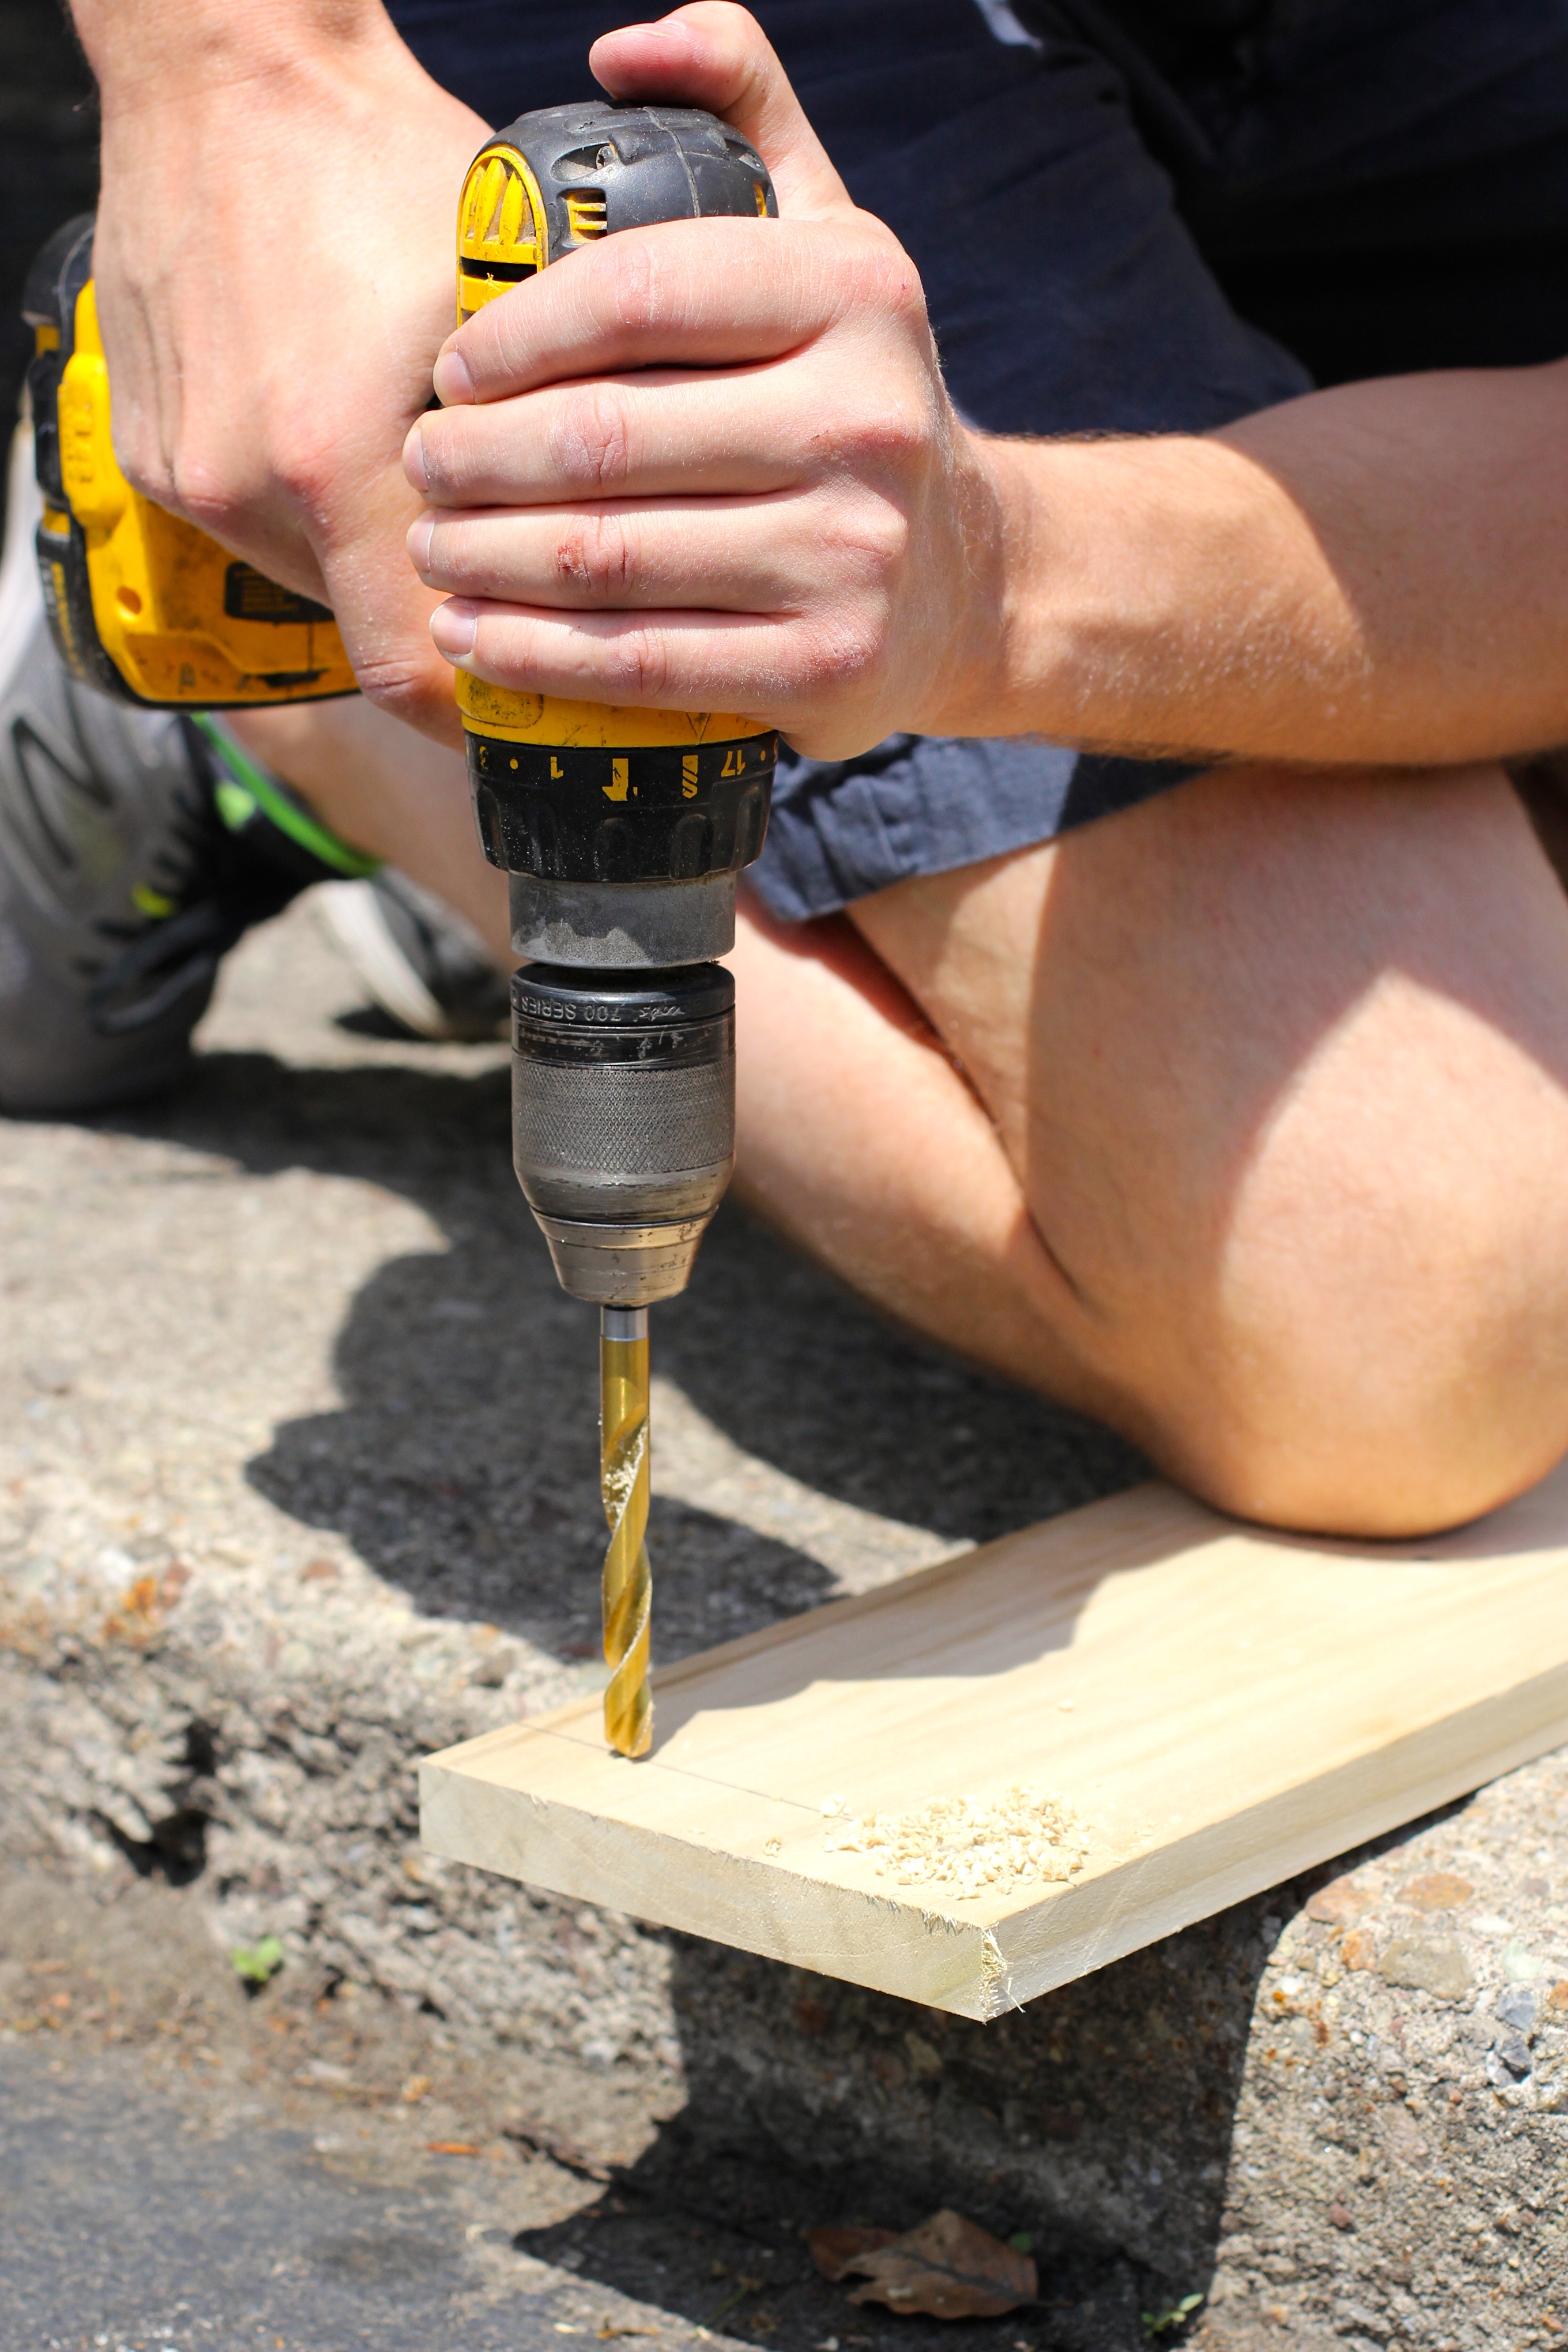
Use a power drill to drill a hole in each mark (from the top of the board), so that there are four holes total.
Sand the board in one direction on all sides, following the grain of the wood on the long flat sides. Sand until very smooth. You can also cheat and use a power sander for this, but a sanding sponge gets the job done, too!
Place the wood slab, bottom side up, on some surface you'll be using for painting (I drilled four screws, two per end, into the bottom of a cardboard box and then flipped the box over to use the screw tips as a little prop-up for the board). Wearing gloves, paint that whole side and the ends, let dry for 5-10 minutes, and then carefully flip over. Paint, and let dry almost completely (more like 15 minutes). Flip over, and repeat this process again, so you're ending with the top side of the board facing up and you can let it dry completely.

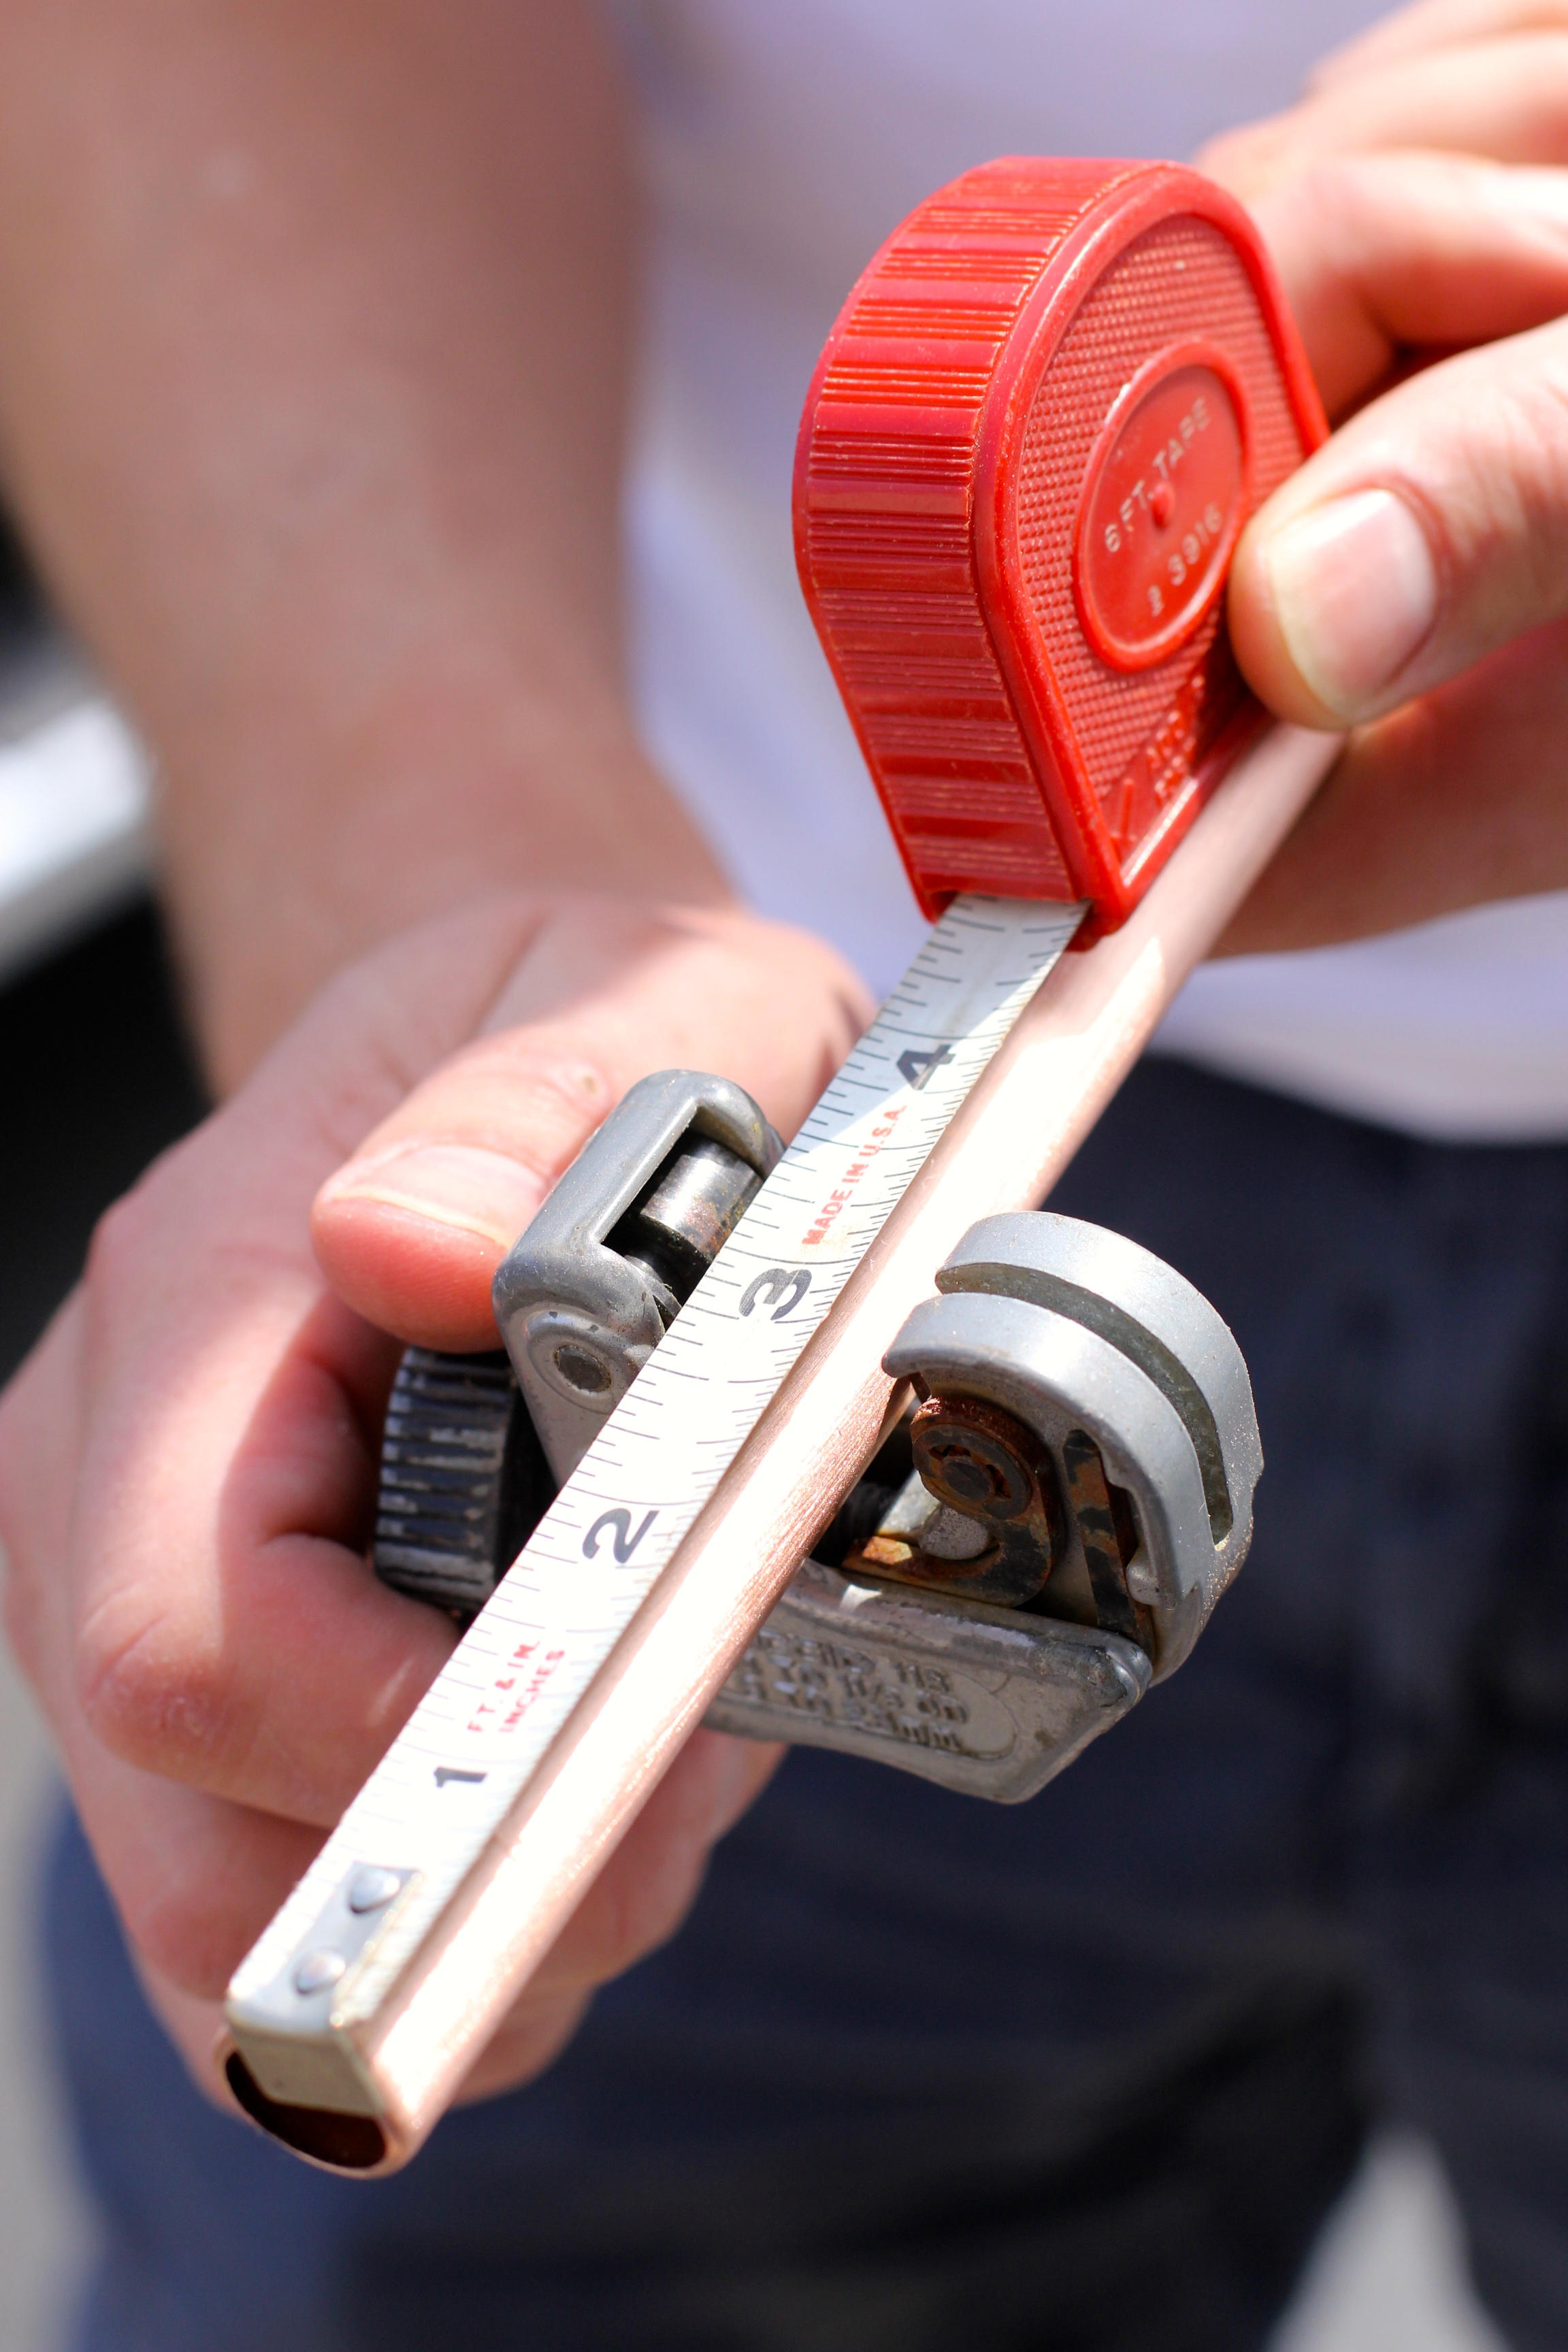


While the board was in its final stage of drying, you can get started on the copper piping. Mine was a foot long, so I knew each piece had to be roughly 3 inches. Measure with the tape measure, and adjust the pipe's placement in the cutter accordingly. Repeat until you have four equal sized tubes.
Once board is completely dry you will begin assembling the shelf.
Place the board on the wall you plan to hang it at the desired height. Think about how long you'd like your ropes to be, and measure that length on the wall (21 inches was perfect for our wall).
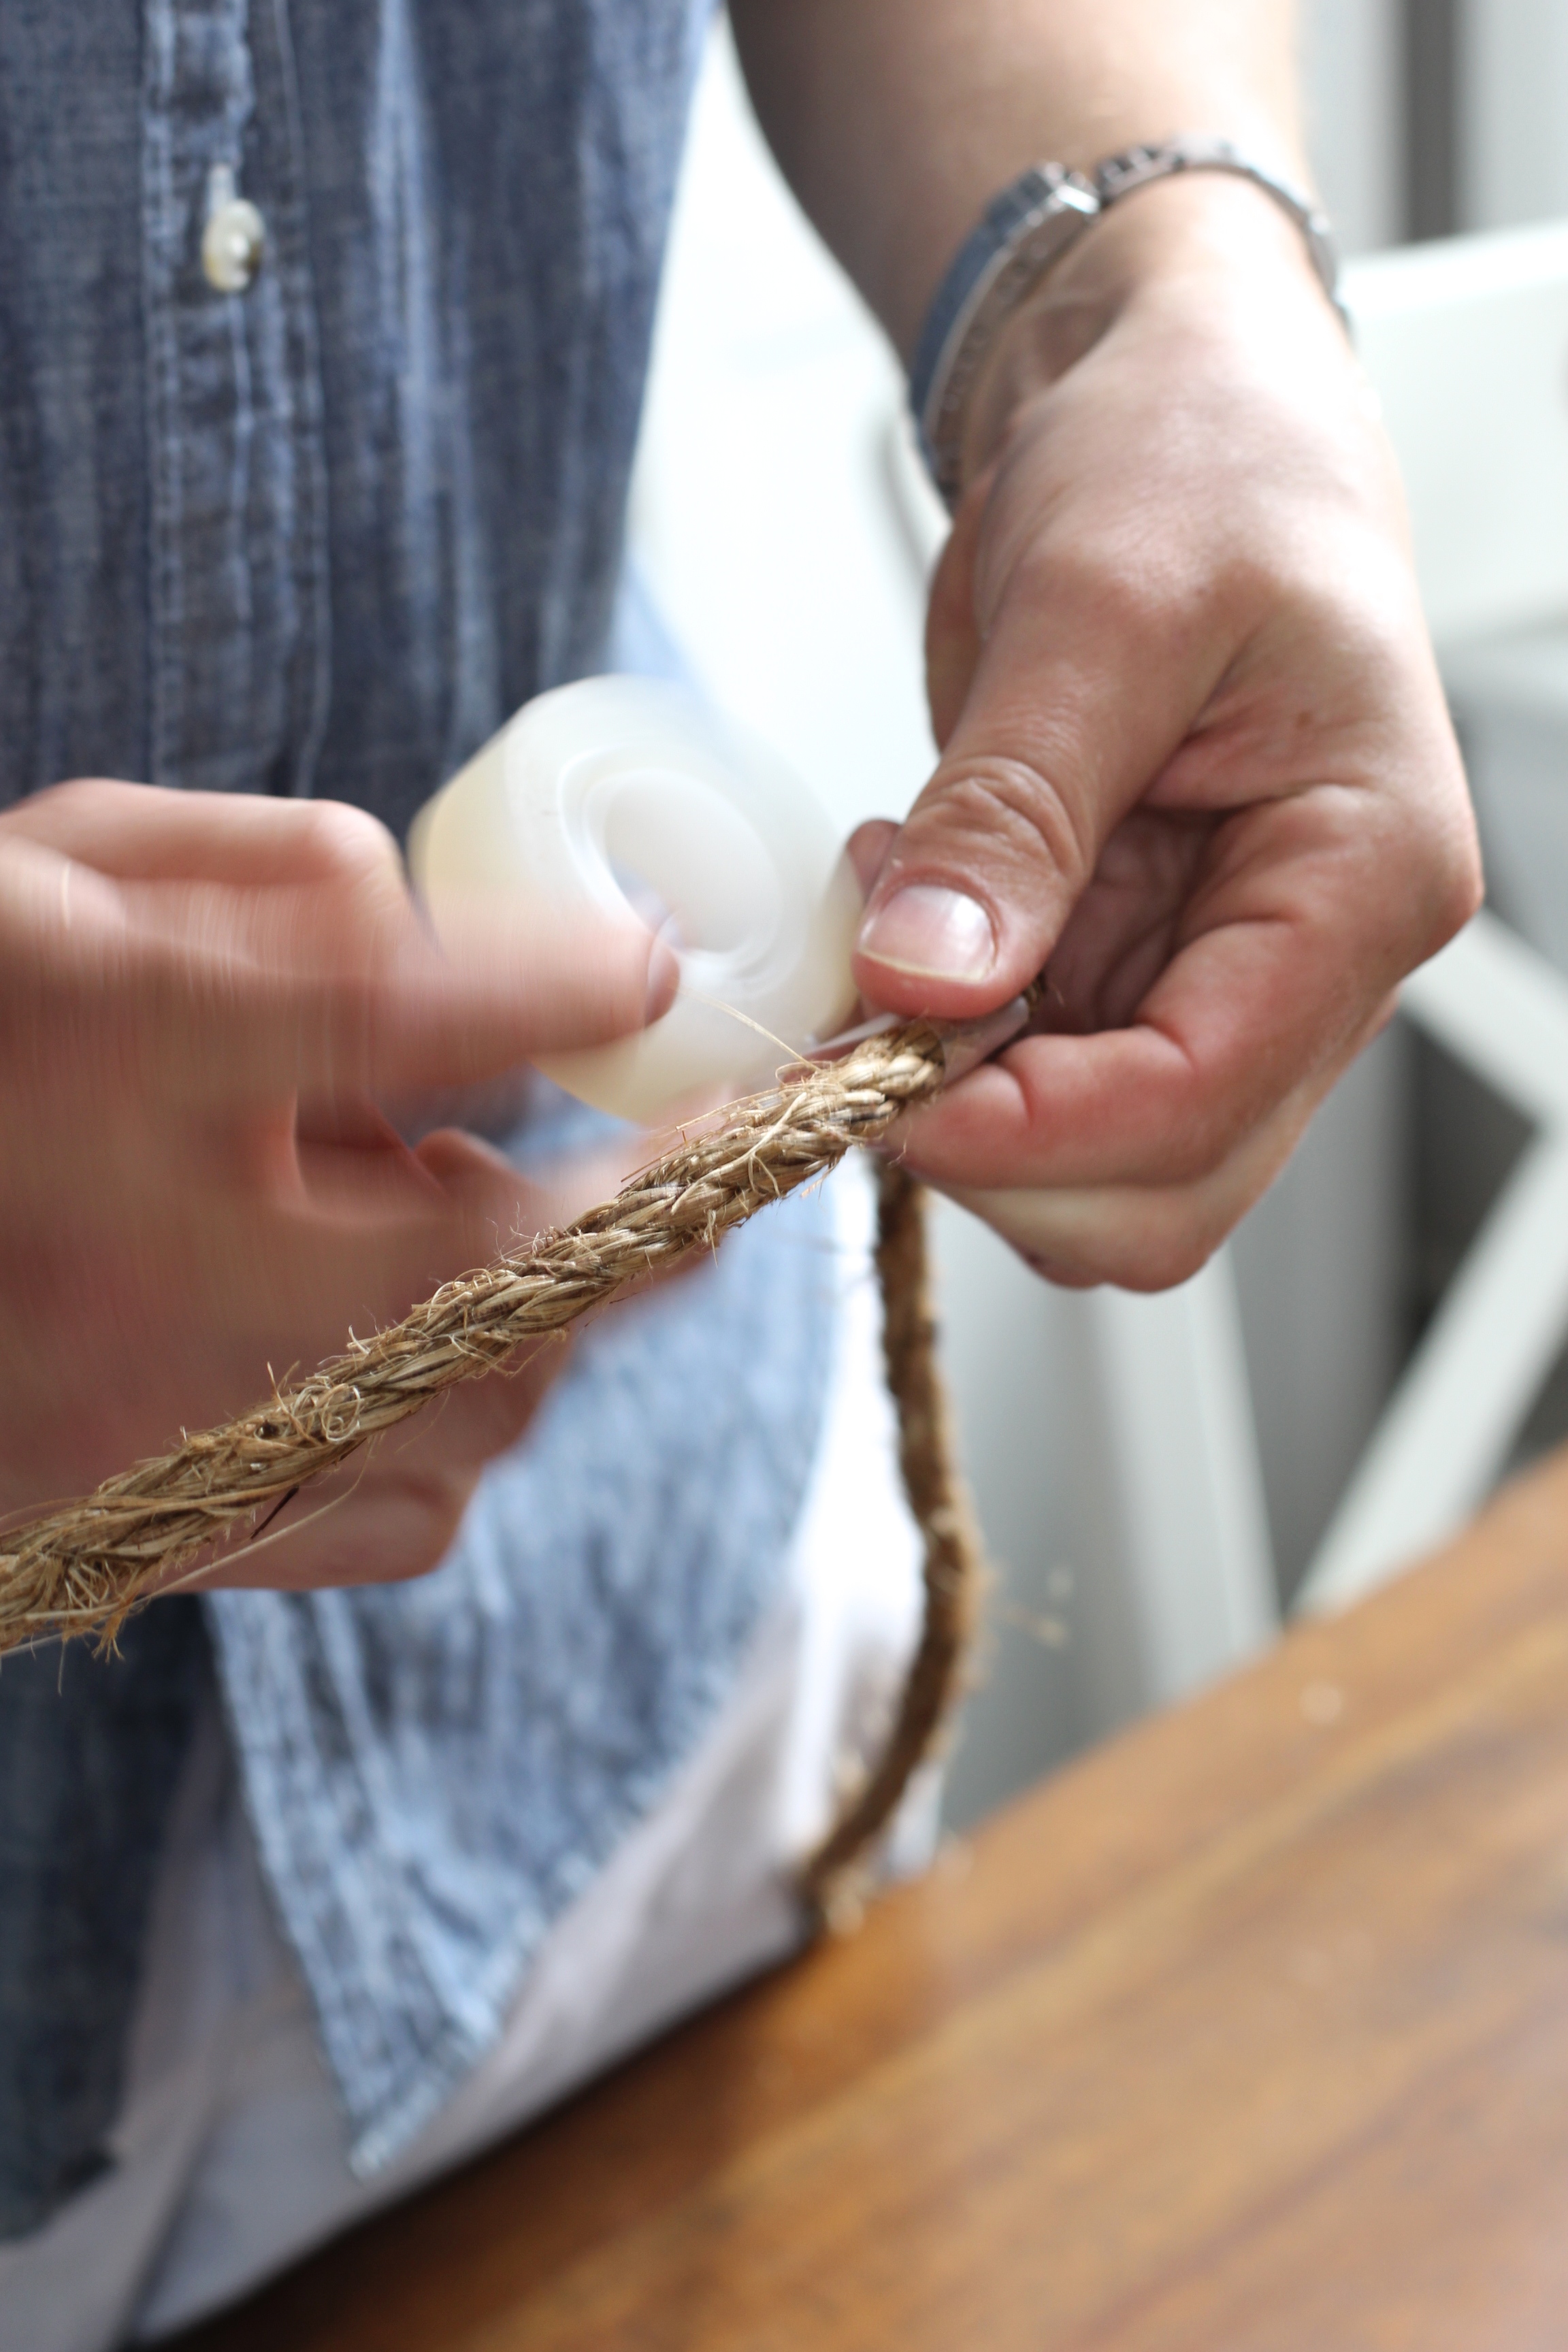


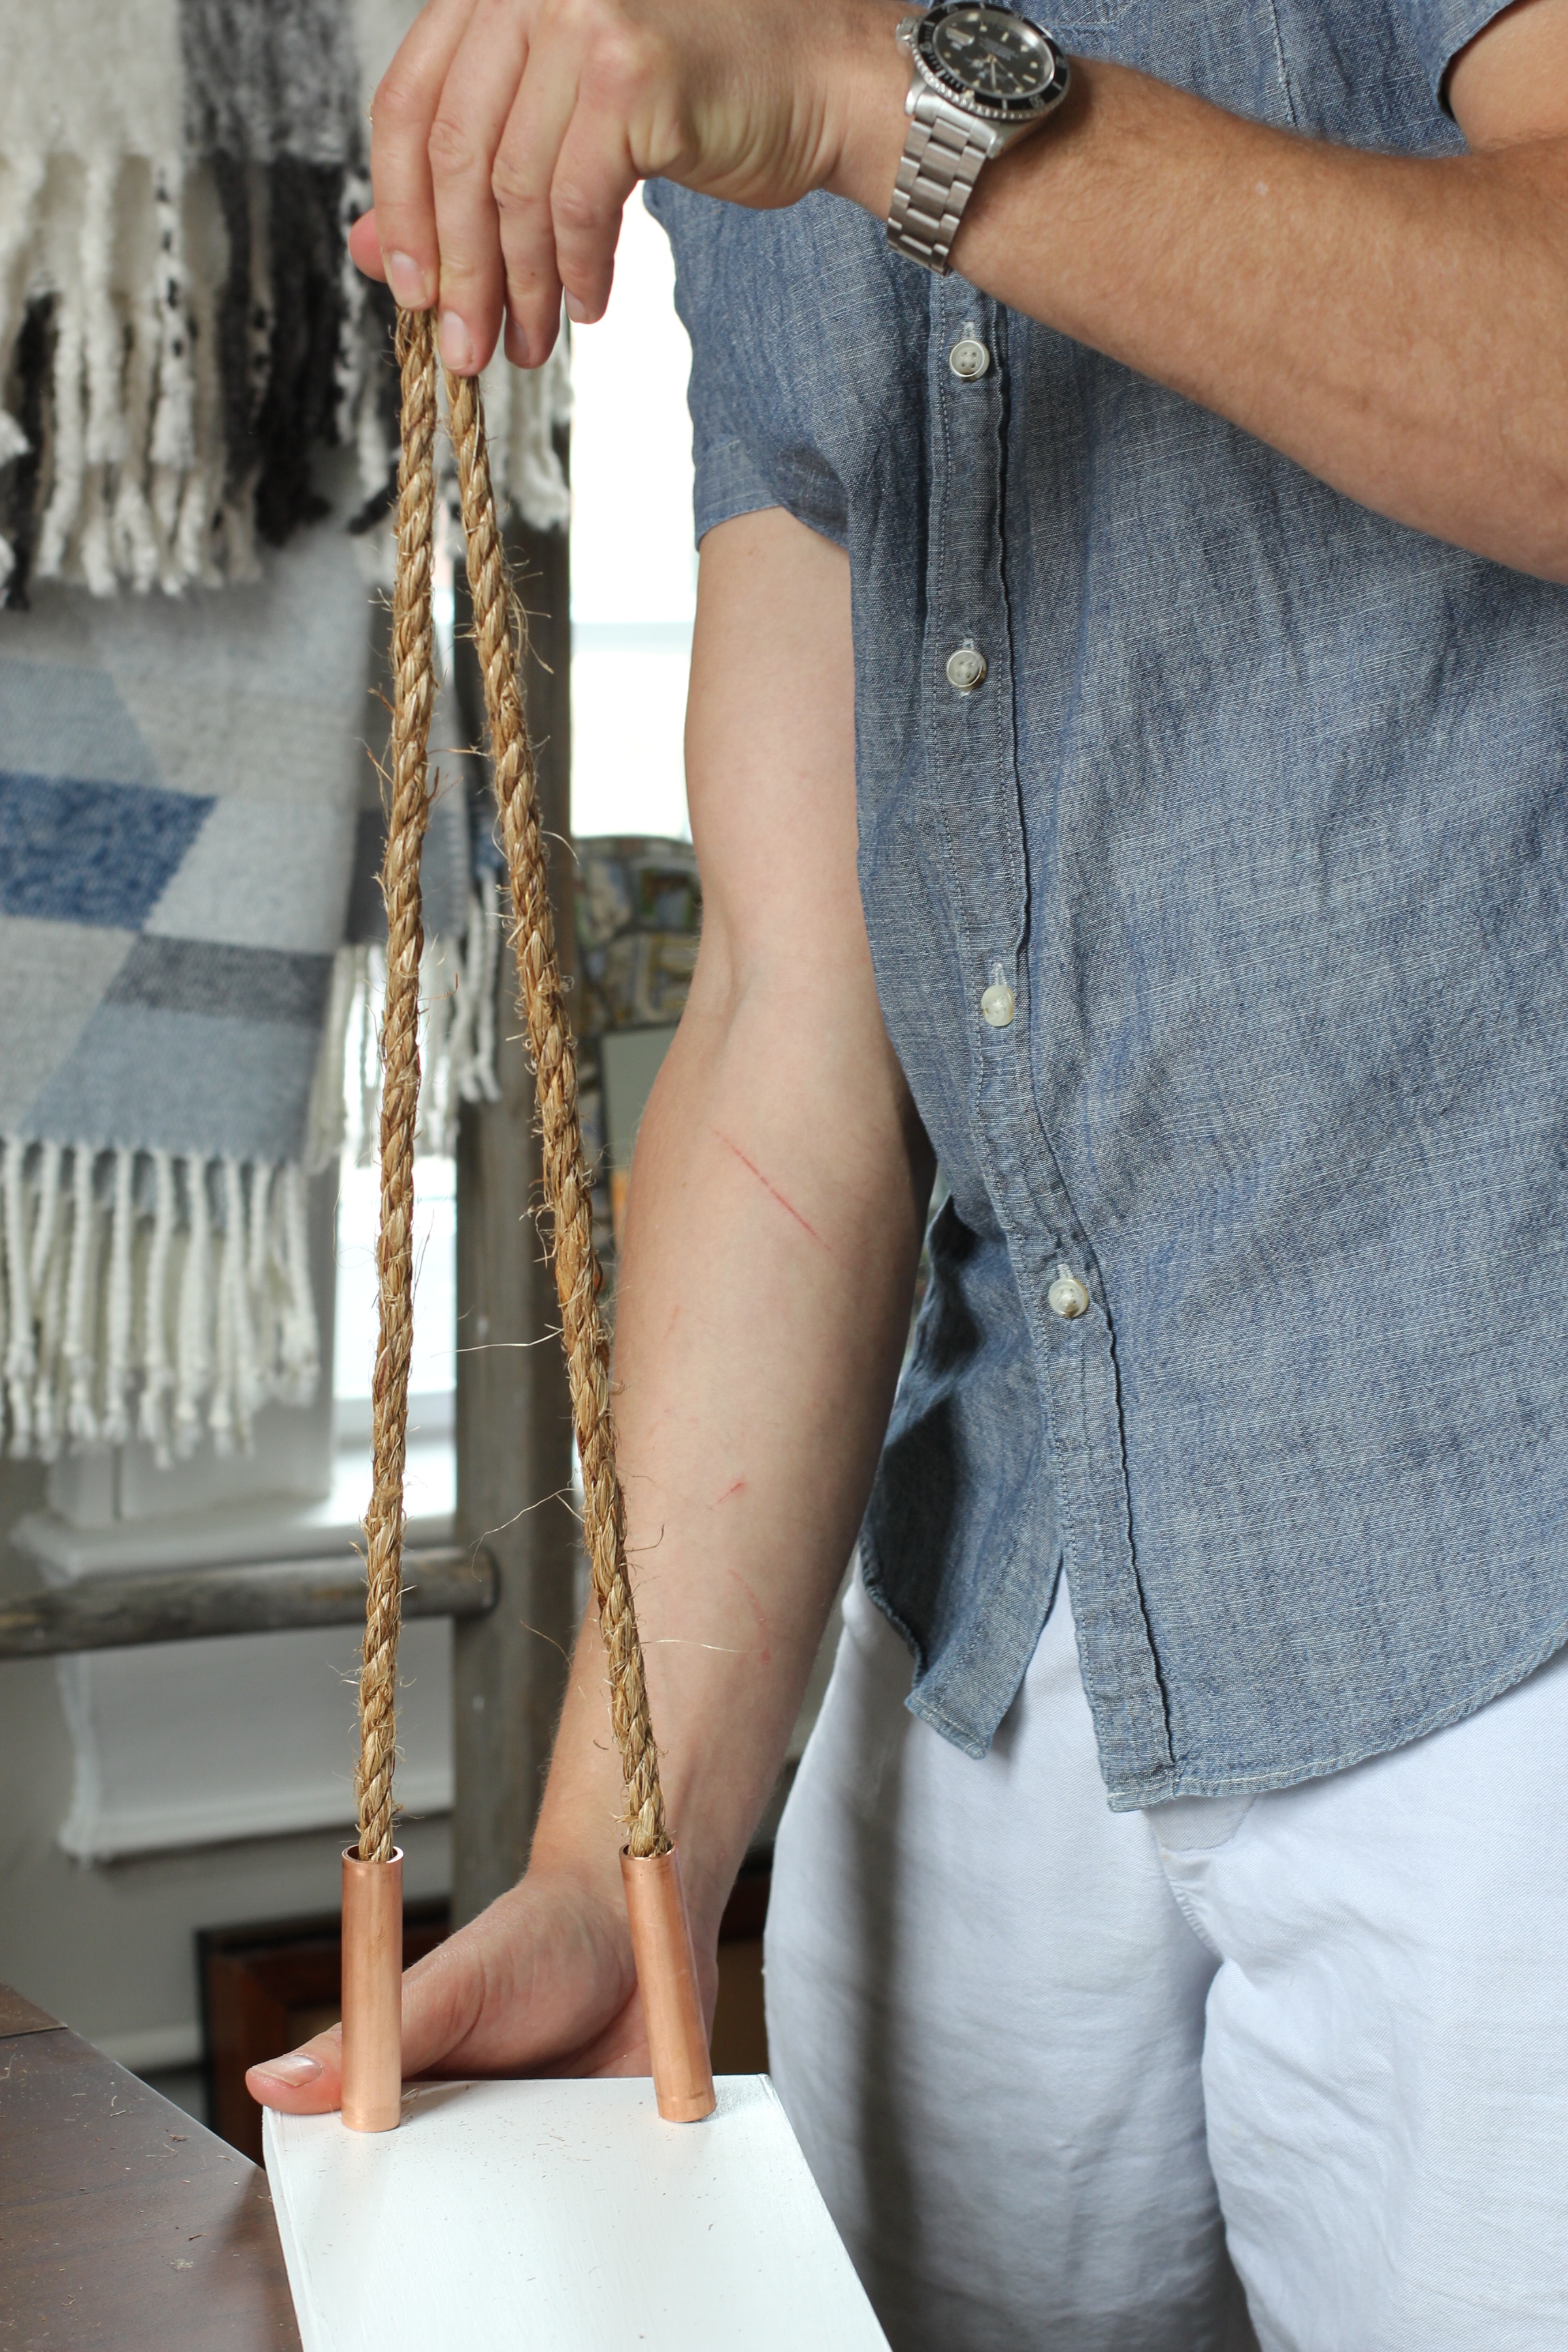

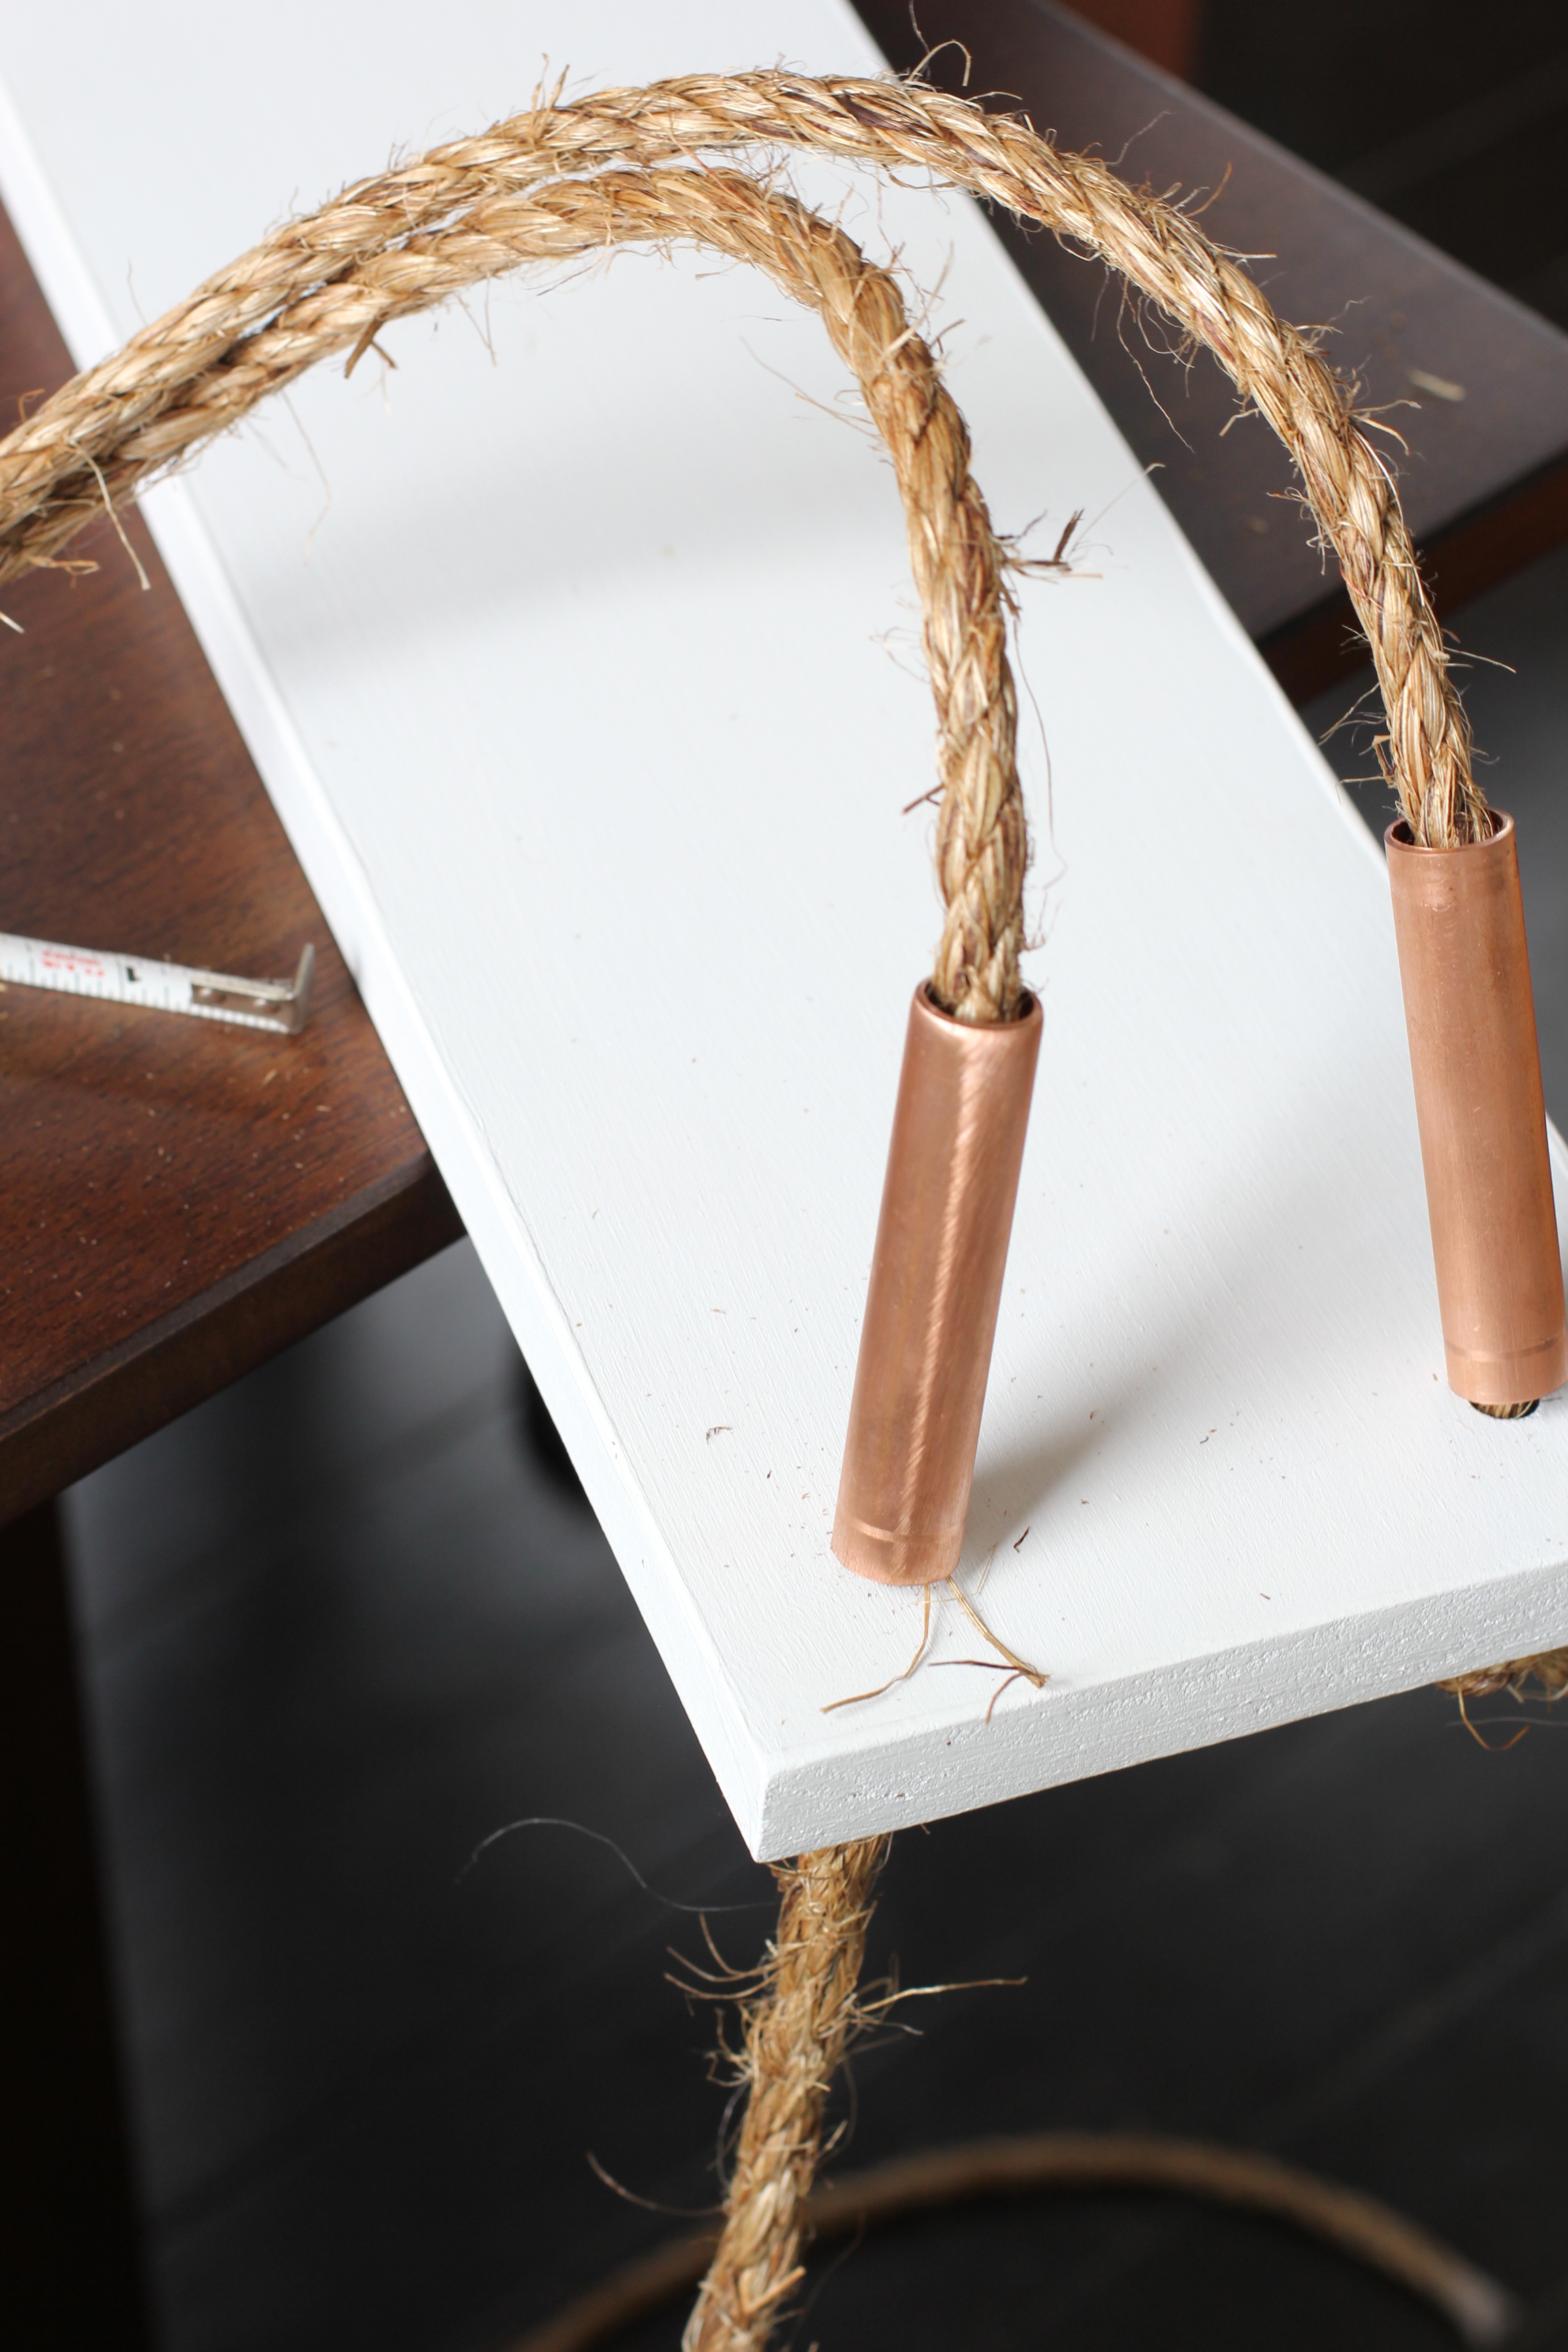
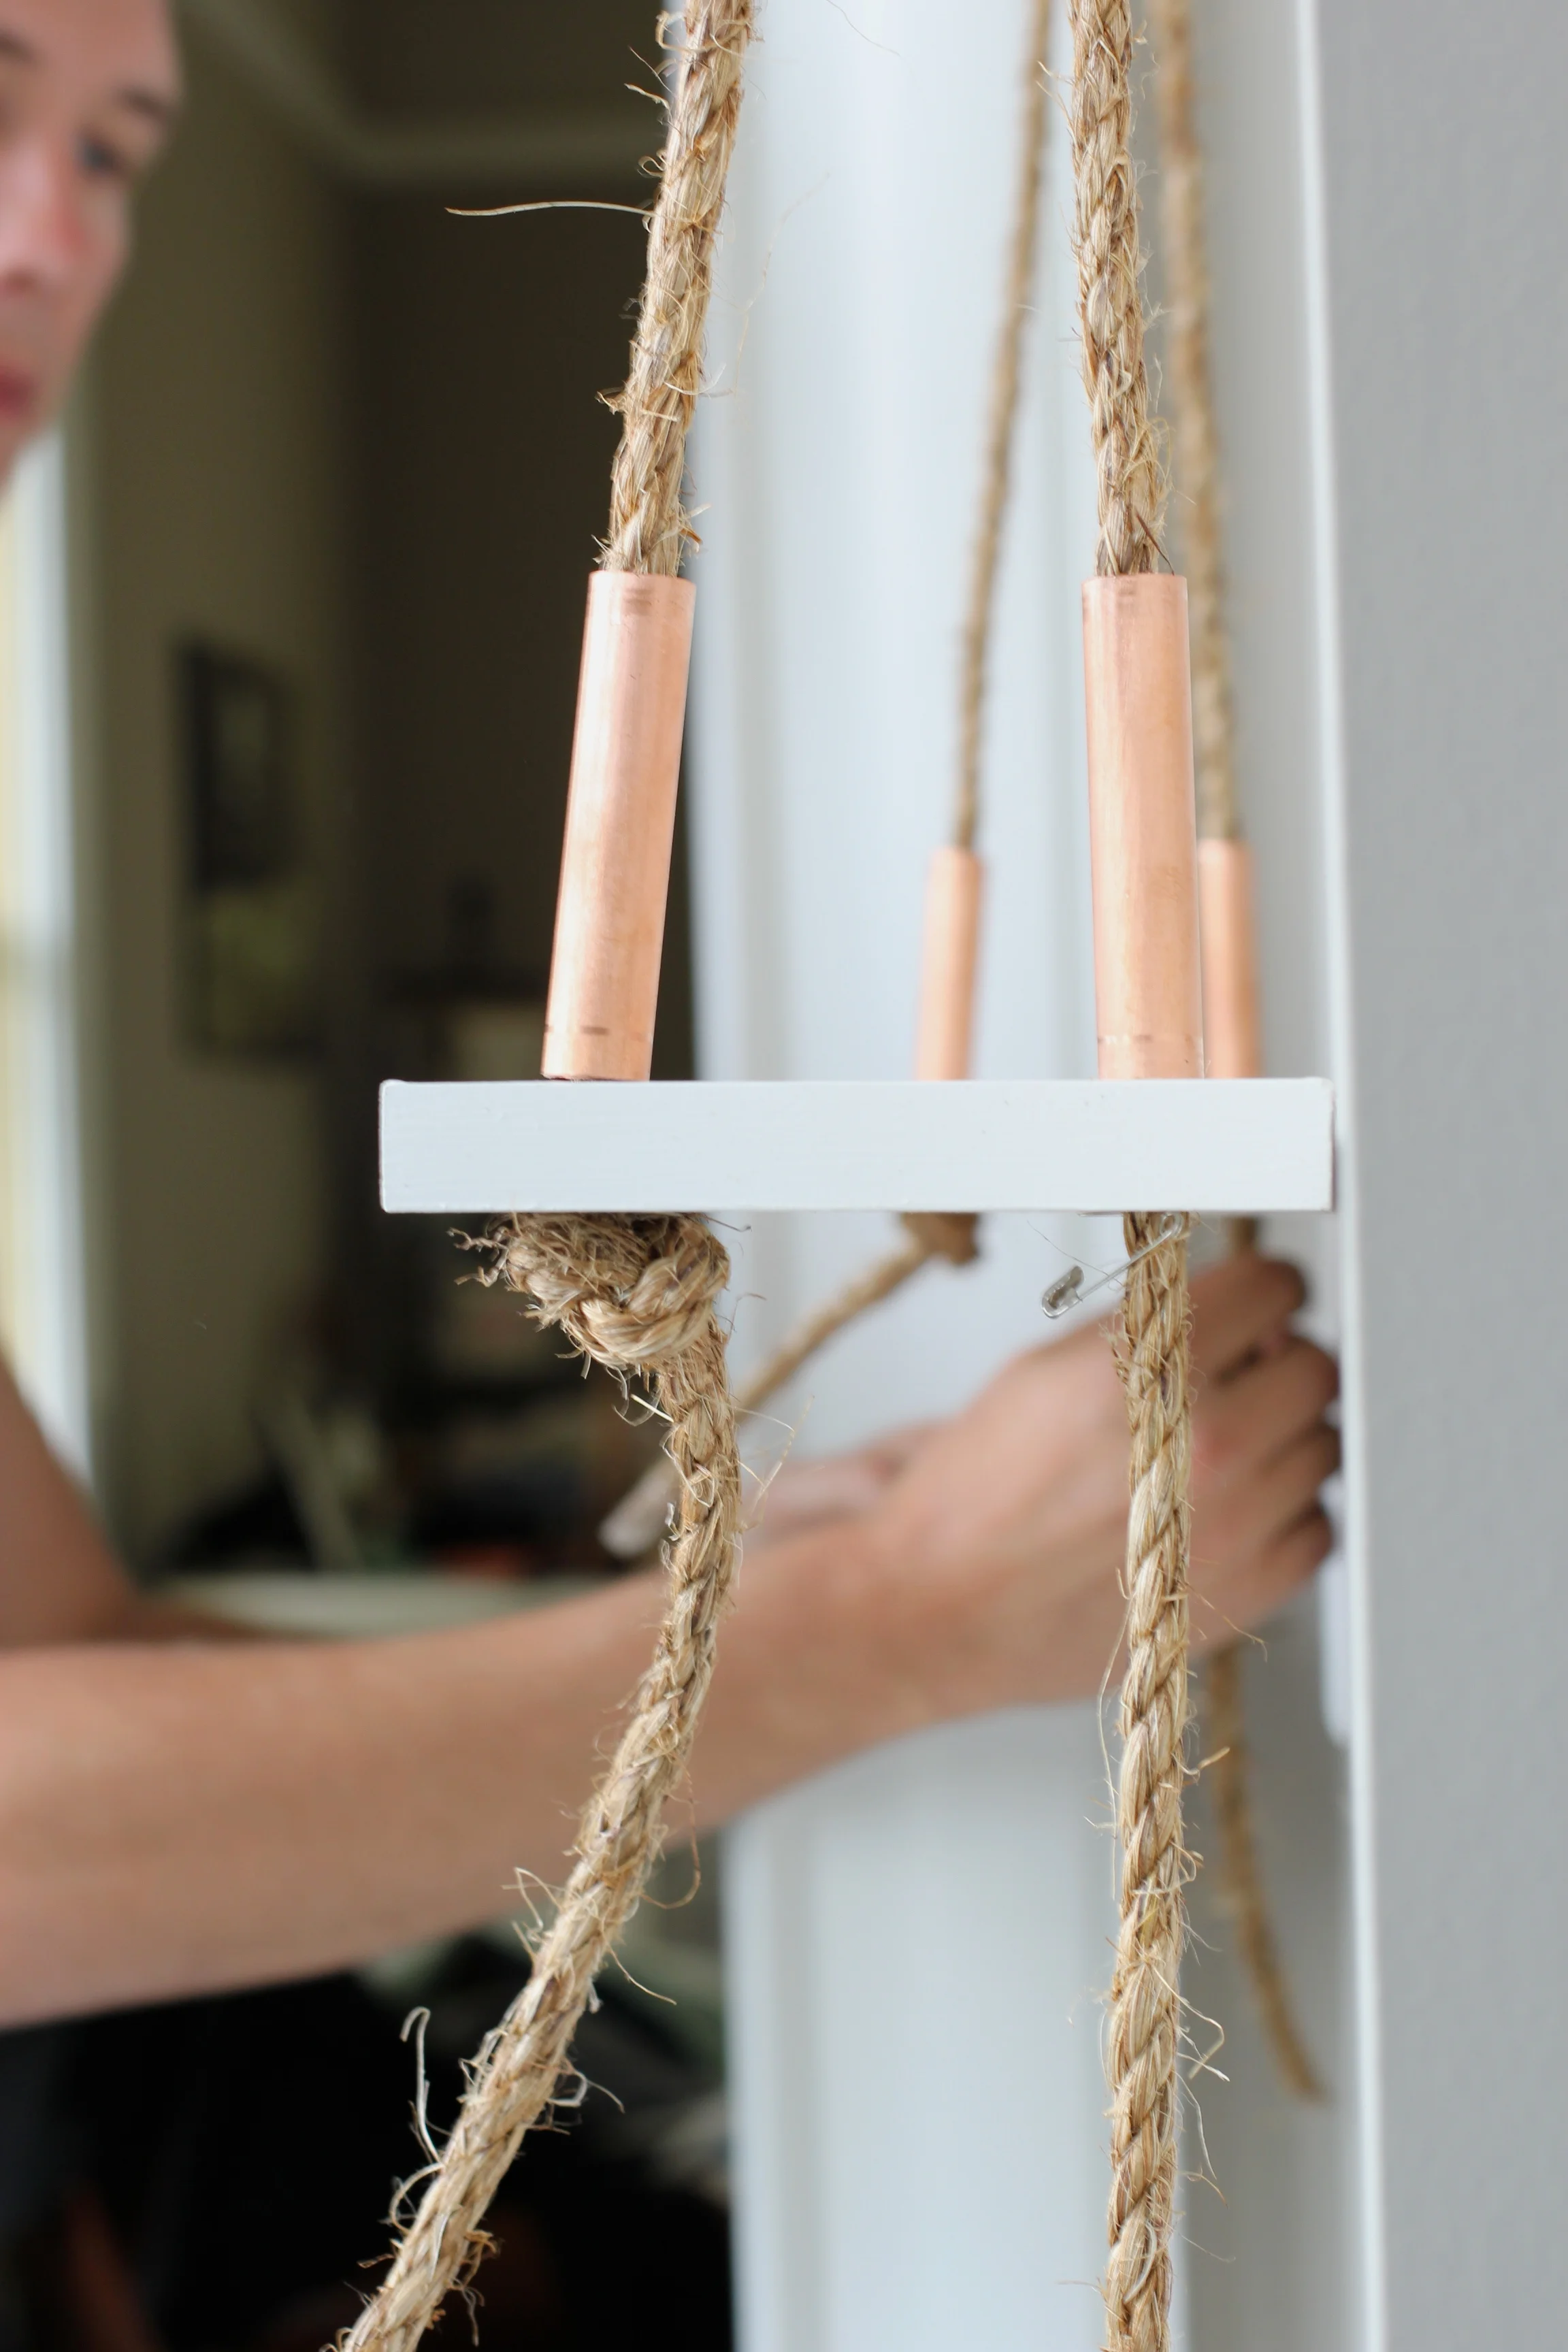
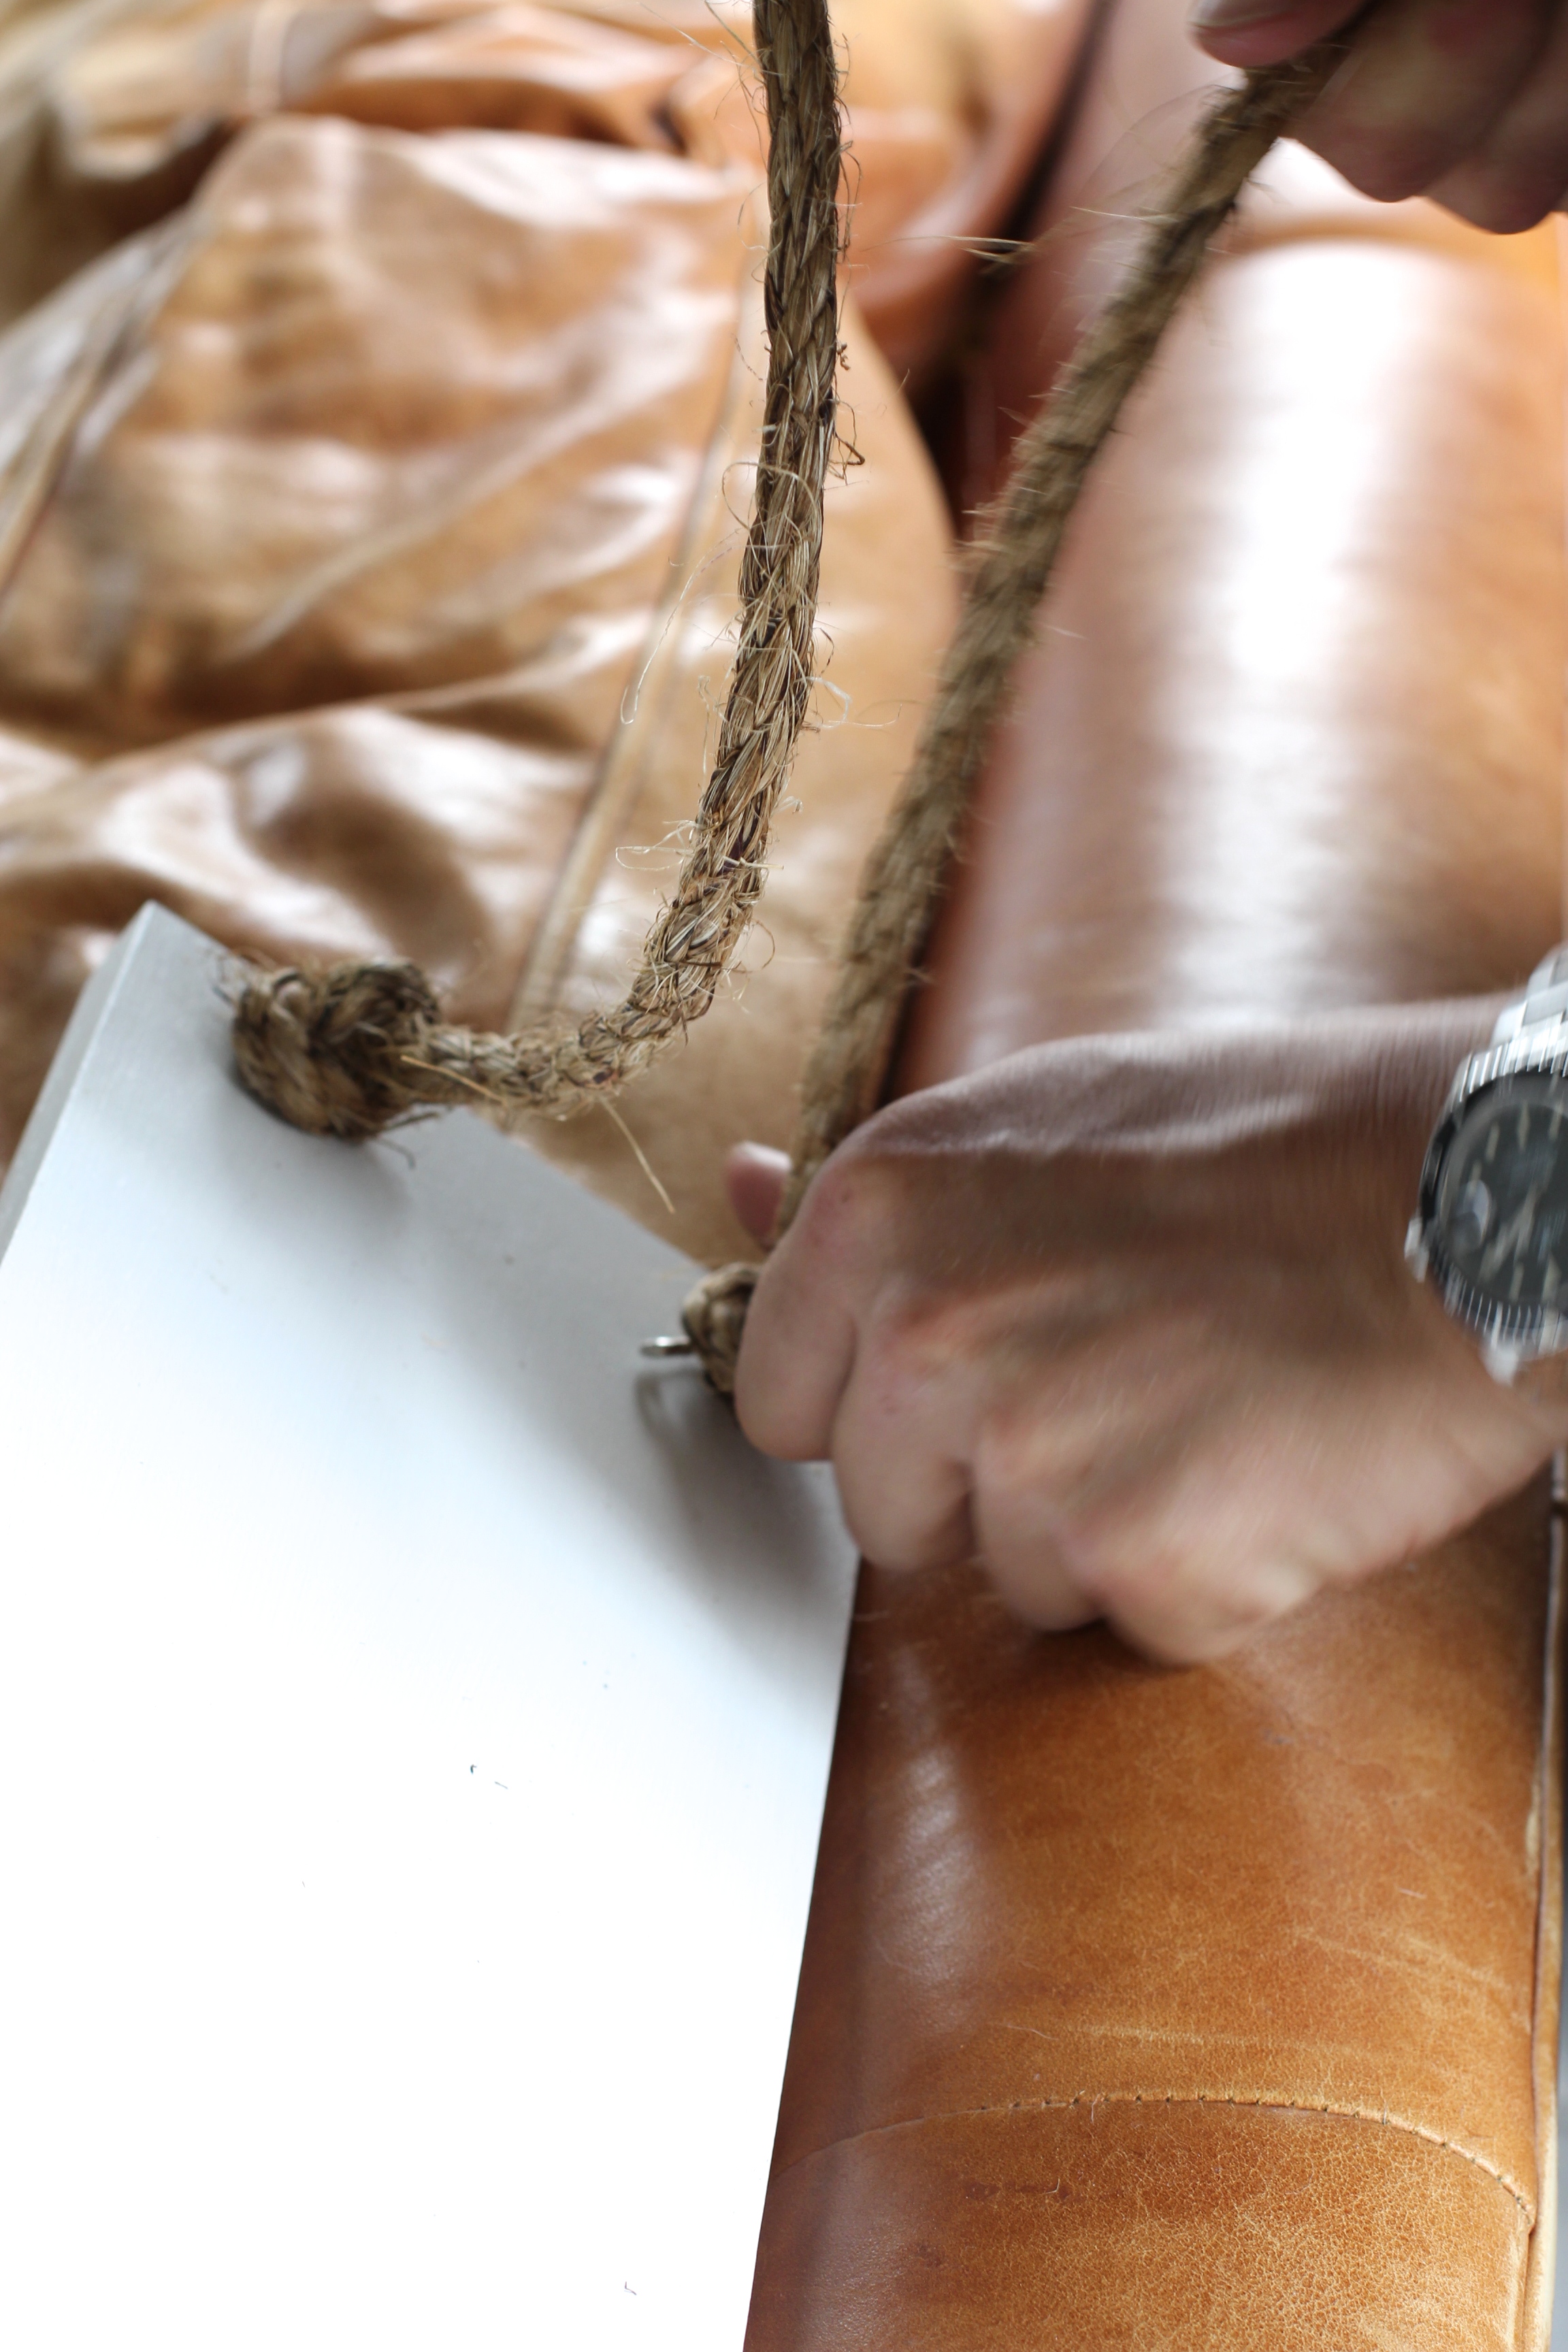
Using the pictures above as a step by step guide, take the rope and string it with a copper pipe, and then string it through a hole (taping the end helps if it's fraying and difficult to string through). Tie the rope in a knot below the board (it doesn't matter where at this point, just leave some extra rope after the knot so you can decide how long you want that later).
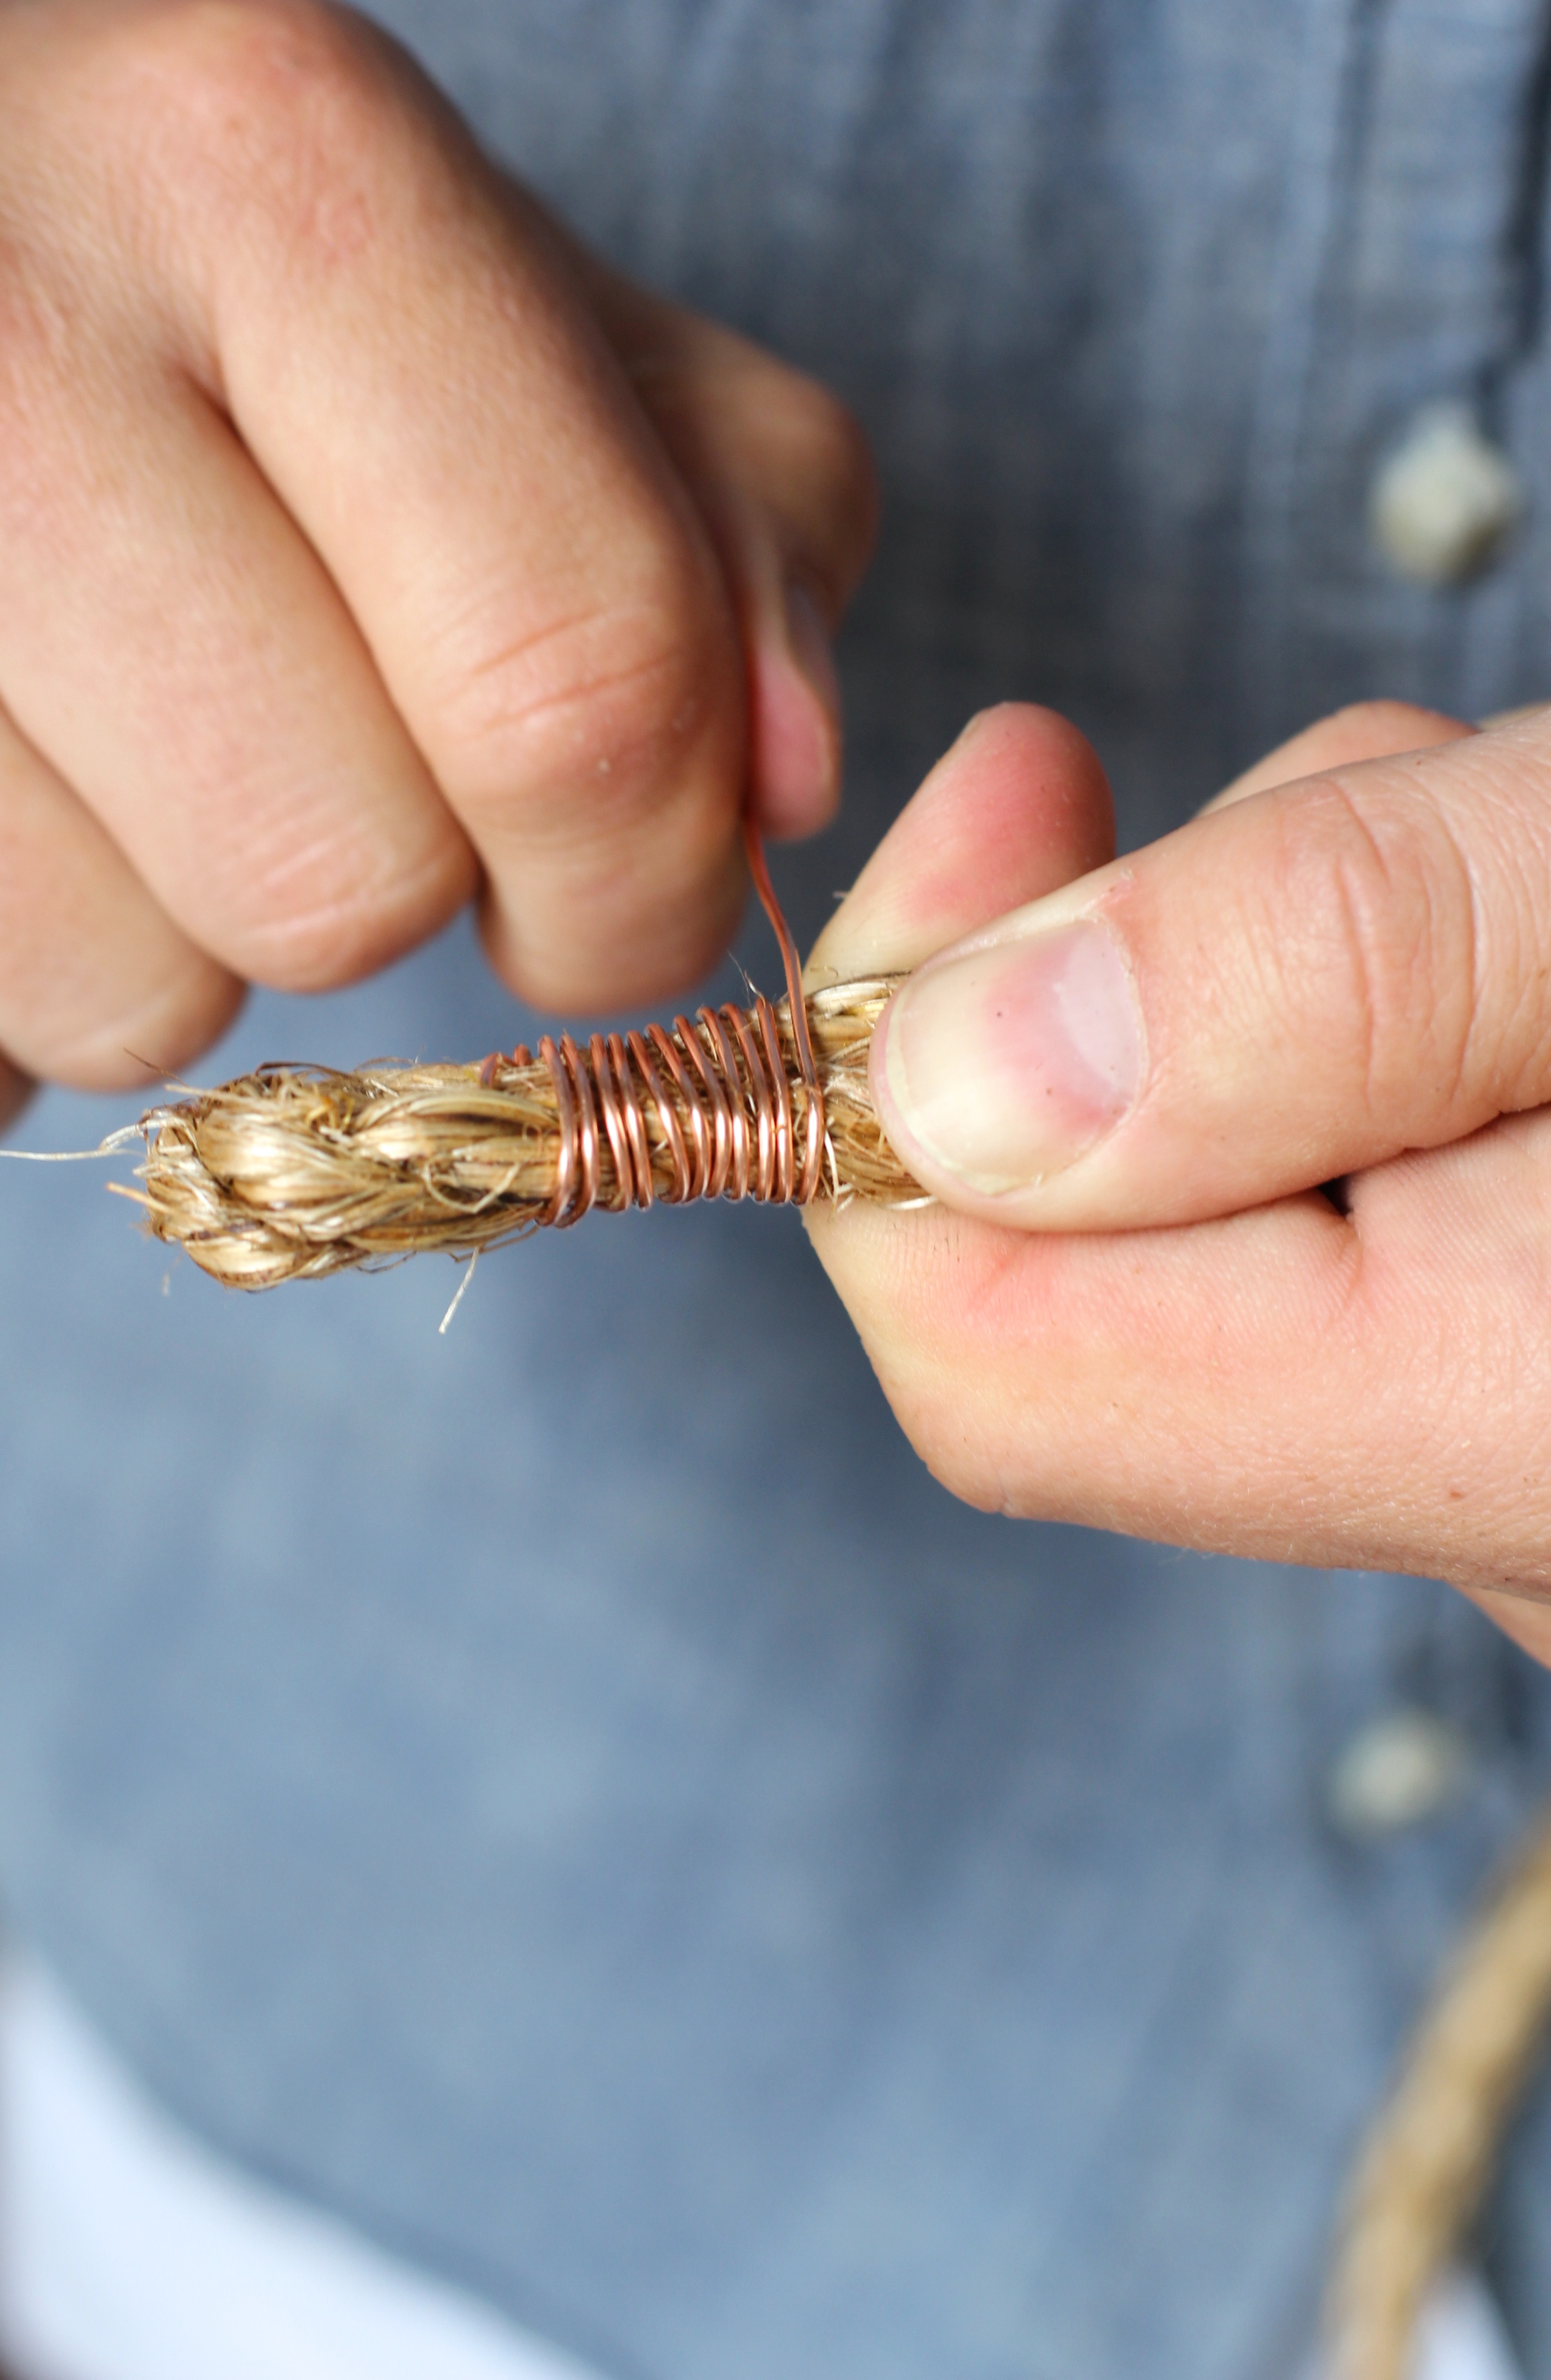
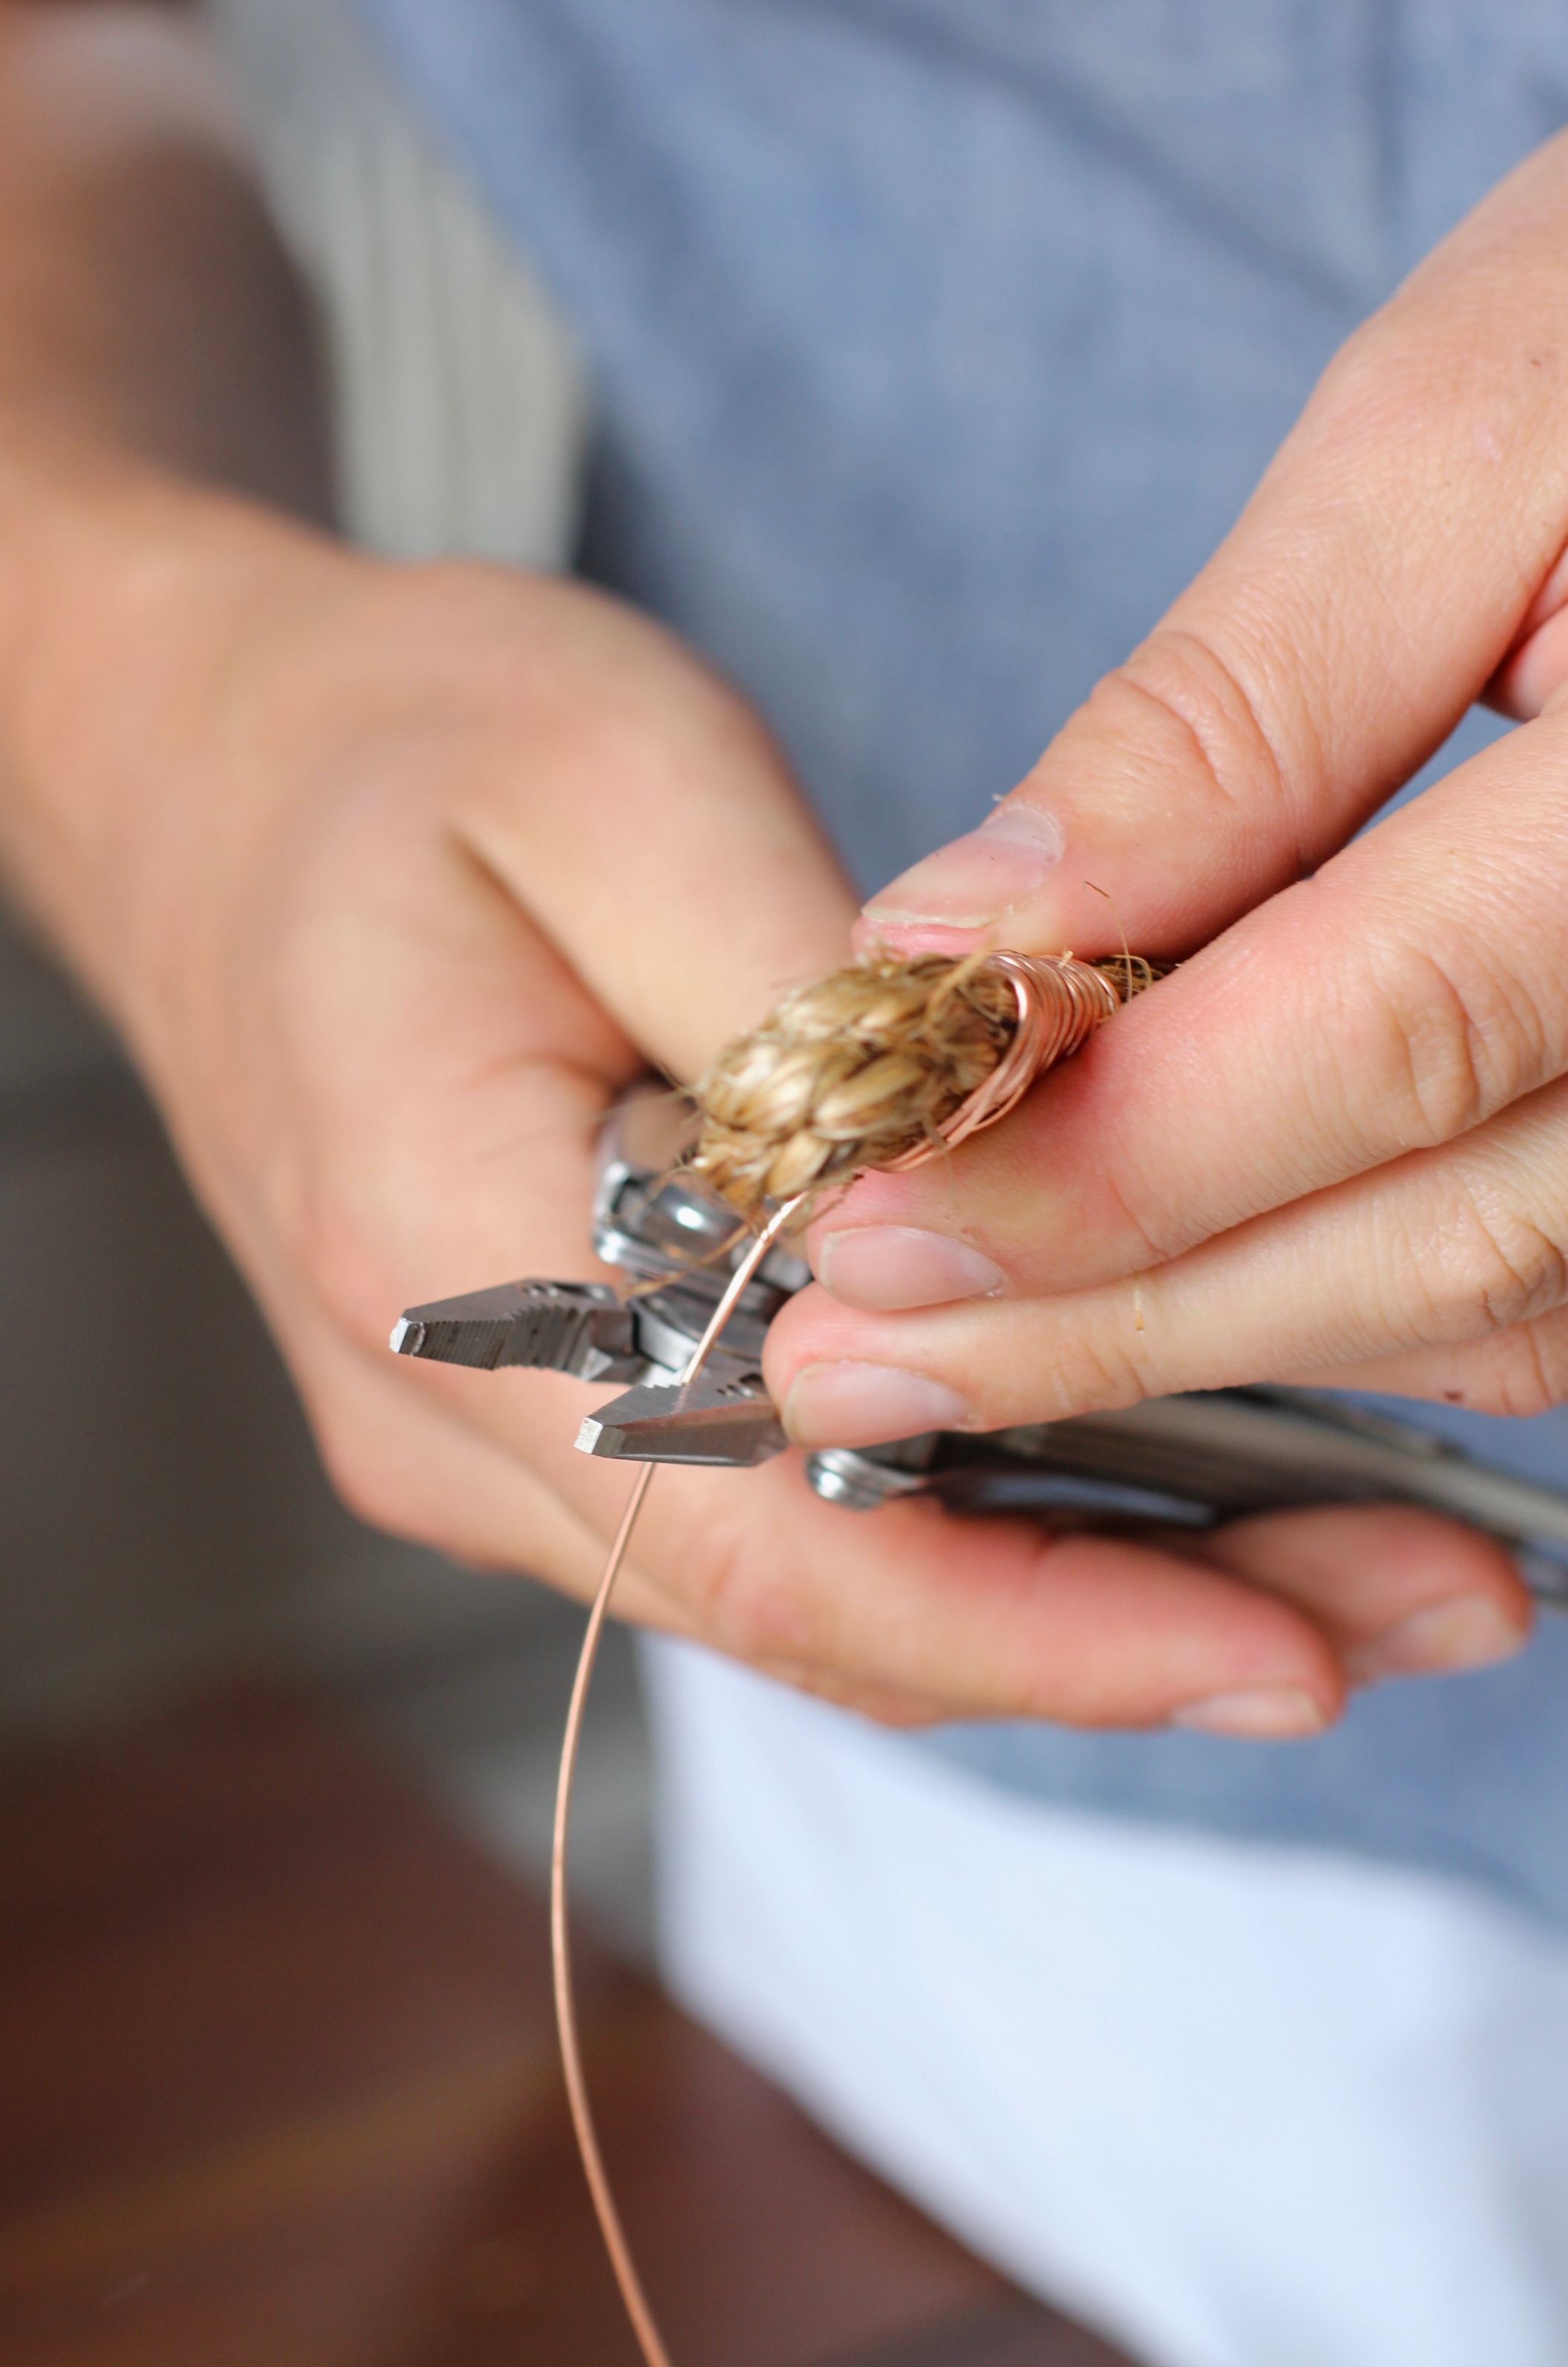
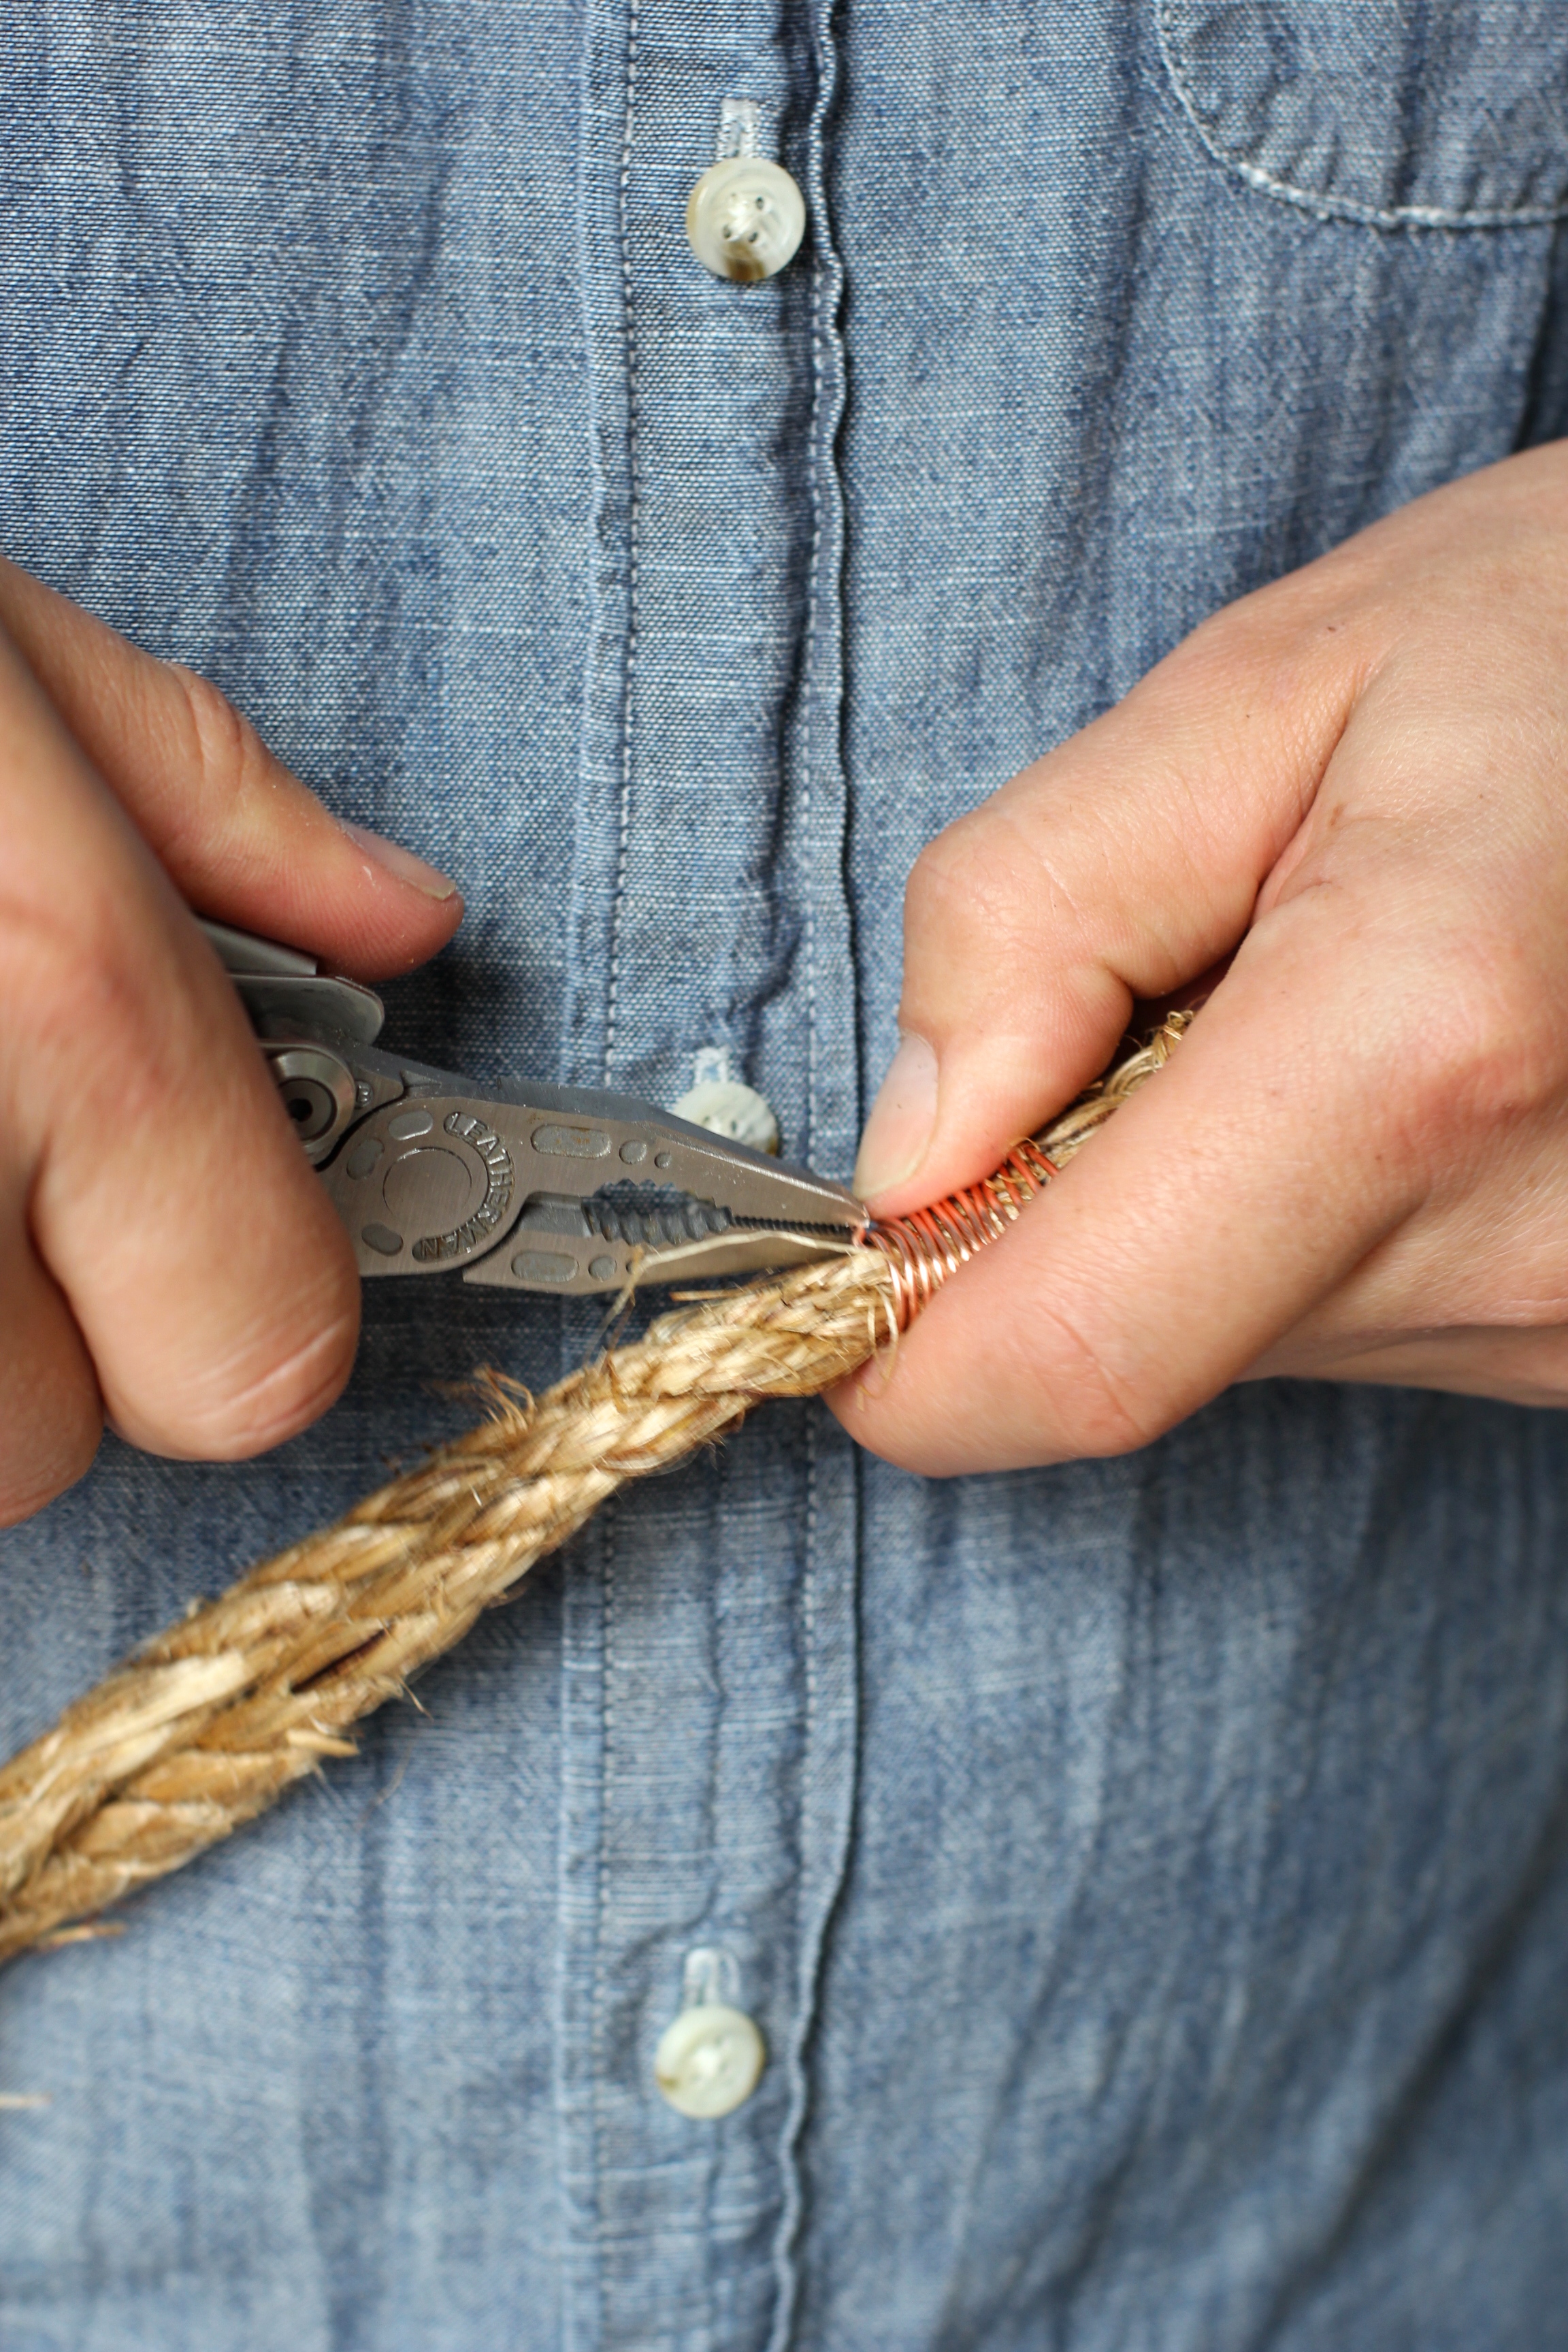
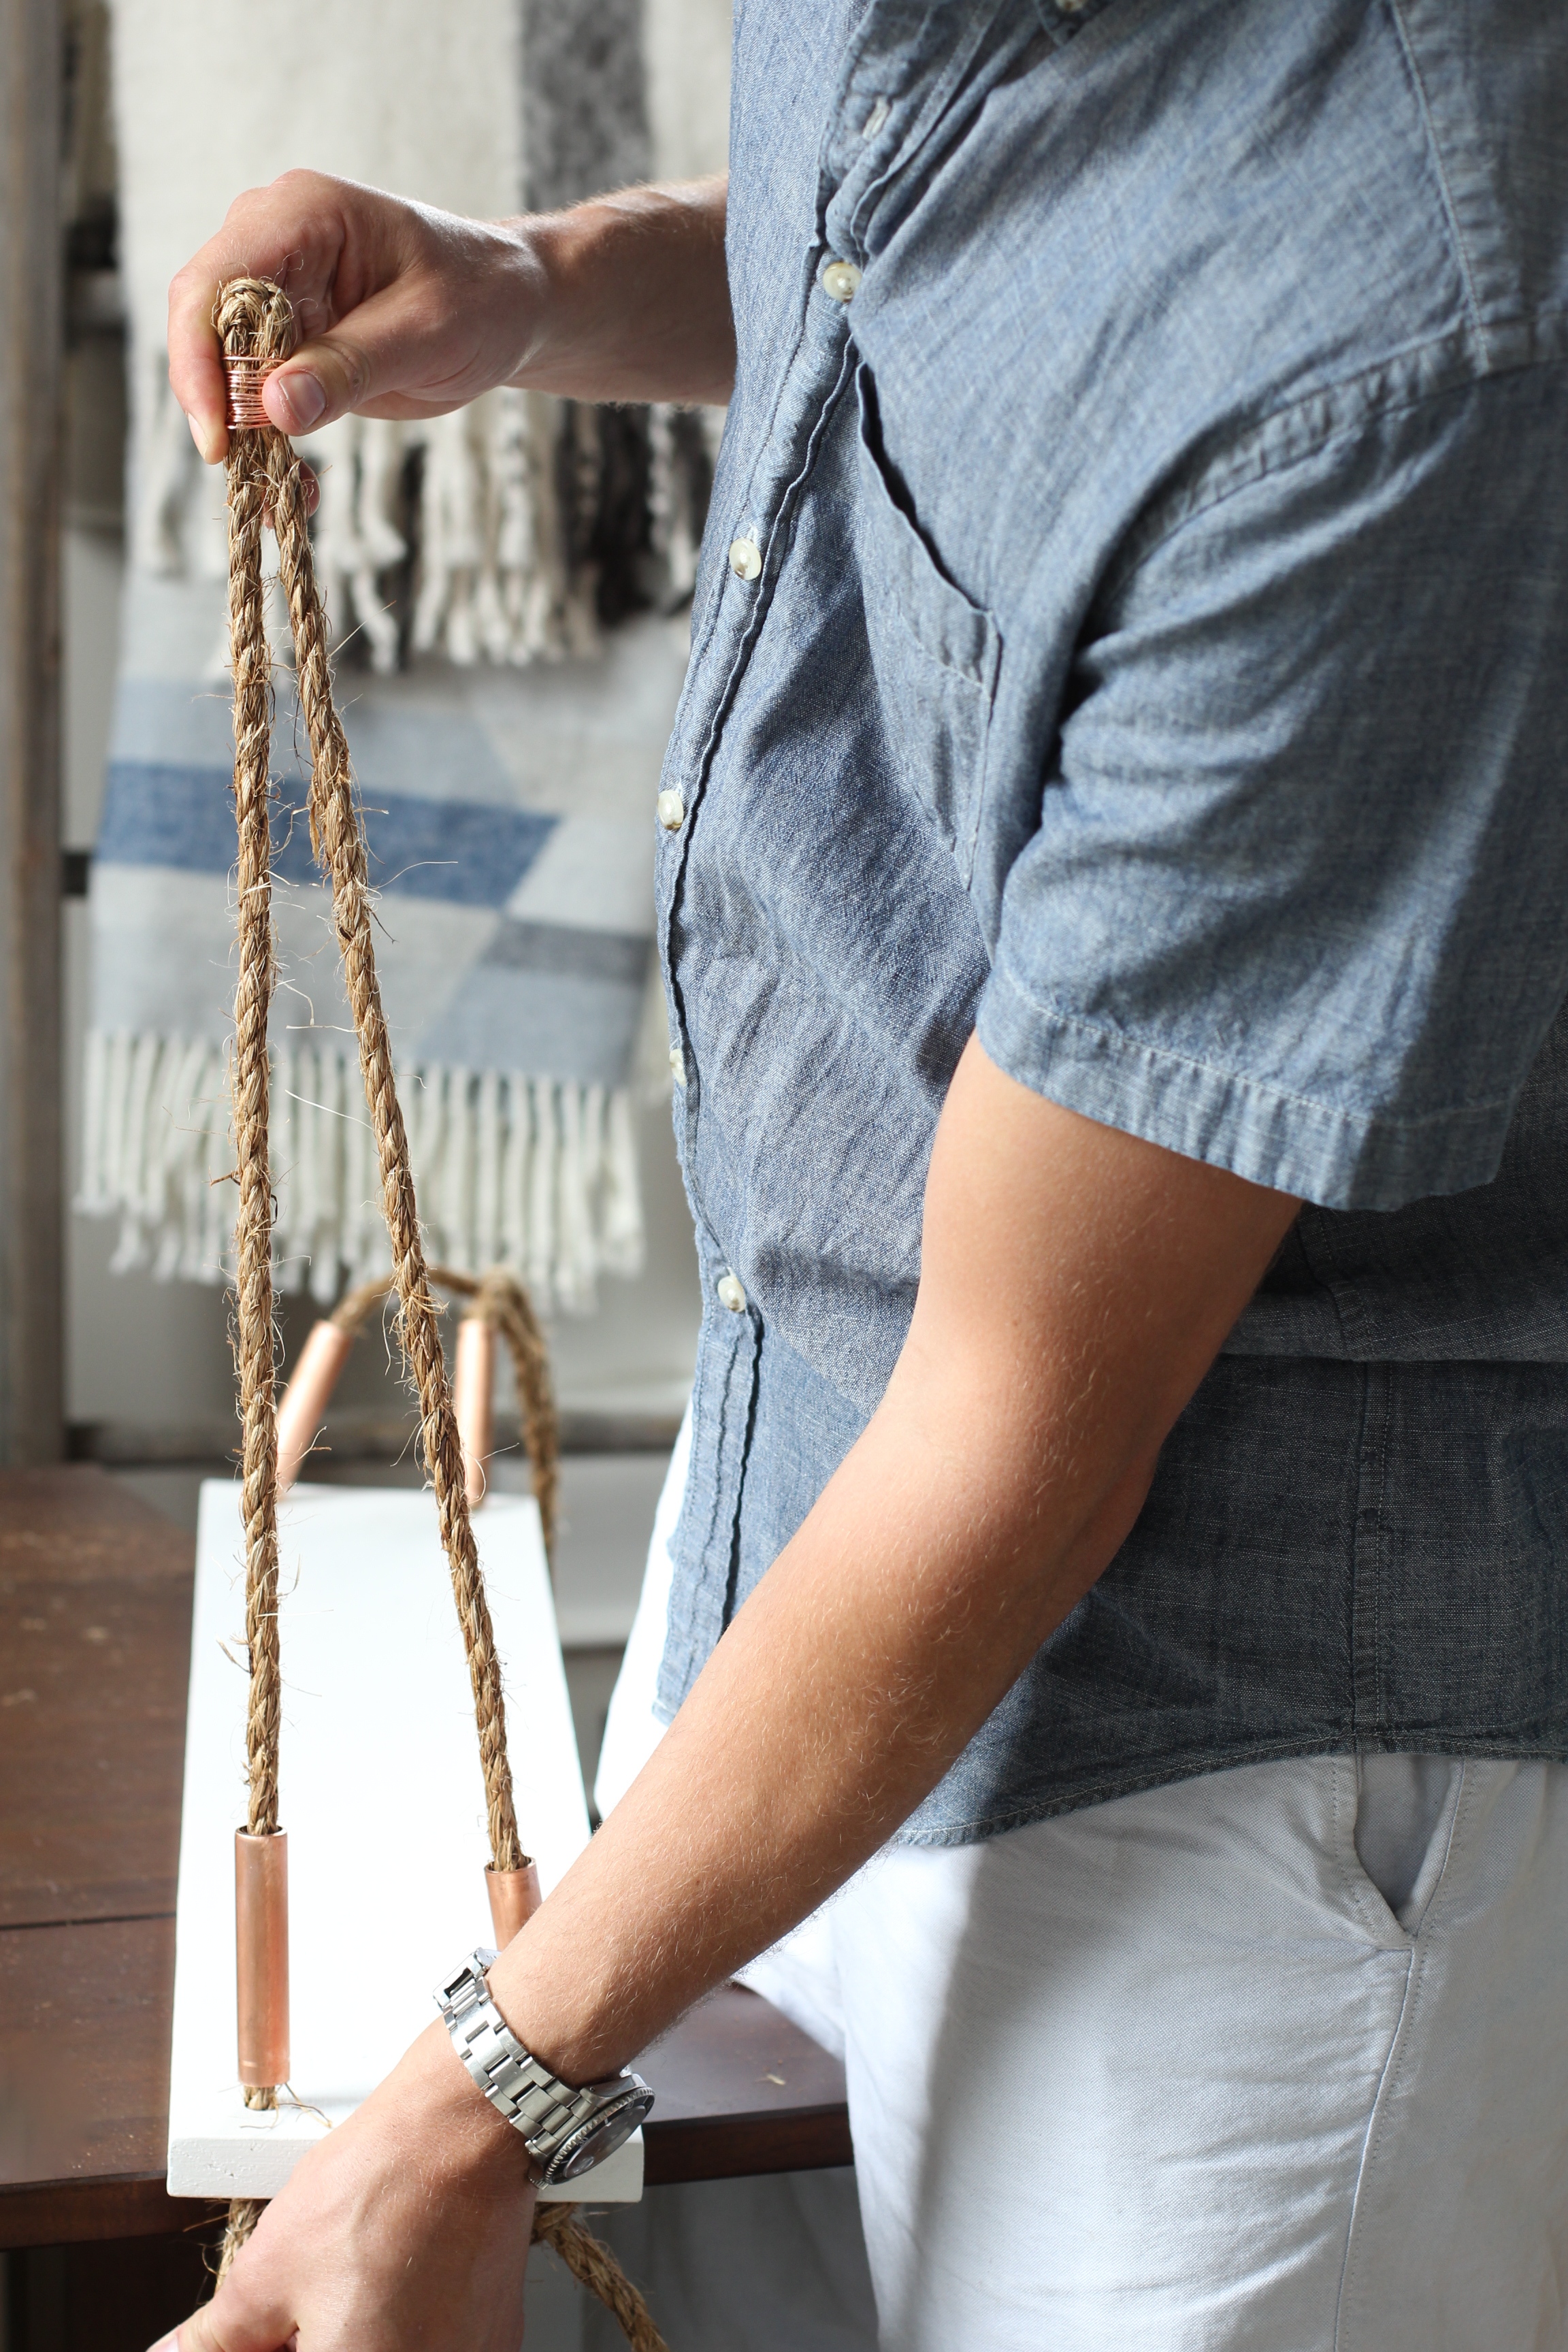
Now extend the rope upward from the board the length you had measured on the wall (again, about 21 inches for me), but at a slight angle so it would make a right angle with the board and the wall (so it may be slightly longer than your measured length). Fold it in half, holding it tight. Use the copper wire to wrap tightly around the fold, making a tiny loop. Using pliers or just your fingers, bury the cut end of the wire inside the coil.
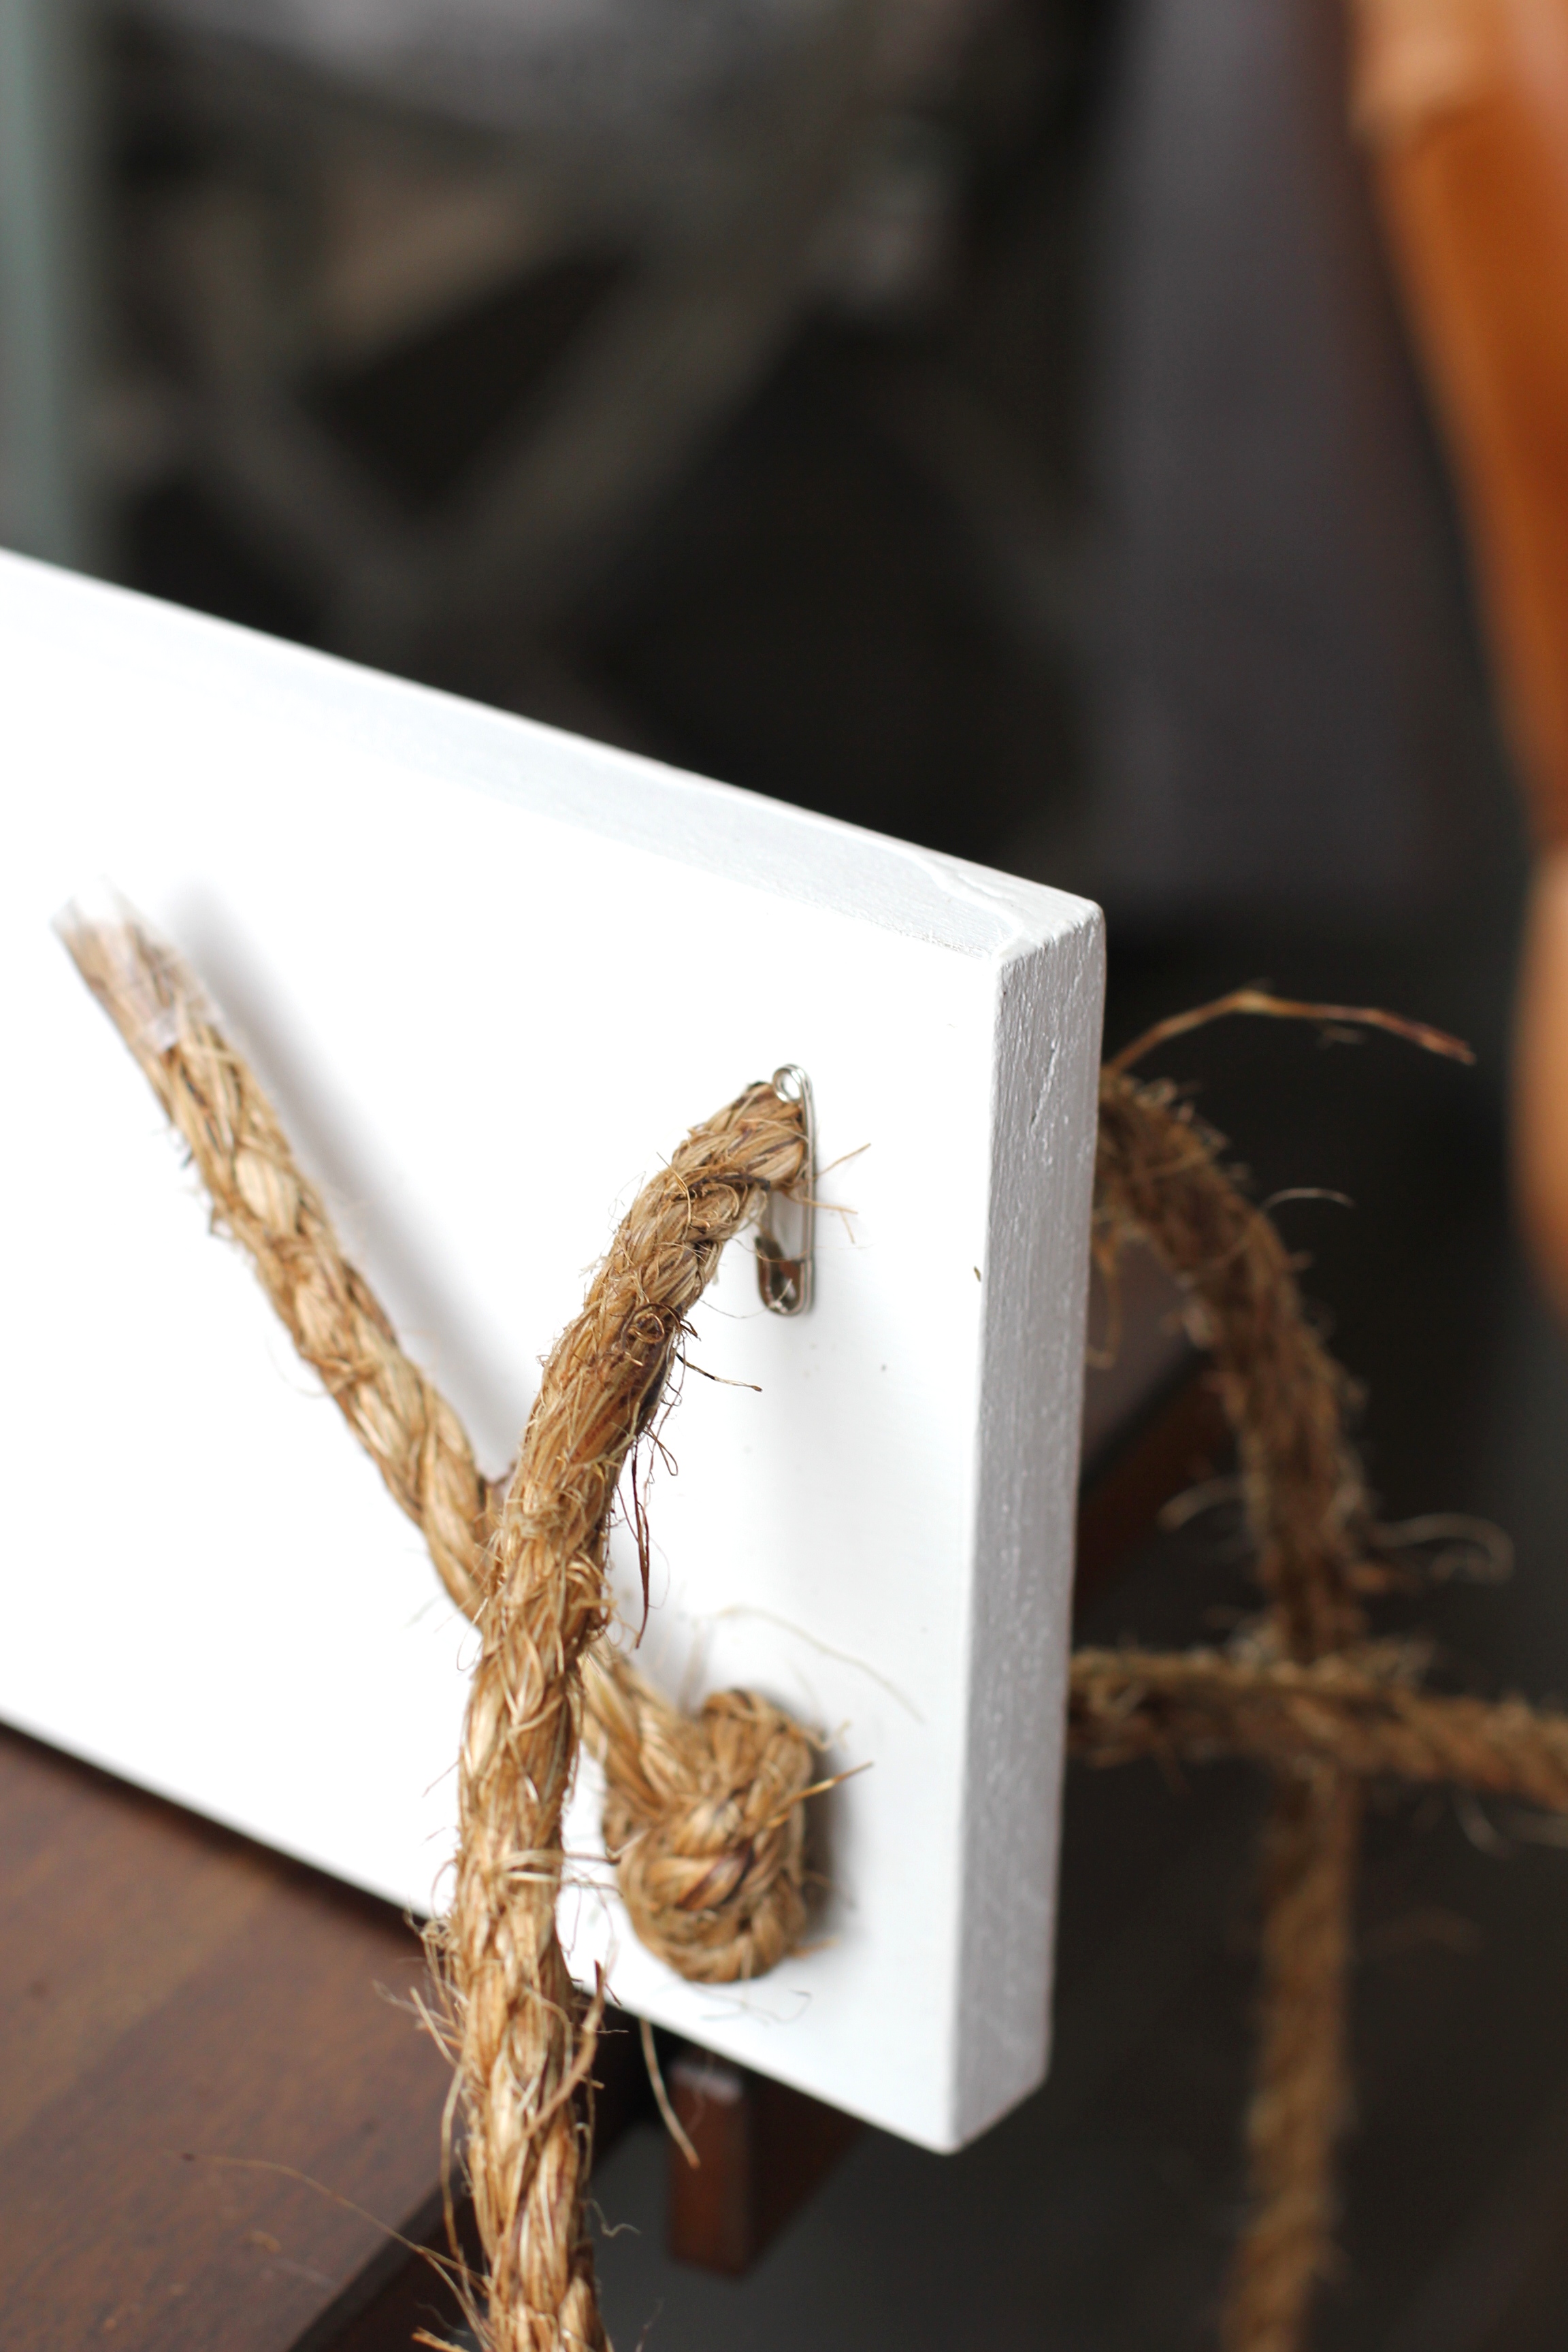
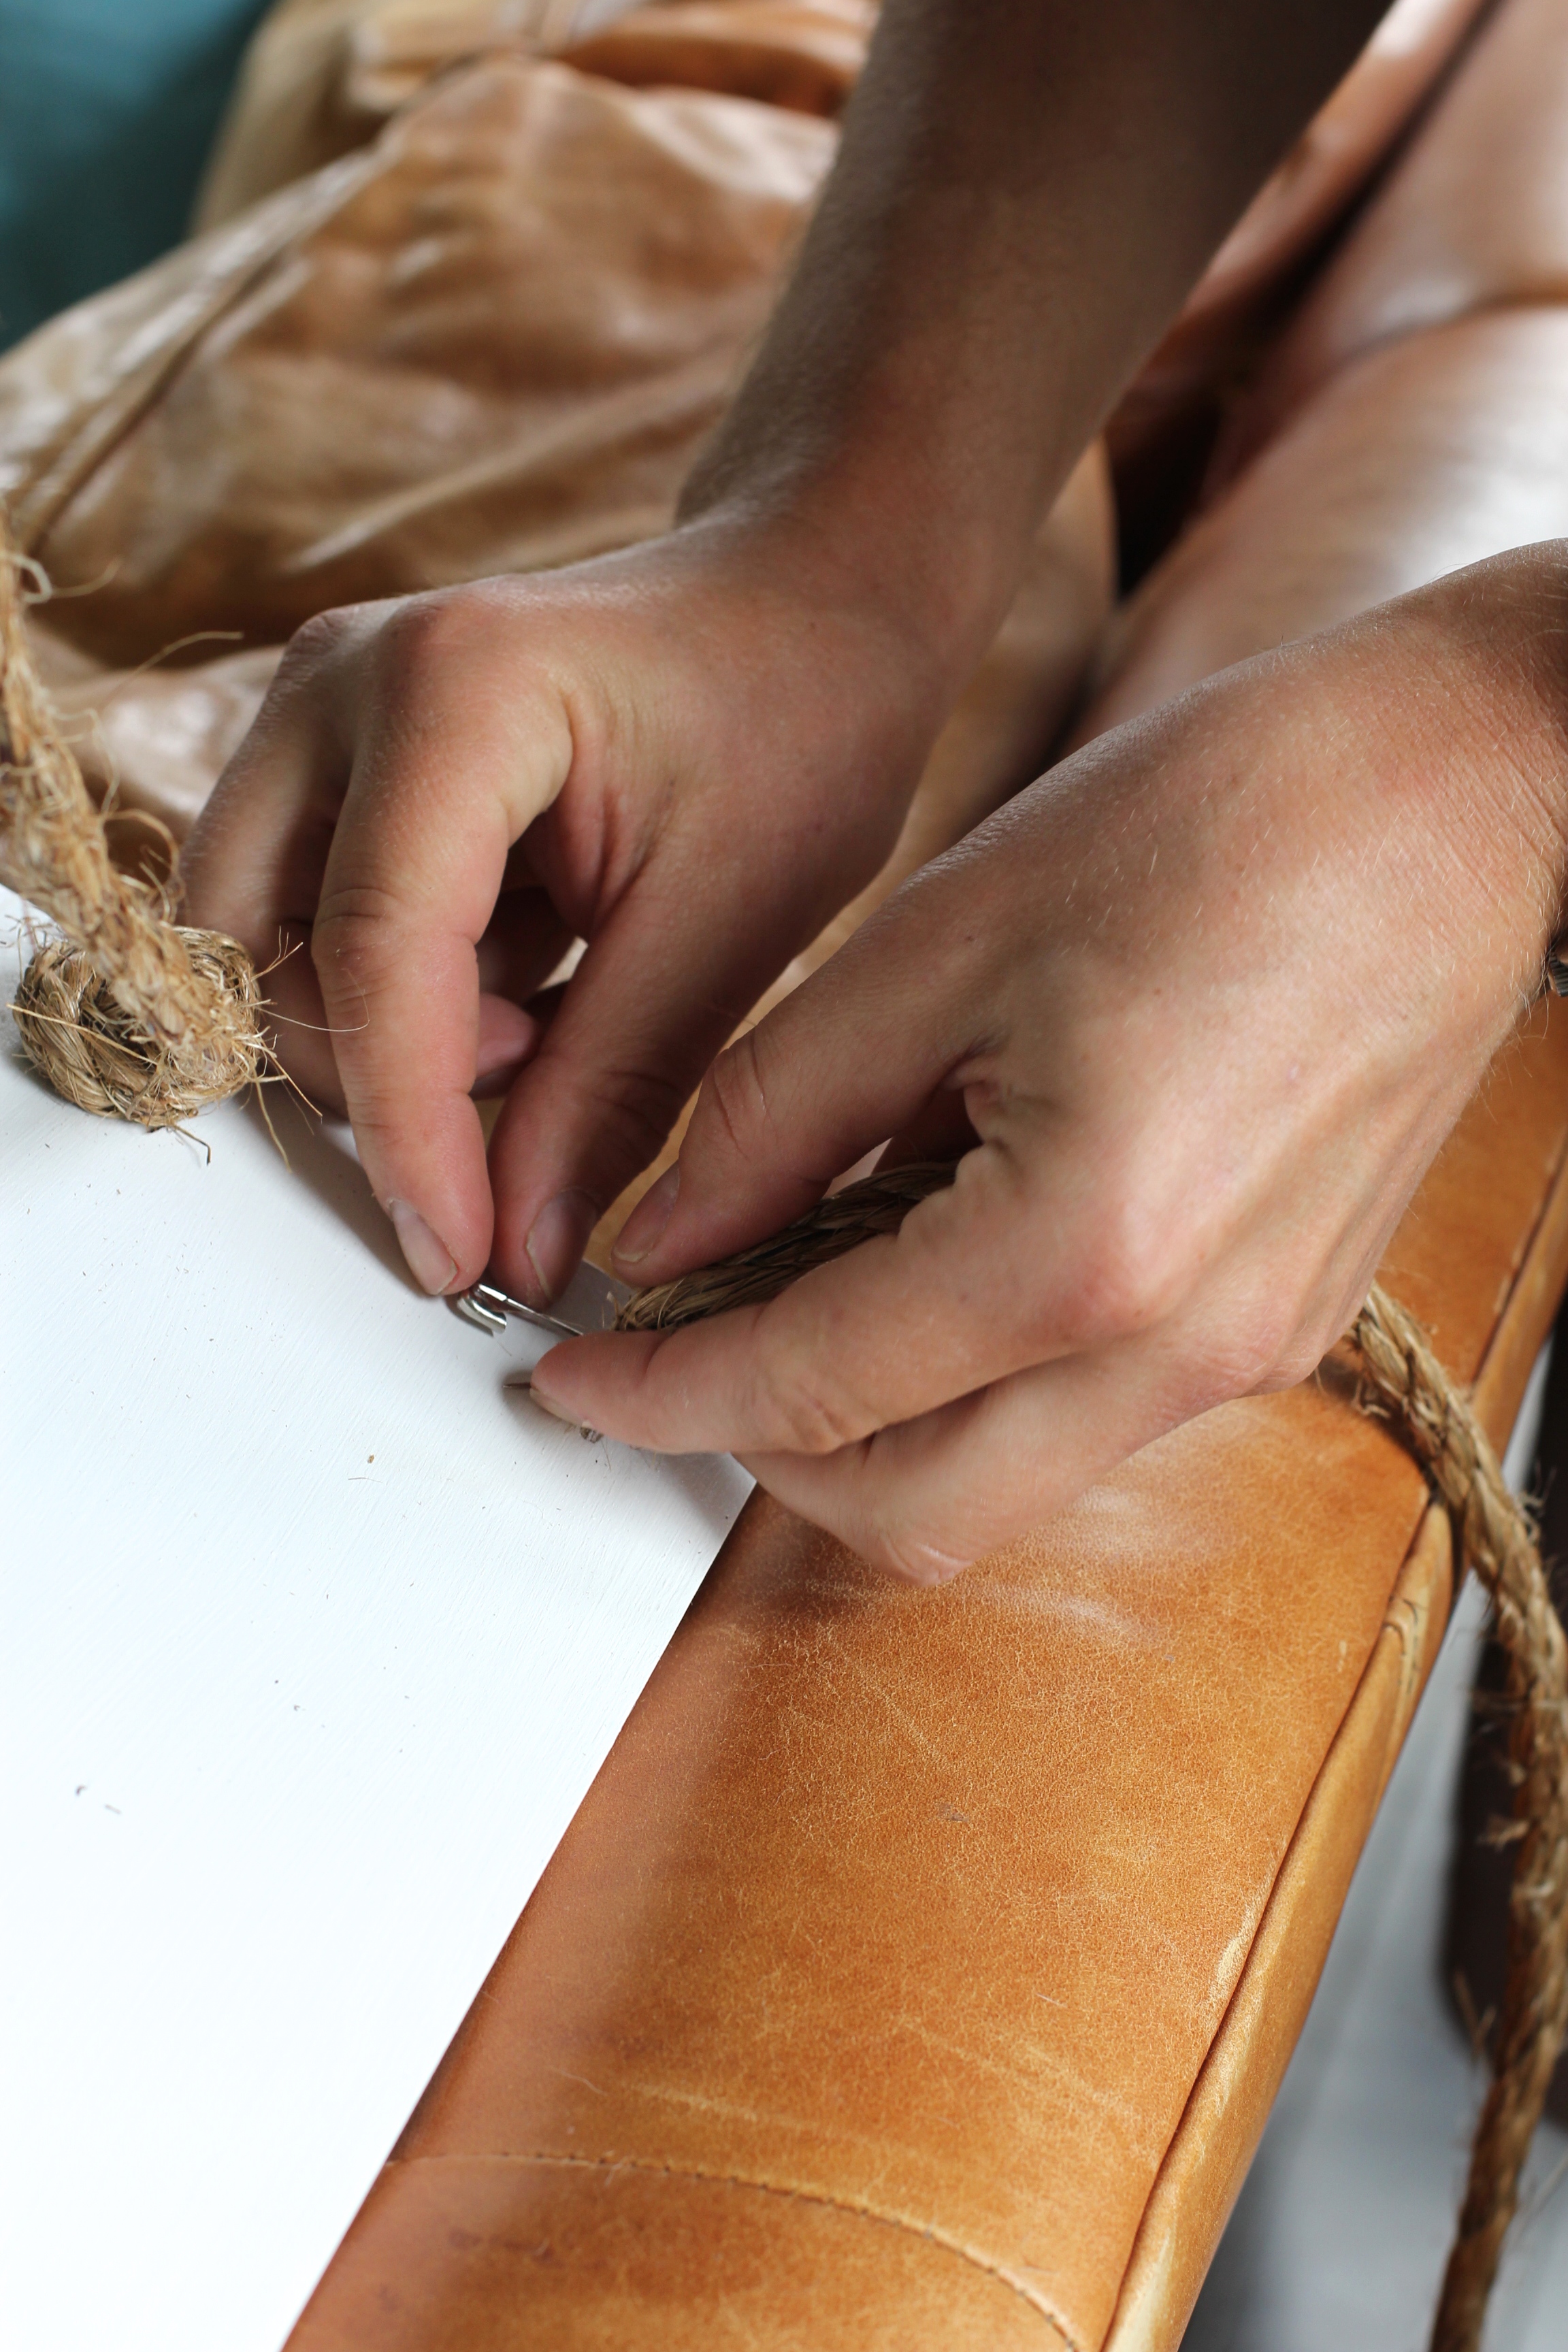
At this point you'll have to cut the other end of the rope—just give yourself a lot of room (you'll need at least your measured length plus some wiggle room for tying the knot). String that end of the rope with another copper pipe piece, and string through the hole. Measure the length, again, and slide a safety pin through the rope underneath the board so that it rests at the right measurement. No need to tie the knot yet, as you may have to adjust later.
Repeat this same process with the other end of the board.


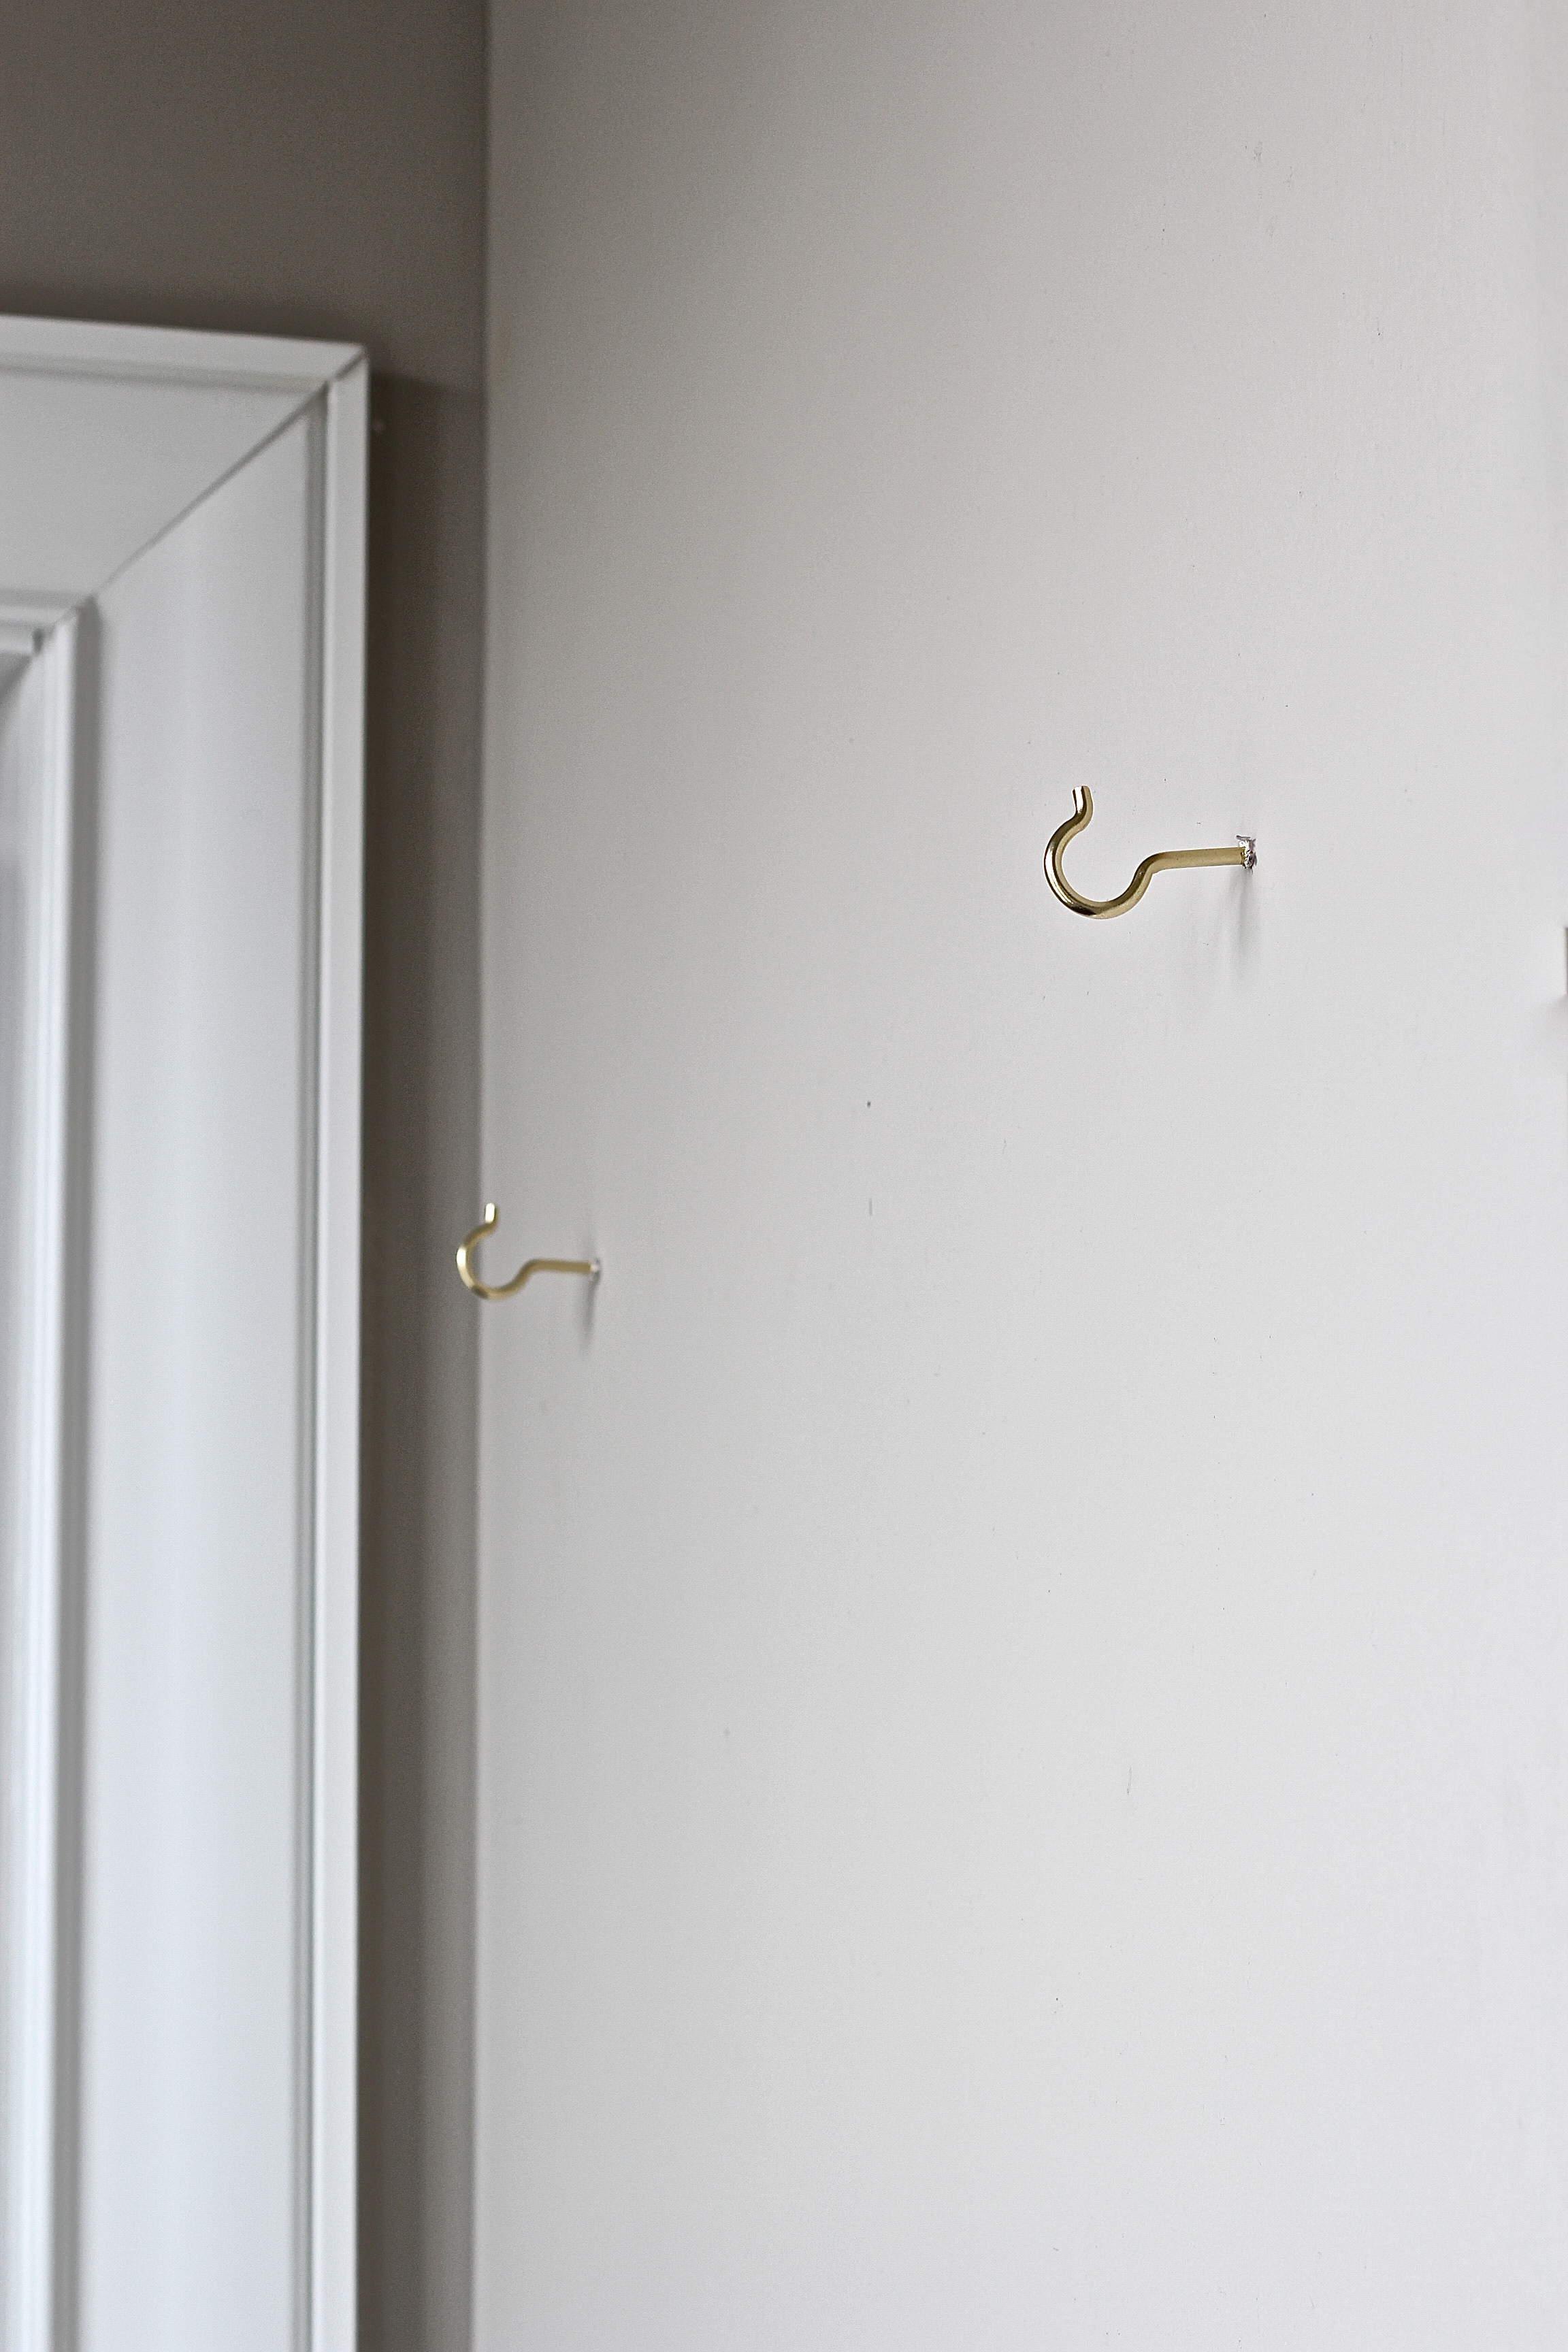
Now, measure the board from the center of one end of holes to the center of the other end of holes (you're measure from hole to hole, not end of the board to other end of the board). Then, measure your wall and find the center of the wall (this, strangely, was also at 21 inches). Find the right height again, and make a pencil line. You'll then make marks for where your hooks will go by measuring that same distance apart on the wall that you just found from hole to hole on the board (with the center dot in the middle). This way, your hooks are perfectly lined up with the holes so the ropes hang straight.
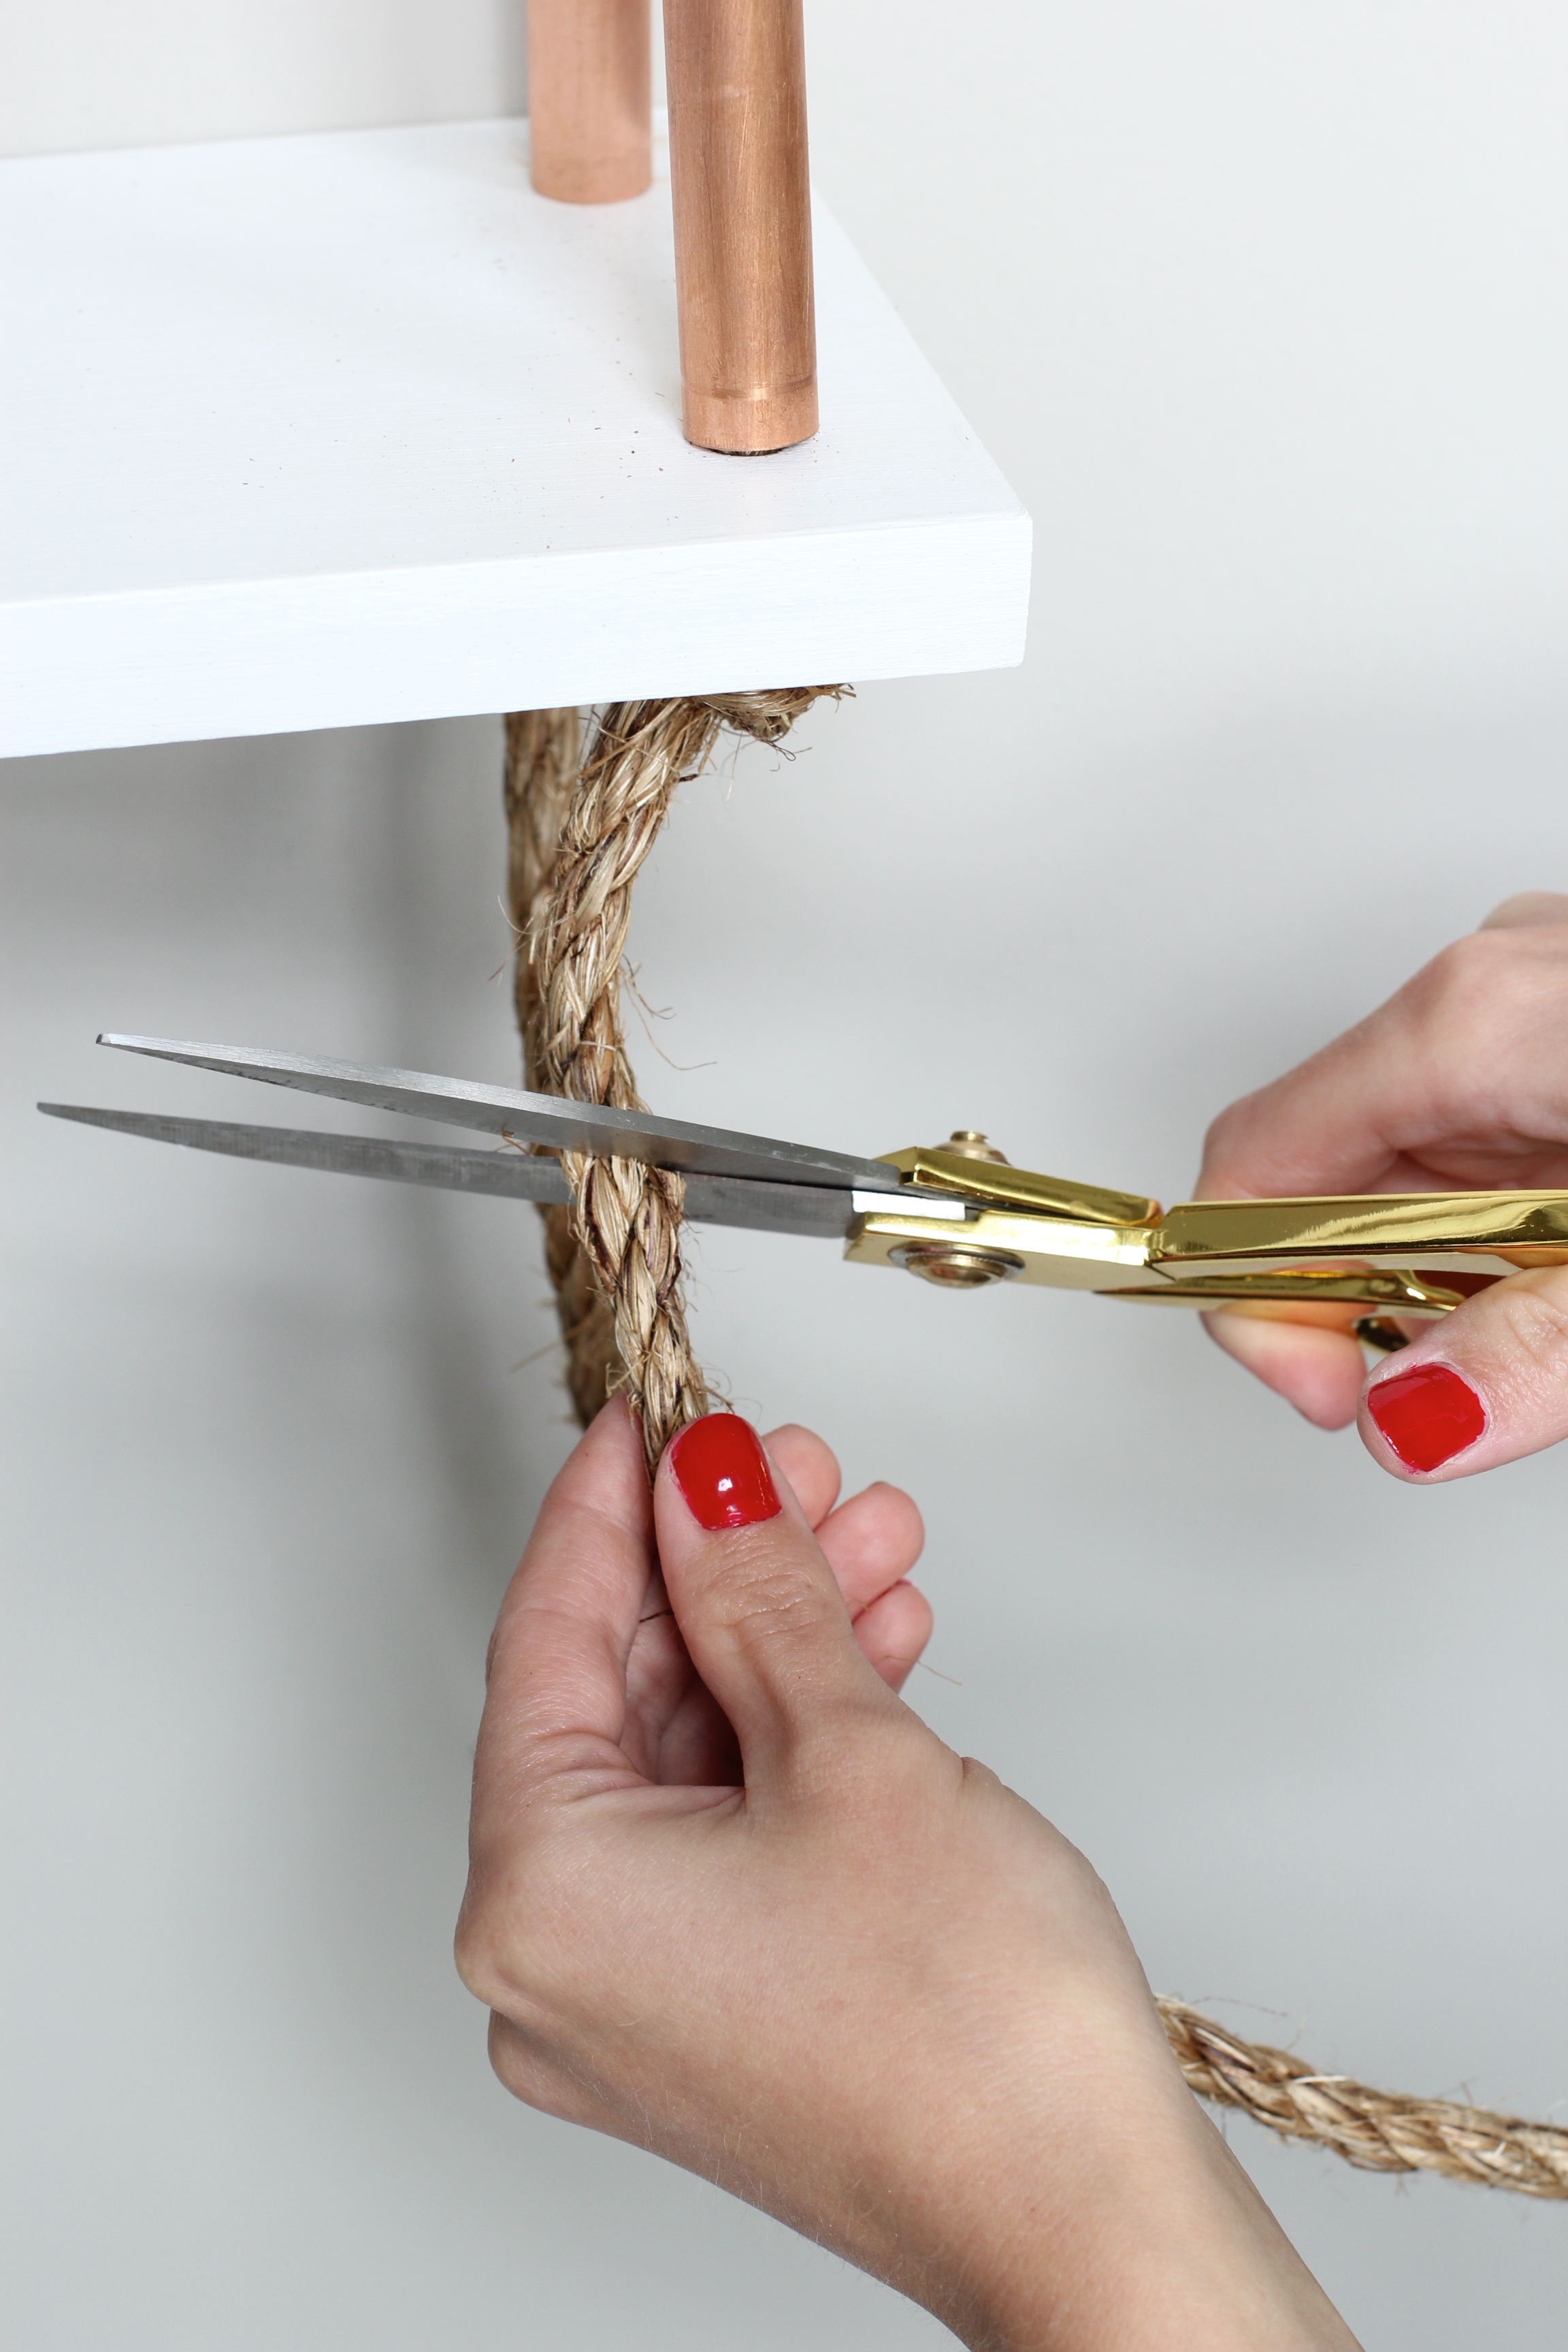
Secure hooks in wall. Suspend shelf on the hooks and use a level to ensure everything is straight. But this is your time to make any adjustments (if one end needs to be higher or lower), since you still need to tie the last two knots, so take mental note and remove from the wall again. Re-set the safety pins as needed, and then tie a knot below each. Re-hang your shelf, and cut the knot tails to however long you'd like them to be. (I just eyeballed it and went with about 2½ inches). If something still seems off, use an extra safety pin above any knots that needs lifting for it to be level.
And there you have it!