DIY fruit stamped cards and lined envelopes
My mom used to have this big old apothecary cabinet with shoe box sized drawers filled with rubber stamps and different color inks. She’d wrap gifts with brown craft paper and stamp silver and gold stars all over them, and tie it all up with great ribbon and a letter-stamped gift tag. She was also a perfectionist about it, so I loved watching how perfectly everything would turn out. One trick she used that I thought was so ingenious was using markers or brushes to get different colored ink onto one stamp.
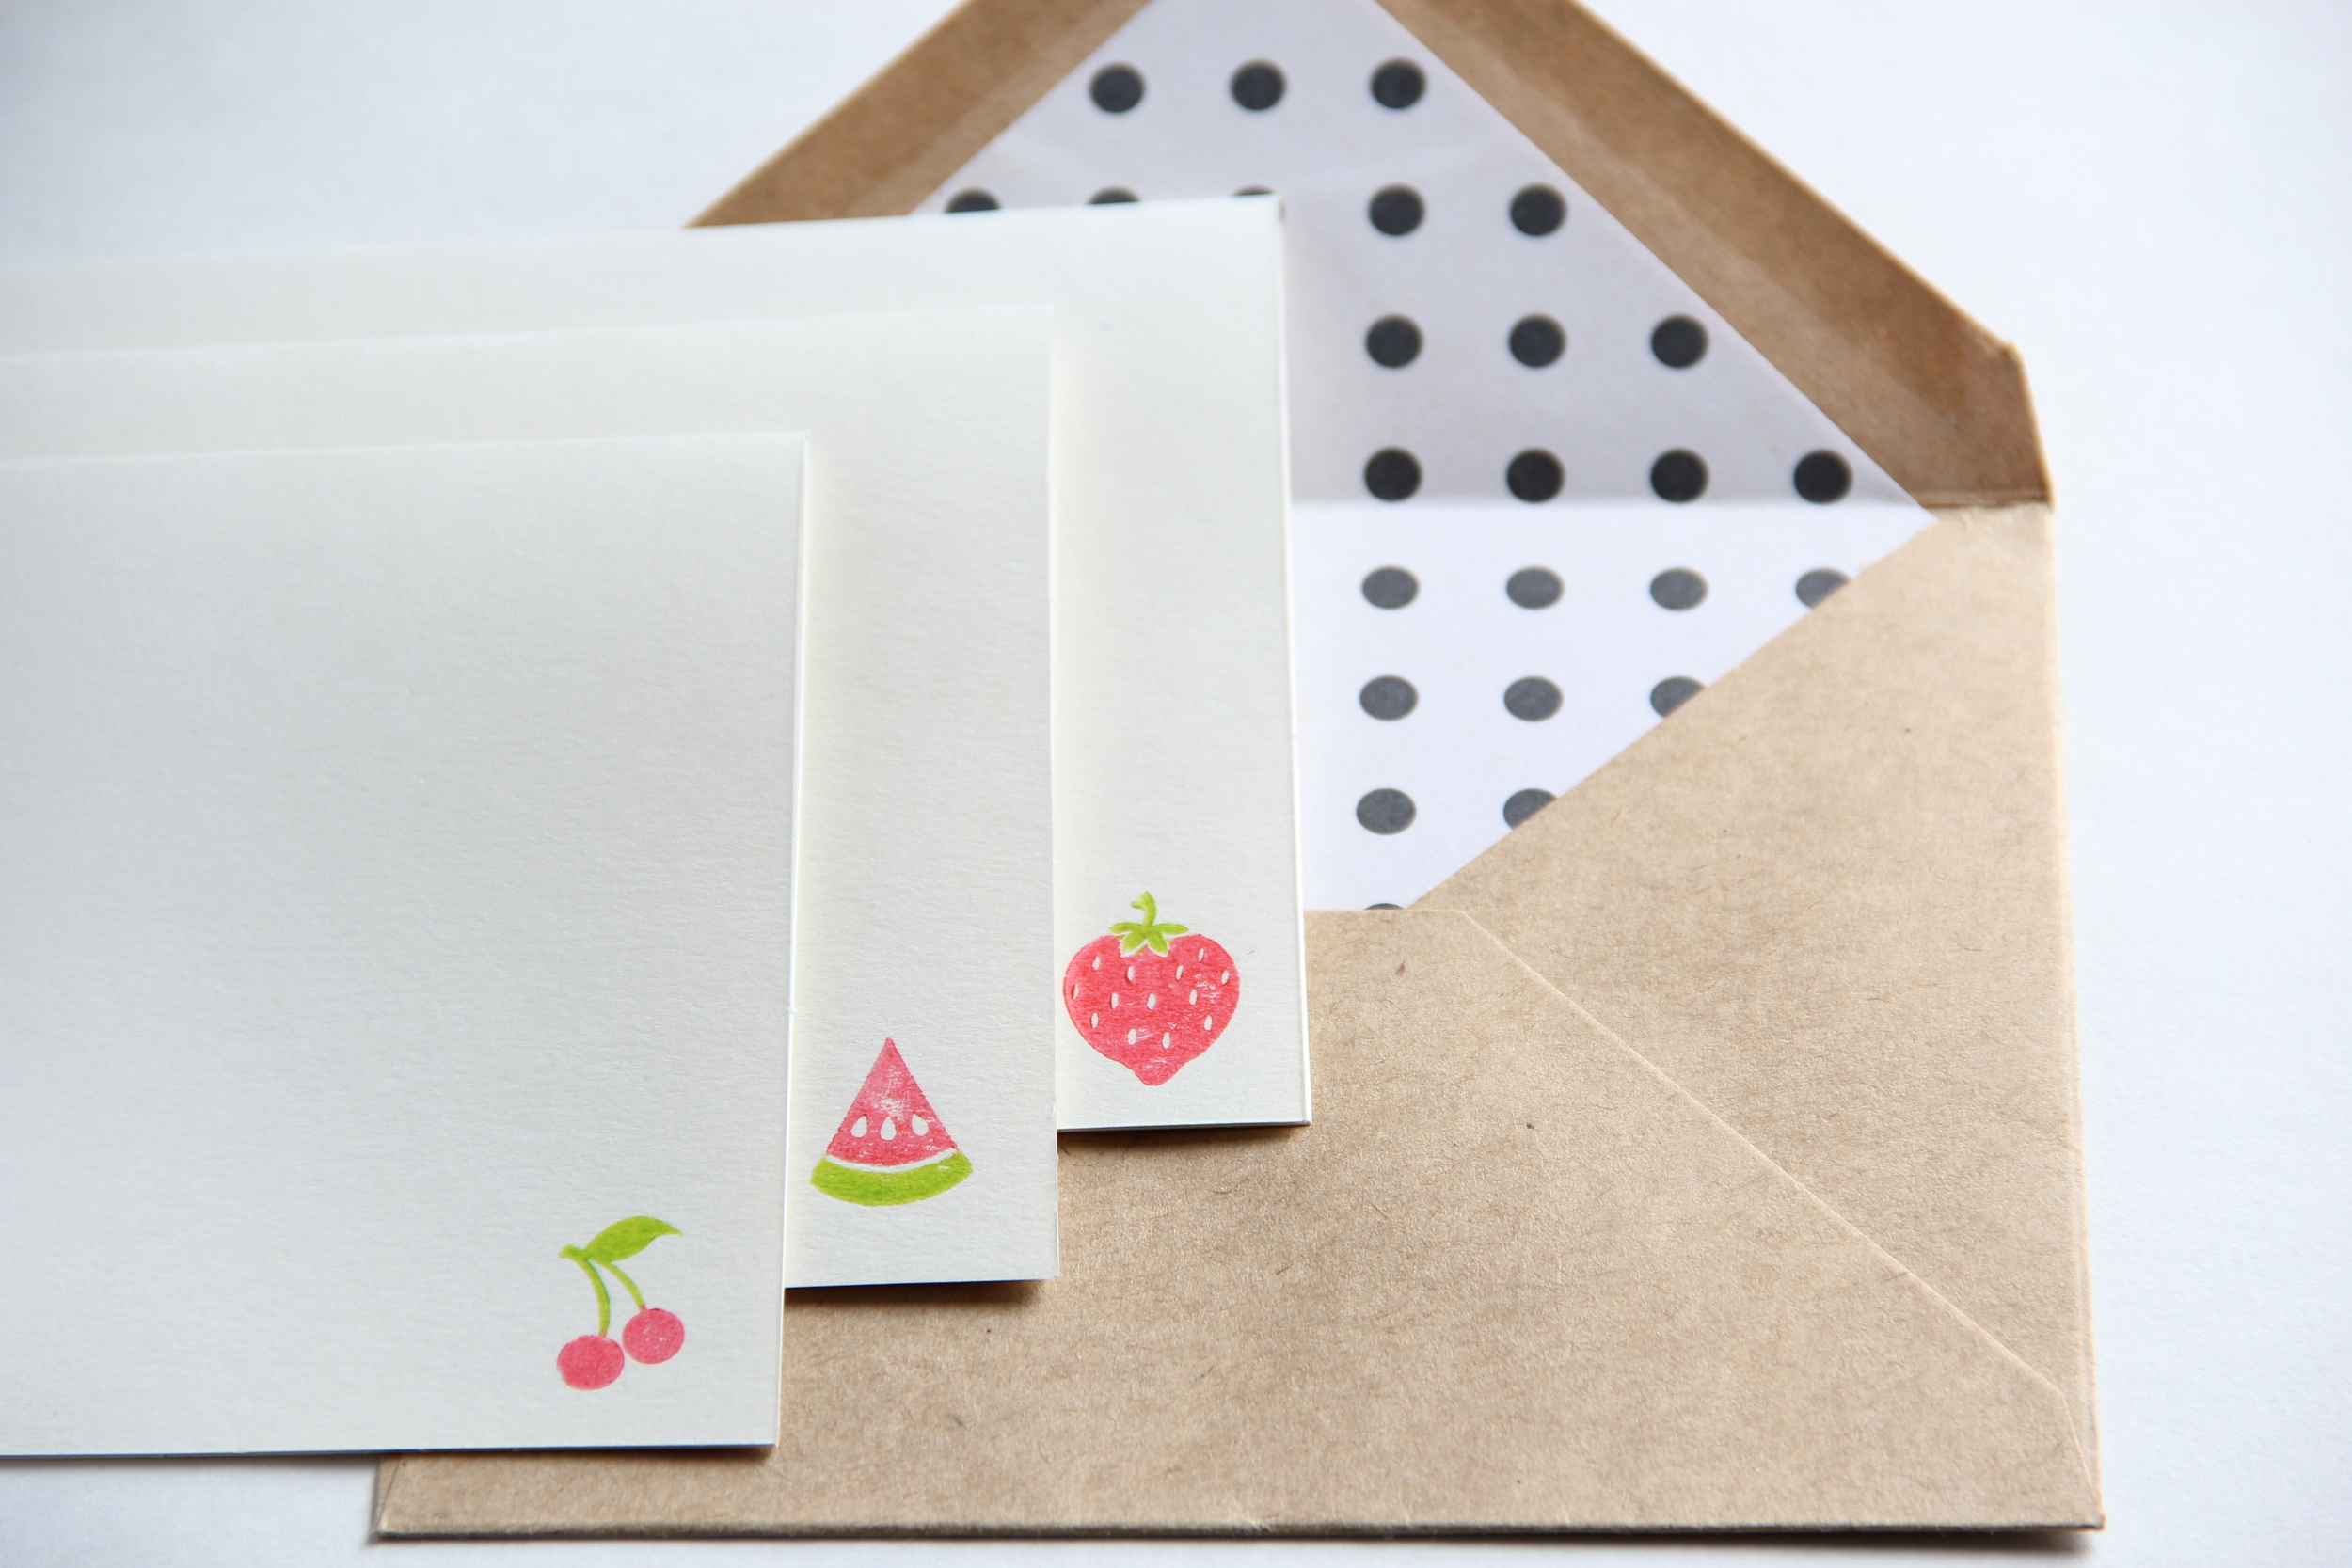
I used these tactics to make what I think are the most adorable little stationery cards.
Here’s what you need
white cards
thick envelopes
designed craft paper
rubber stamps (I used a little set of fruit stamps from Michael’s $1 section)
colored inkpads (I used red and green)
small paint brushes, one for each ink color
pencil
scissors
glue pen
ruler or straight edge
Here’s how you make the rubber stamped cards
Dab the paint brush into the ink, and carefully paint part of the stamp, moving as quickly as you can. Using your other brush and the other ink pad, finish painting in the rest of the stamp the desired color. Stamp it onto the front corner of your card in one smooth motion, pushing down lightly and pressing uniformly for a few seconds so as to not touch any of the corners of the stamp to the paper. Pull the stamp away and look at the cutest thing you’ve ever created. Let it dry for at least 10 minutes.
Repeat with your other stamps on the remaining cards.
When you're finished, blot the stamps onto scrap paper until mostly clear, so that the ink doesn't dry on the stamps.
Here’s how you make the lined envelopes
With your craft paper turned upside down, use a pencil to lightly trace the open envelope onto the paper. Then, look at the triangular flap part of your envelope and make note of where the adhesive is. You don’t want to cover that part with liner, so when you go to cut out what you just traced, you’re going to cut inside the lines a fair amount for the triangular flap. For the rectangular bottom, you’re also going to cut just inside your traced lines (maybe 1/16 of an inch all around, just to ensure you’ll be able to slip it down inside the envelope). Turn the piece around so the designed side is facing out, and slip it inside the envelope to see how it fits. If it needs any trimming, do so now. When the fit is right, line the back of the rectangular section of the paper with the glue pen, and carefully place it down inside the envelope again, making sure it’s smooth. Then put glue on the triangular flap, getting as close to the border as possible so it adheres well. Press to smooth it out and adhere it.