Re-purposing an old calendar
I’ve always loved buying new calendars. It’s one of my favorite (albeit small) things about the end of the year—scoping out a new calendar (or two) to keep me company at my desk for the next year. There’s just something about it—I love that it’s like rotating artwork, and that it’s also a little surprise to celebrate the start of each month. Naturally then, I’m big on the calendar’s illustrations, color, and overall feel. Naturally then, too, I have a really hard time parting with old calendars because it feels like throwing away 12 pieces of artwork that I still love but are no longer really relevant. So, I’ve usually held on to my favorites, assuming I’d eventually put them to good use again at the very low price of: nothing.


That’s why this calendar re-purpose DIY is very near and dear to my heart. I’ve talked before about how a DIY project has to make sense for me to get on board. If simply purchasing the alternative is overwhelmingly easier, or higher quality, or more affordable, or especially some combination of those, I wouldn’t dream of attempting to do it myself (ain't nobody got time for that). It has to be feasible.
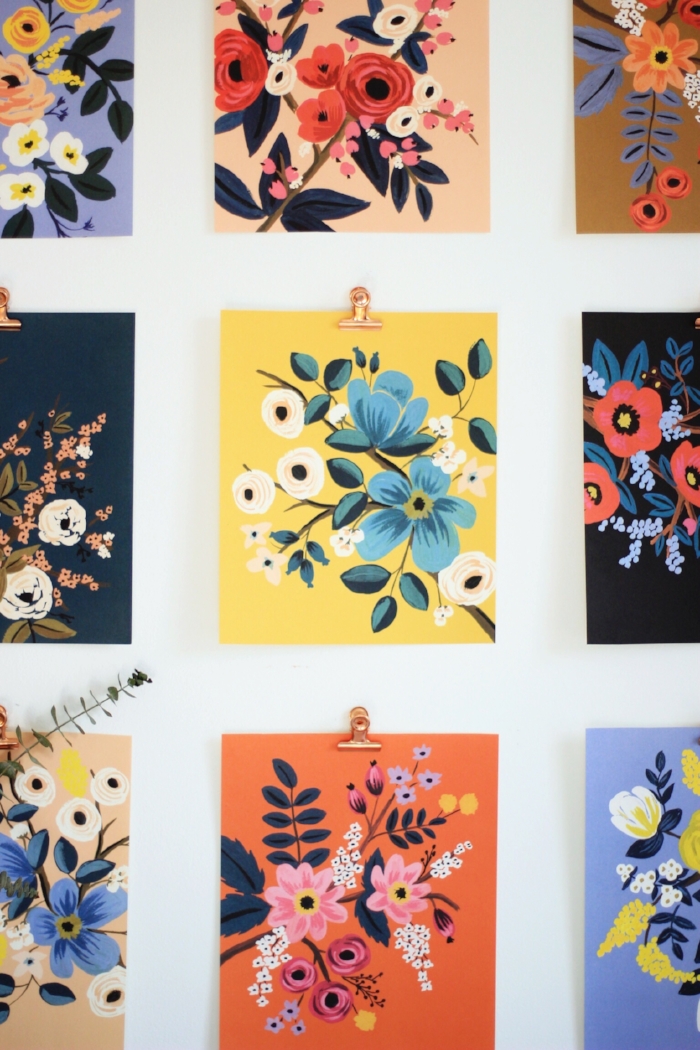
This project is beyond feasible—it felt like I was creating something out of nothing (or at least something that had been quite literally collecting dust sitting on top of a craft bin). But here’s the thing, even if you don’t have an old calendar that you love (mine is from Rifle Paper Co.), simply purchasing a new one is still a fair price for a gallery of 9 or 12 pieces of artwork!
A few things to keep in mind when selecting a calendar or considering one you already have:
Does each page still work when the month part is cut off? (Some calendars’ art is integrated with the month and days)
Are the images similarly sized? Of course, this only matters if you’d like your gallery to be uniform. Otherwise, don’t worry about this!
Are the images an acceptable size to you when the month and days are cut off? (I wanted to use a larger hanging calendar for this reason, but a tiny gallery installation would be very cute too)


Here’s what you need
Calendar
Scissors
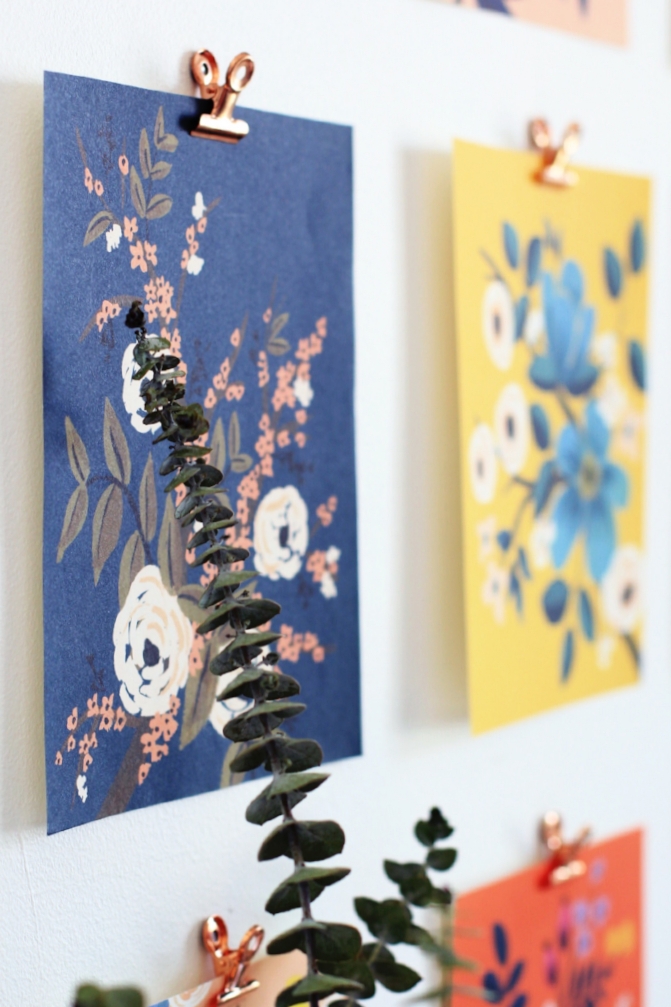
Brass or gold clips (I used magnetic clips like these or these that simply stuck to flat steel nail heads, but you could also use regular clips and nail them into place)
Nails that fit through the holes of whatever clips you're using (if you're using magnets, you want the nails to have a large flat head)
Hammer
Tape measure, level, and pencil for hanging
Here’s how to do it
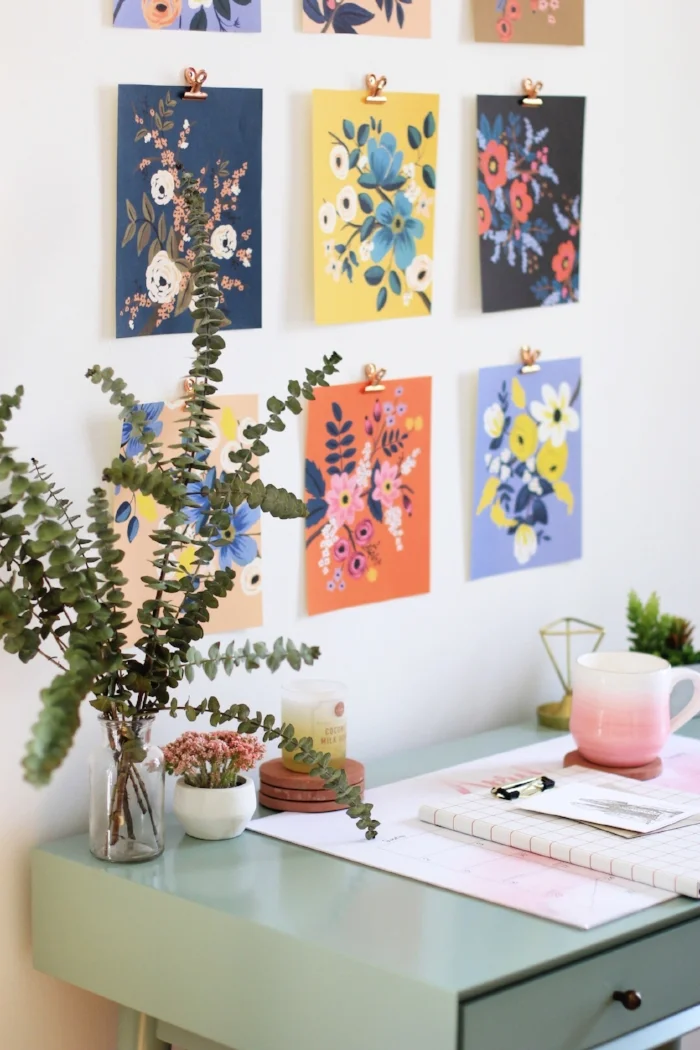
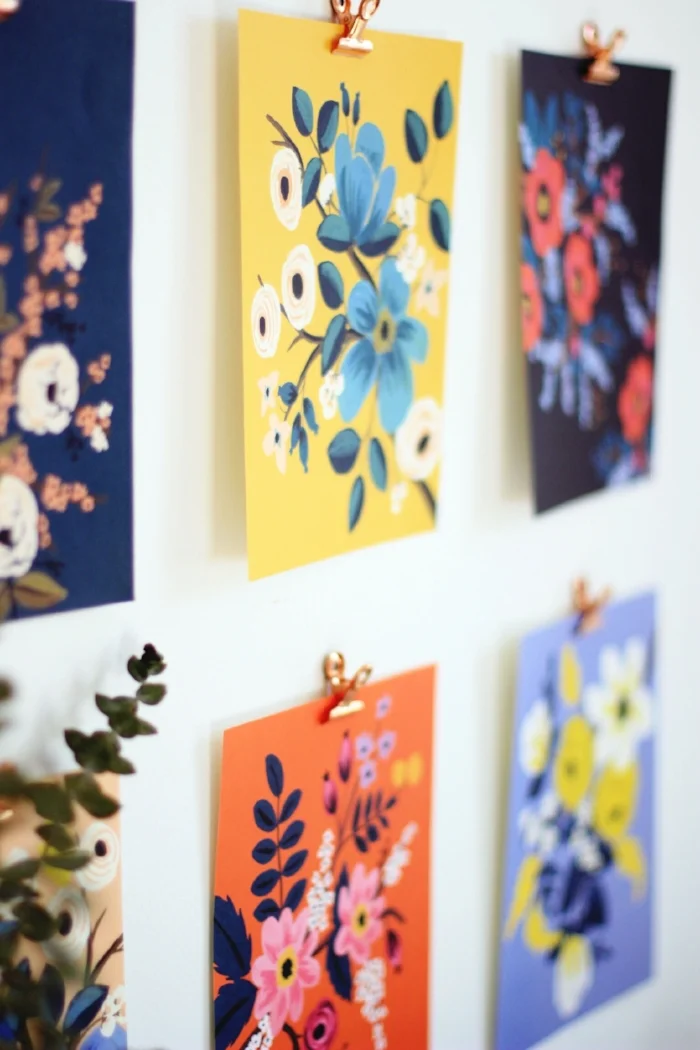
Use scissors to your calendar images down to equal size (or unequal, if you’d like). If you’d like to do equal rows, make sure you have the right number of images—I chose nine in order to do three rows of three.
Add the clips to the top of each image, and then lay the images on the floor to get a feel for what layout you’d like—how much space between each picture, and therefore, how large the overall gallery will be. I wanted mine to read more portrait than landscape, so I put slightly more space between the images vertically than horizontally. I then used a tape measure to measure the space between each clip’s hole (where the nail will go), and moved them slightly to make round numbers (just for the sake of ease).
With a pencil, draw a grid of dots on the wall where the nails will go based on the measurements you took. Hammer nails into place, and hang artwork.
And you’re done!

